Project FR-S: Fancy Footwork
Author/Photos: Tj Sanethong Editor: Alejandra Forkin
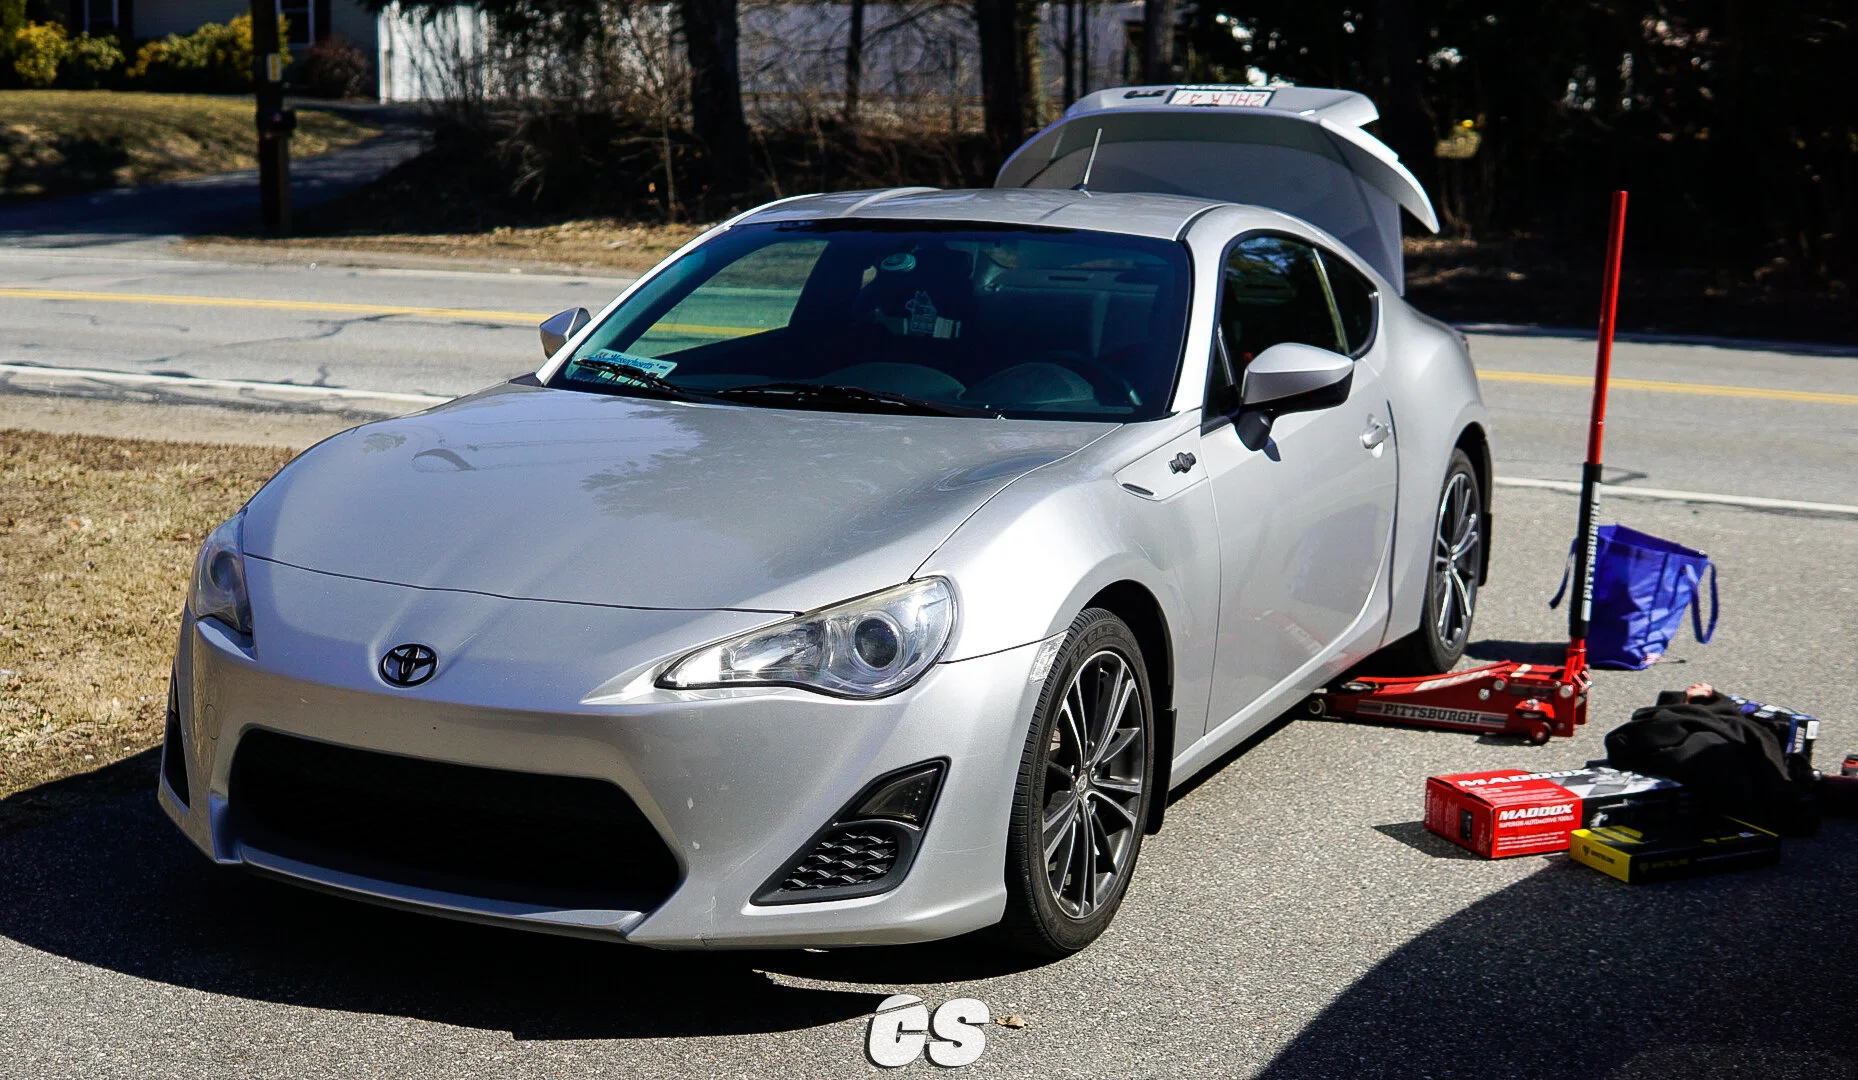
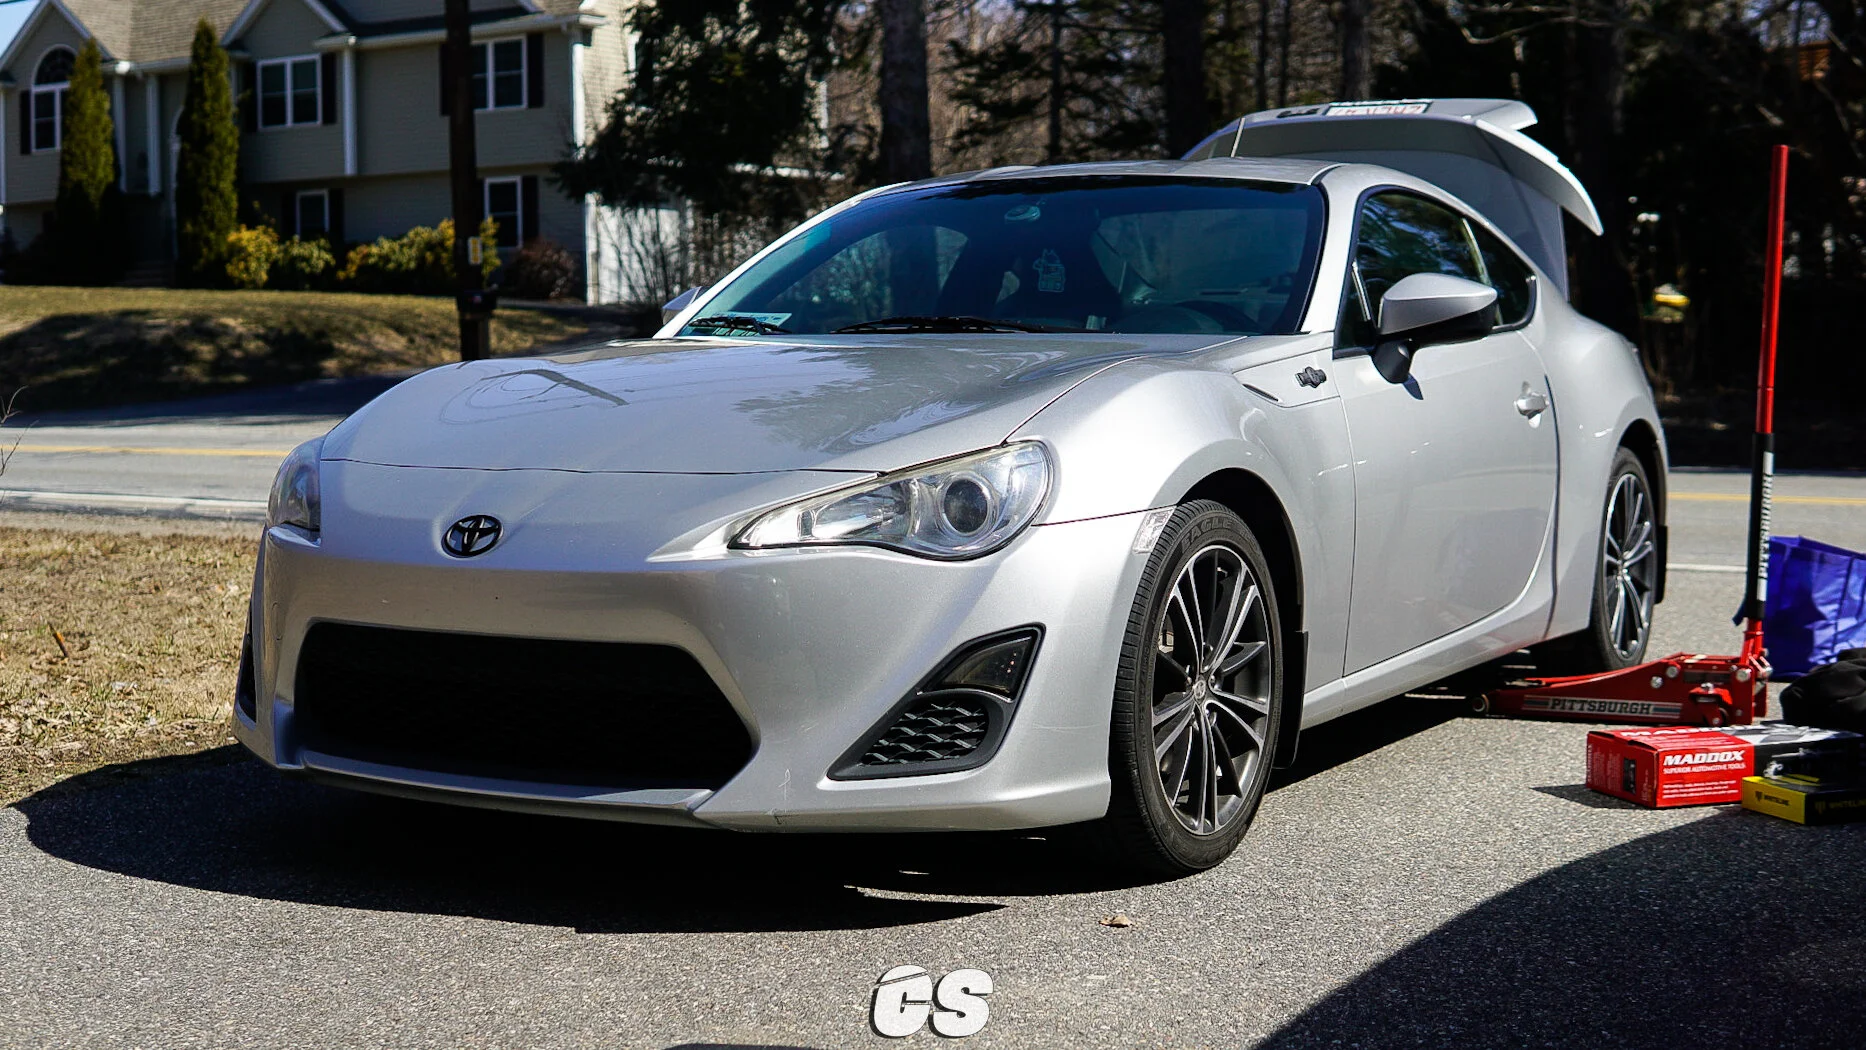
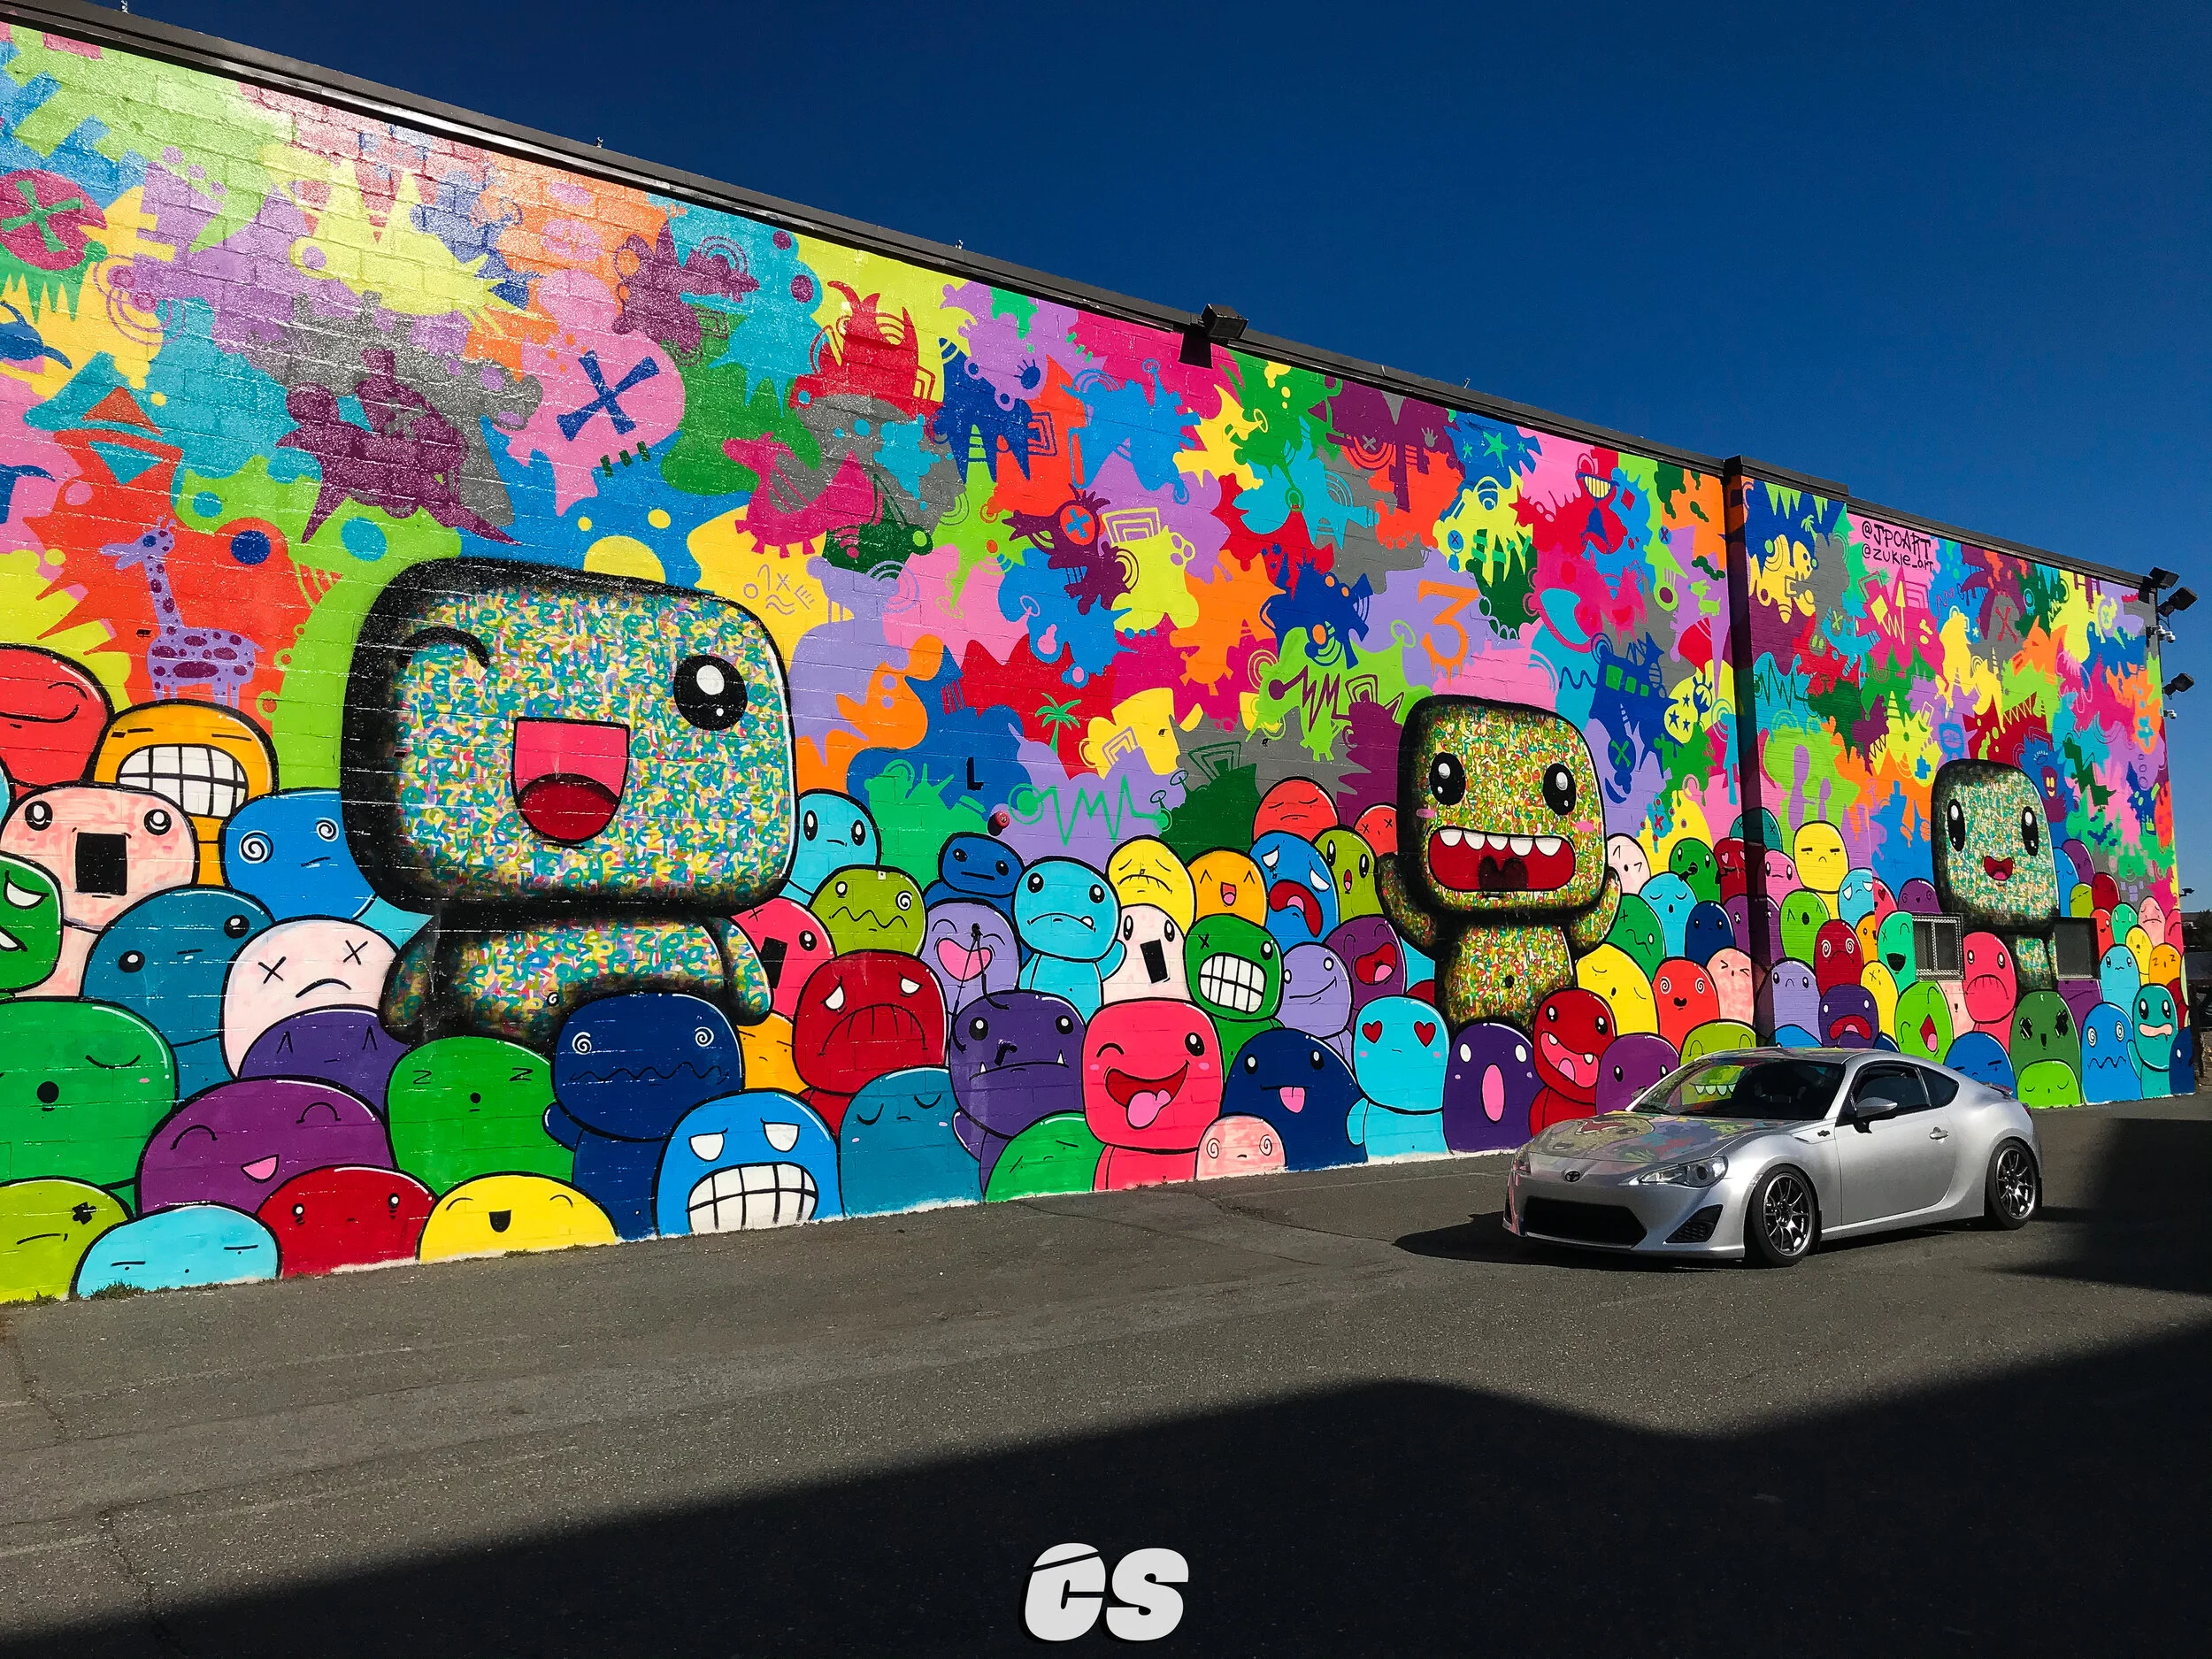
It’s been a few months since I purchased project FR-S, and I must say I am wildly impressed with this car in its stock form. Was I a little nuts to take on the challenge of driving this beauty in the winter? Absolutely. I loaded the trunk up with a full-size jack, spare tools, and equipped it with snow shoes; it proved to be enough to get me by. It may not have taken off perfectly, but it didn’t get stuck anywhere either.

I spent the winter months figuring out how I was going to get this car into the first phase by the time spring flowers bloomed. Before I could do that, there were a few questions that needed answers: what would phase one entail? Where could I make improvements on this platform? What was this going to cost me? Seeing as modifying the suspension makes me feel like a kid in a candy shop, it only made sense to start there.
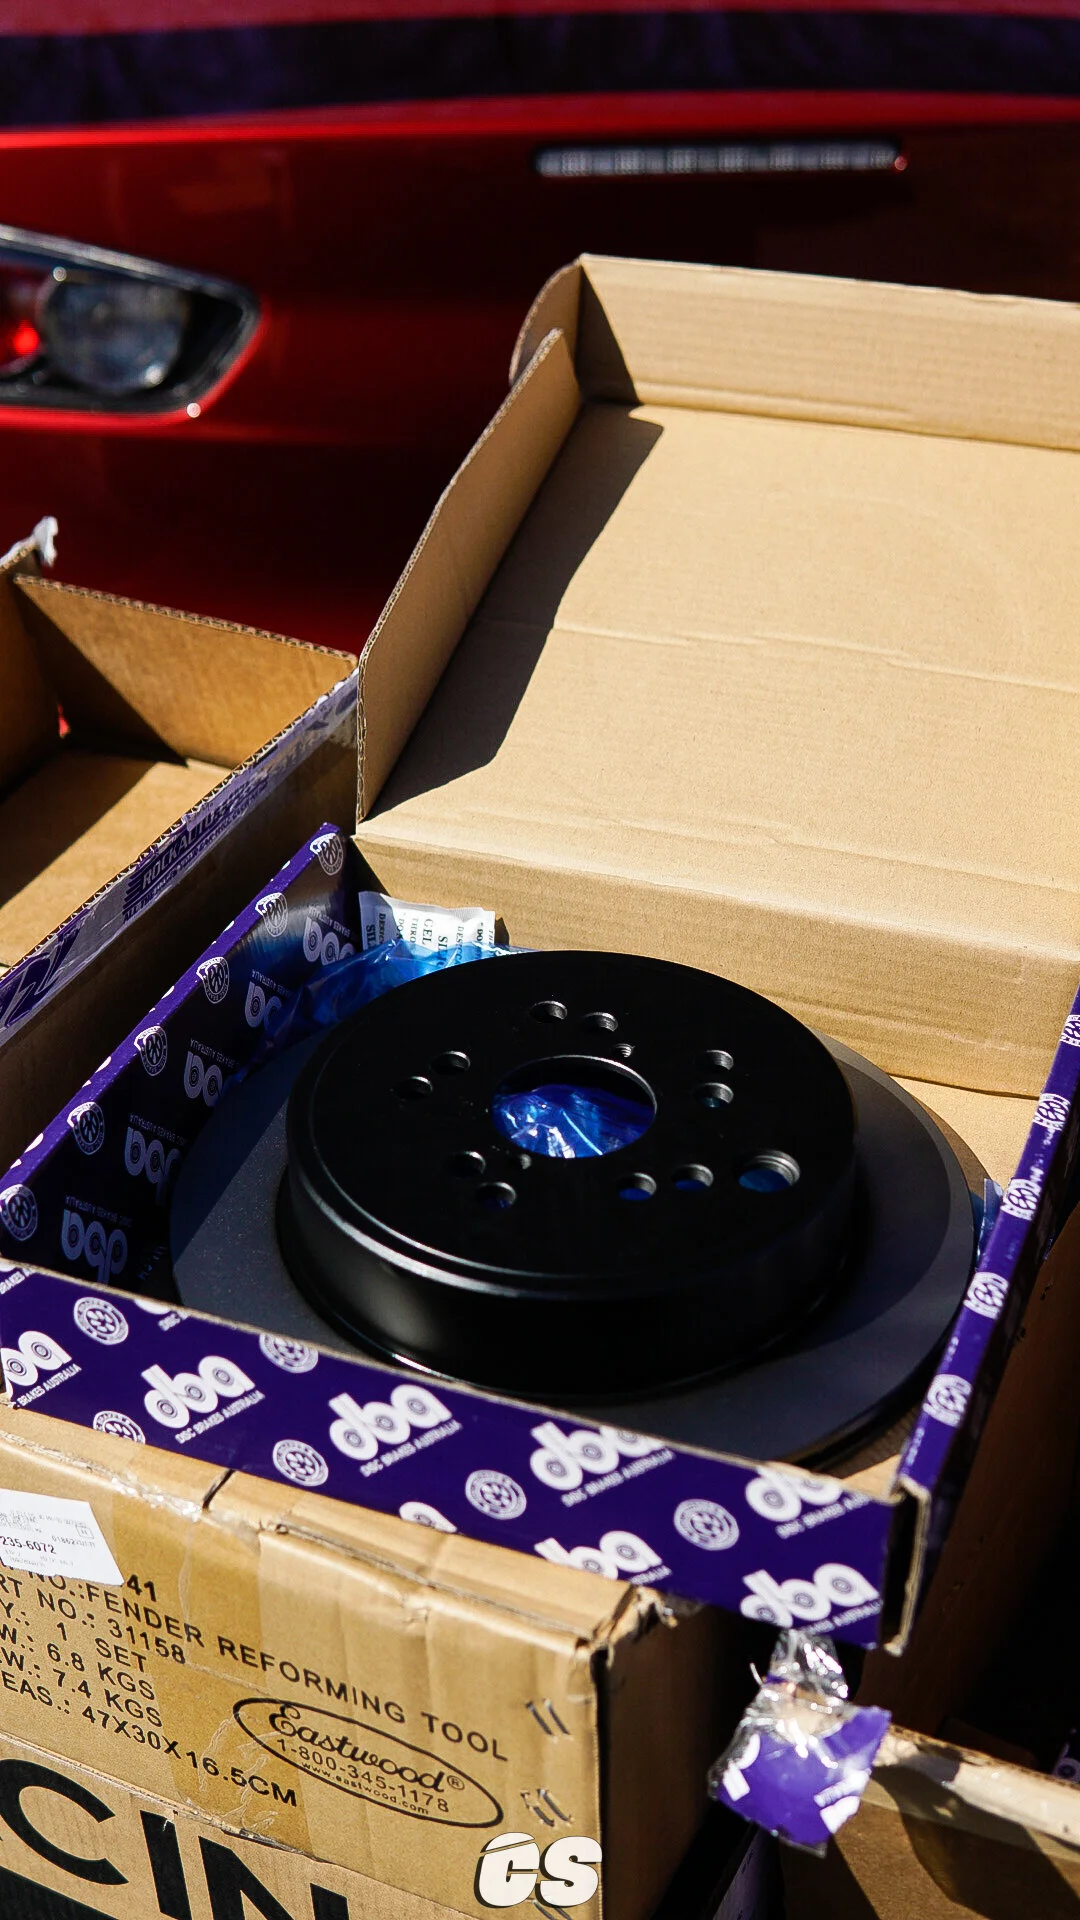
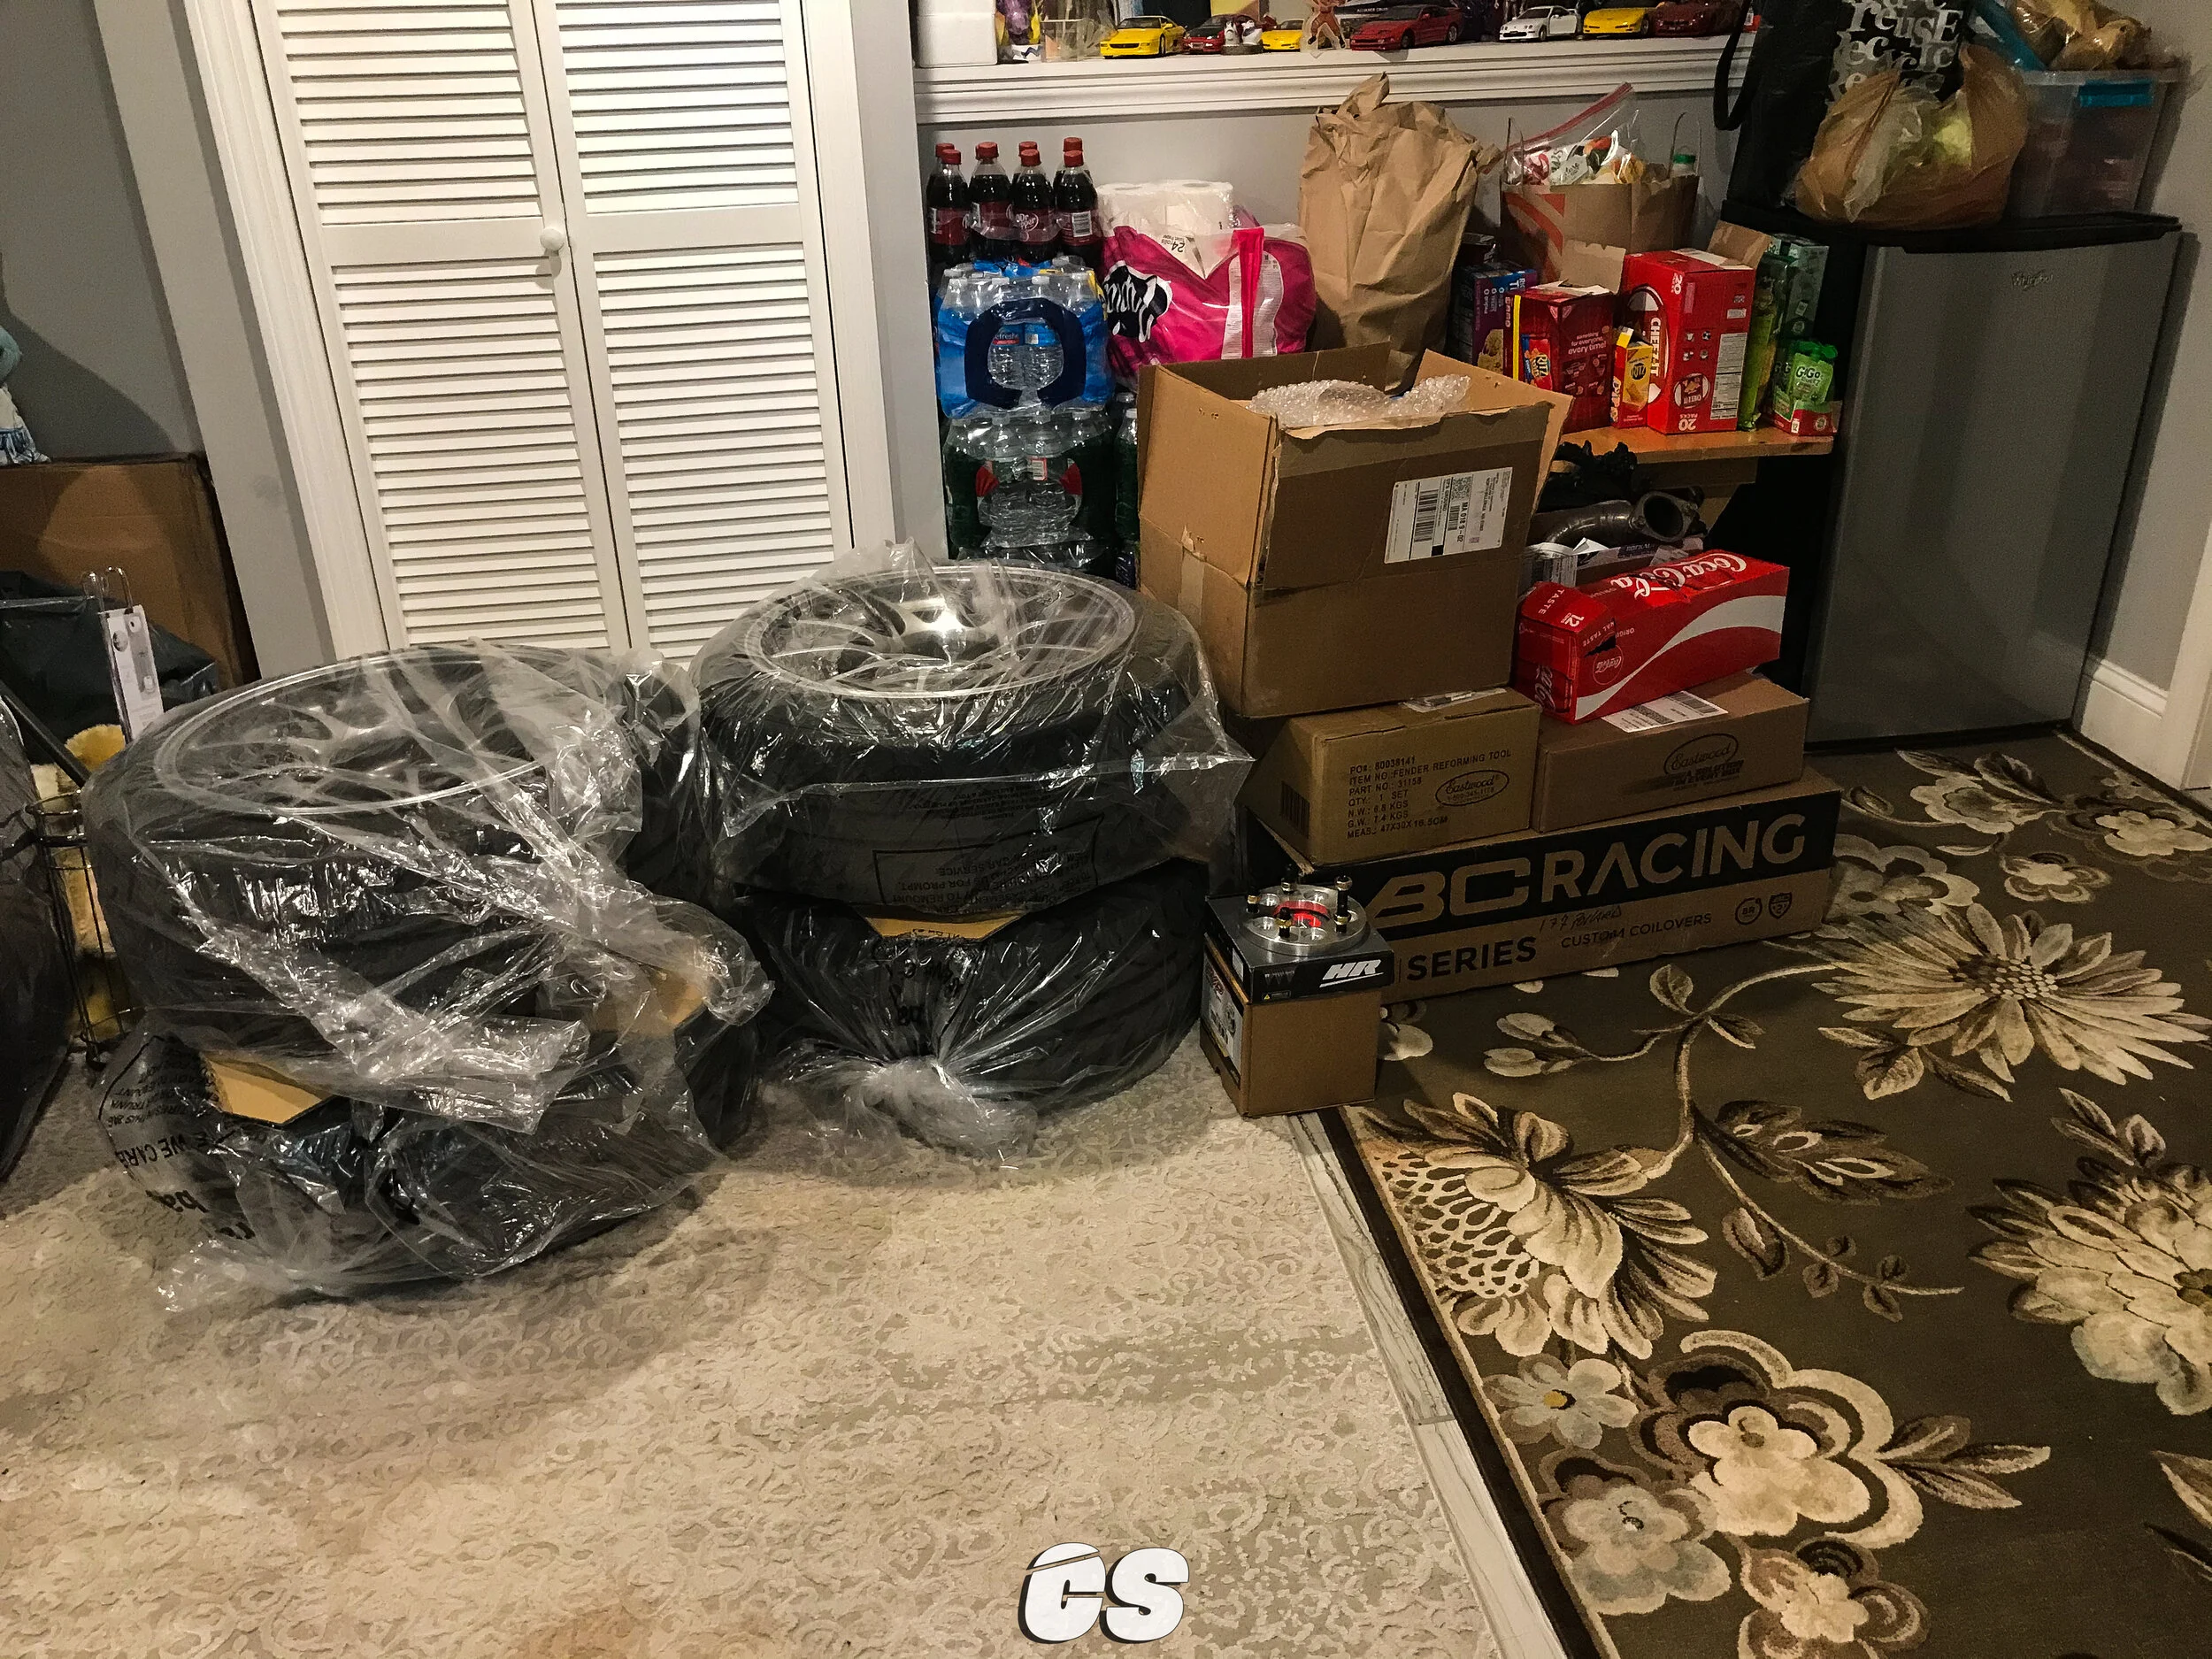
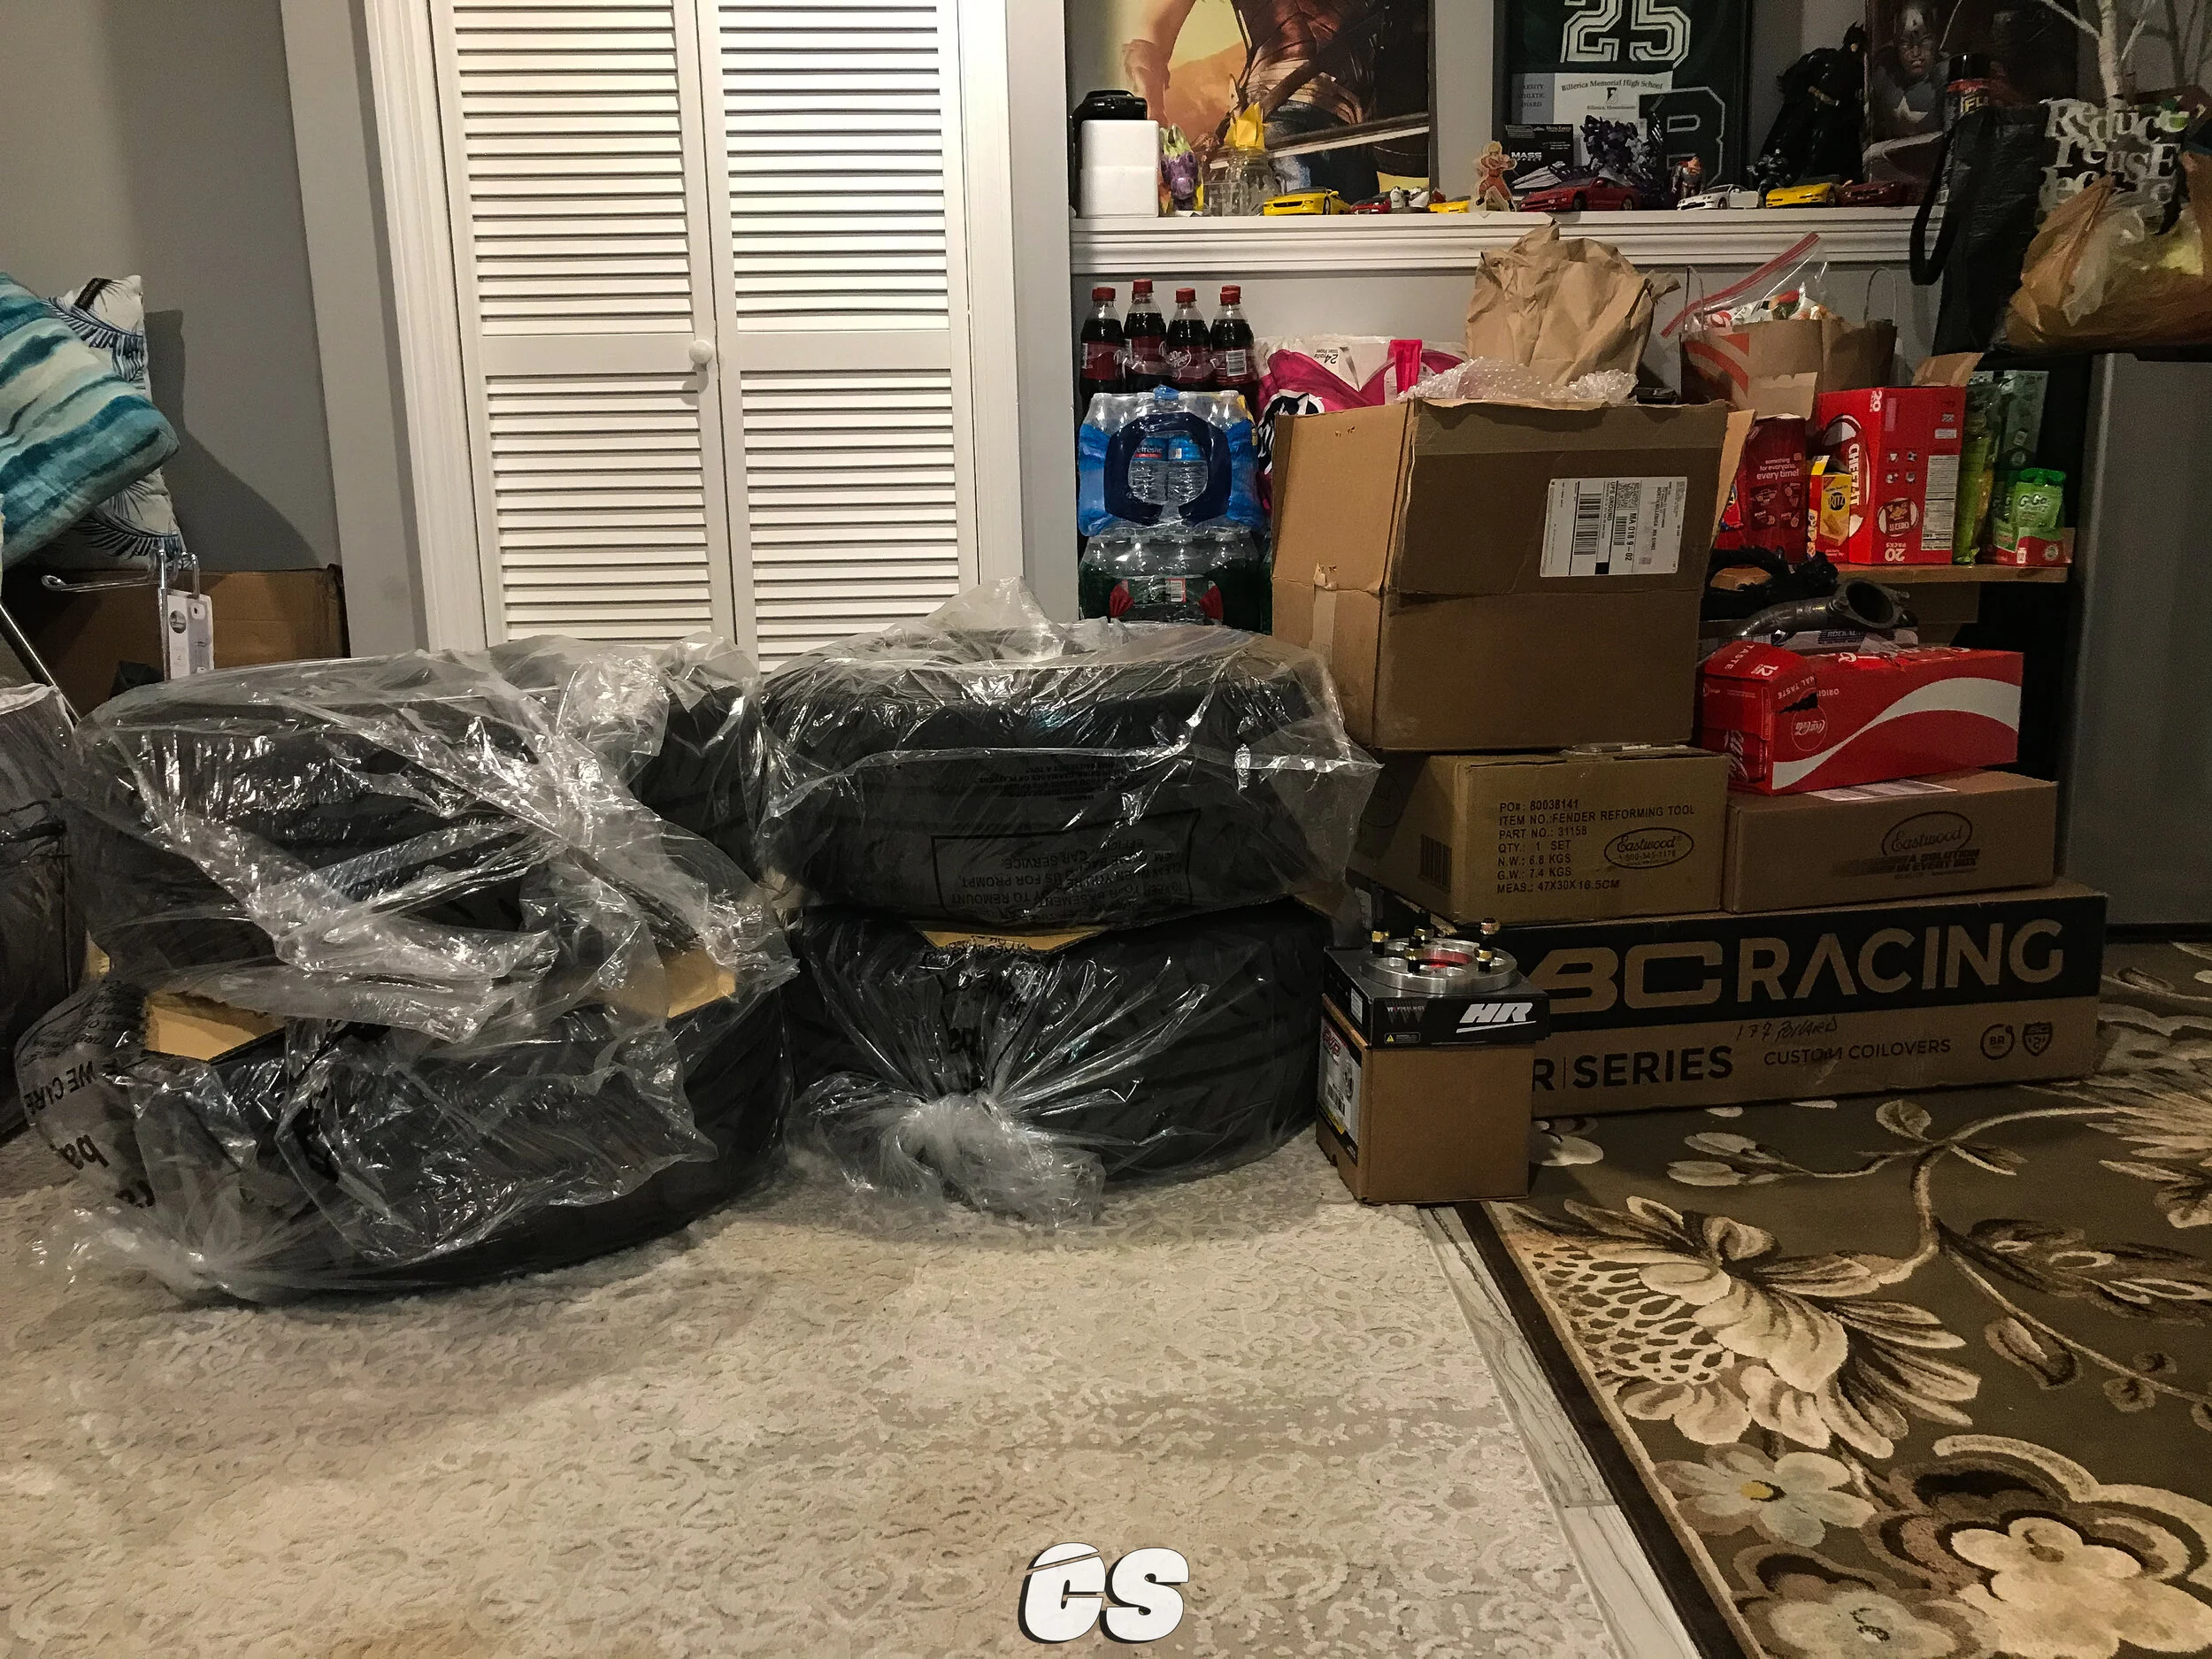
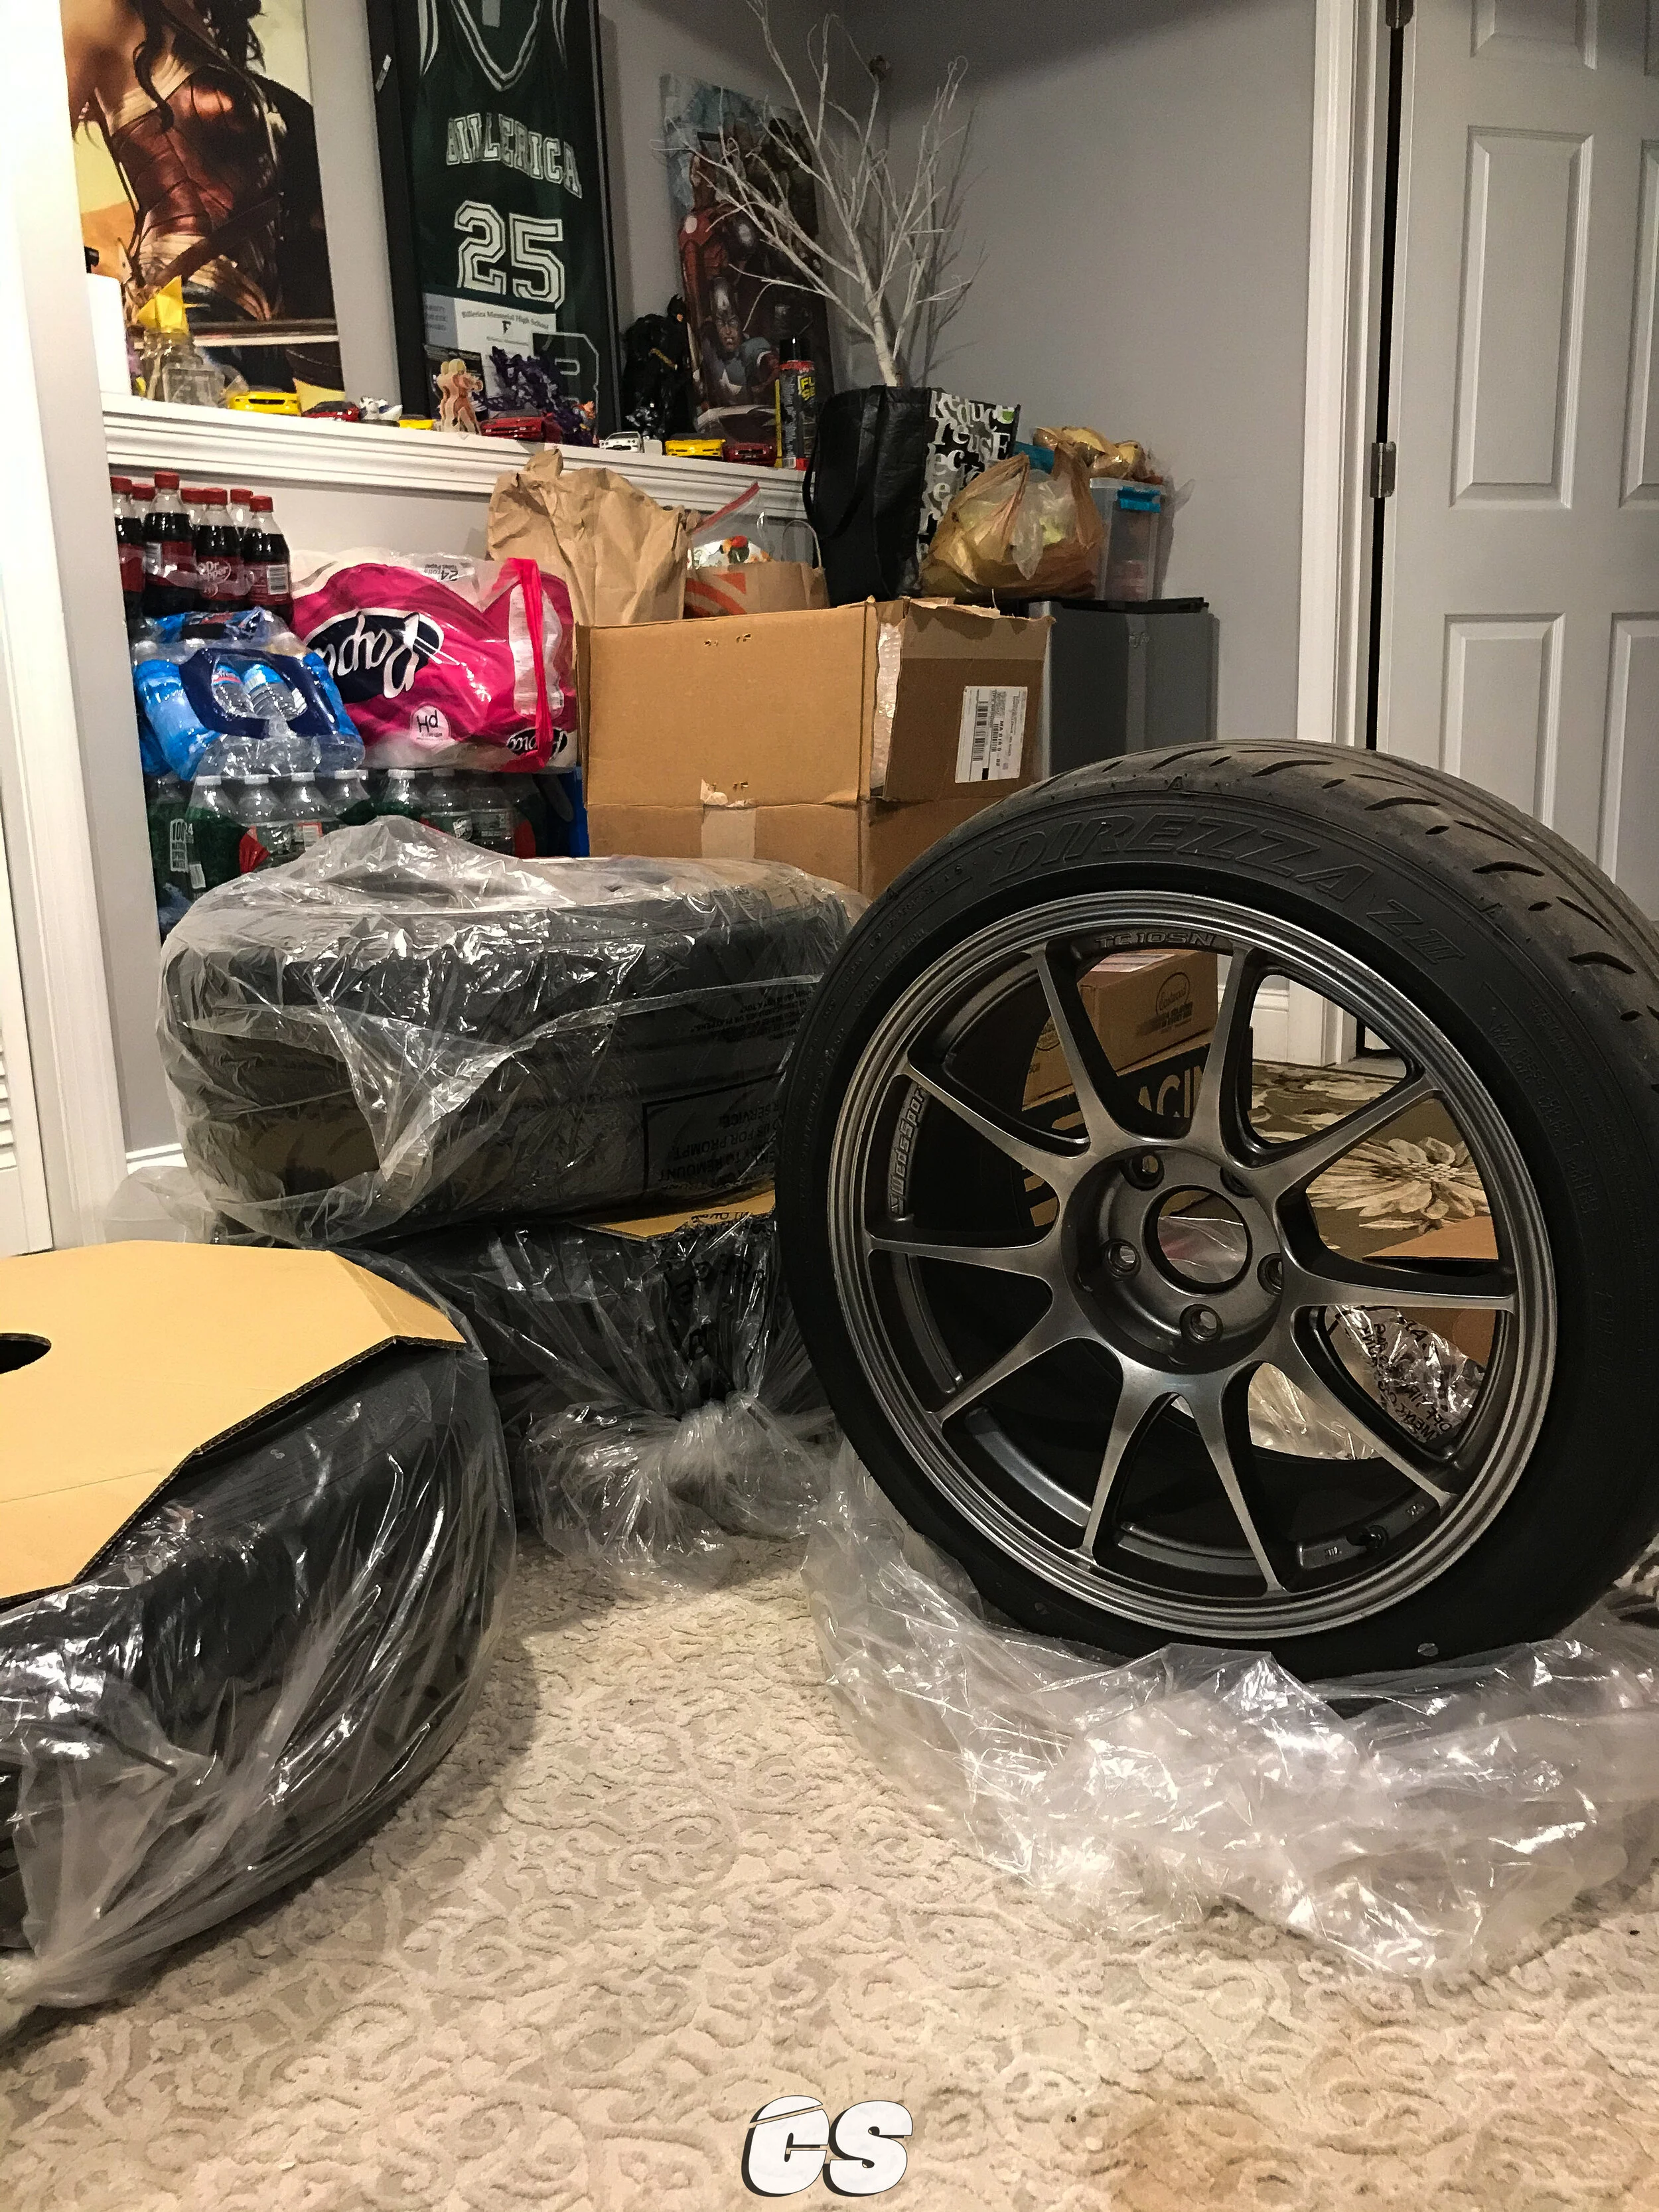
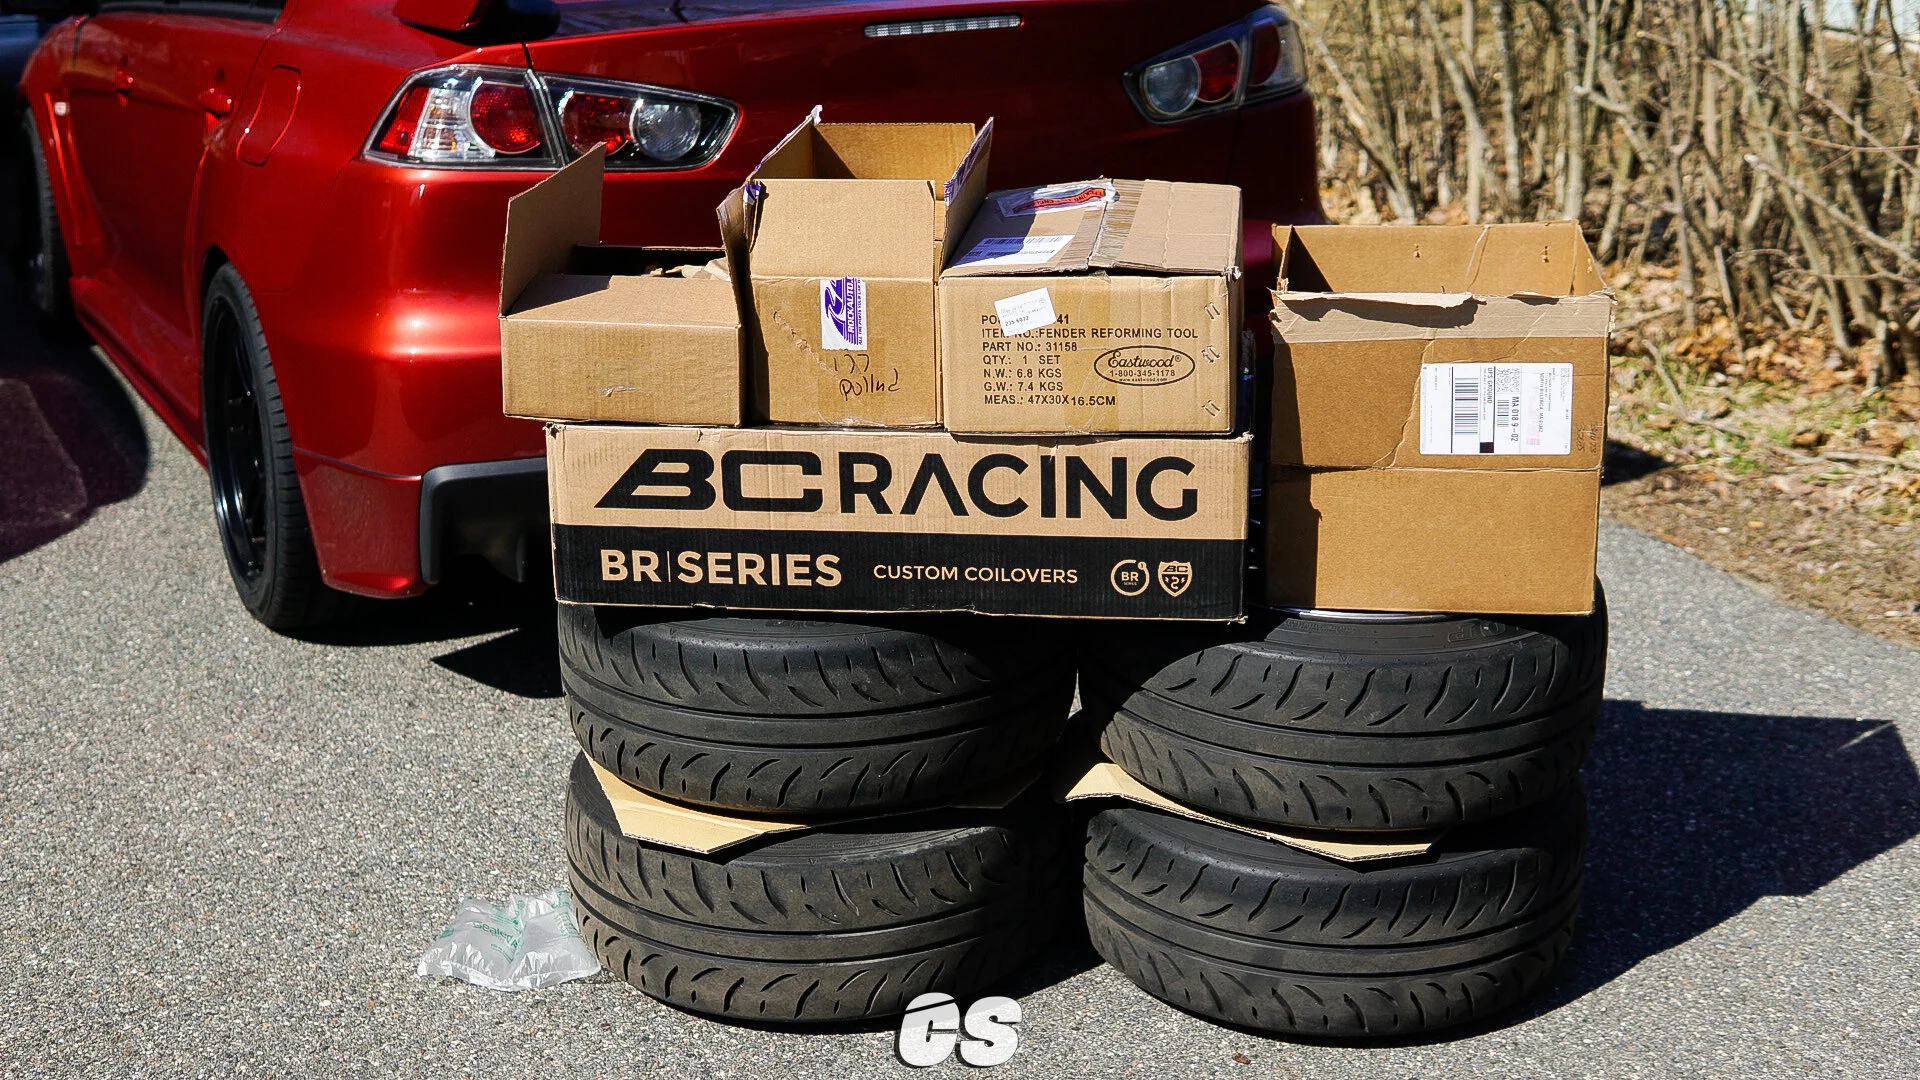
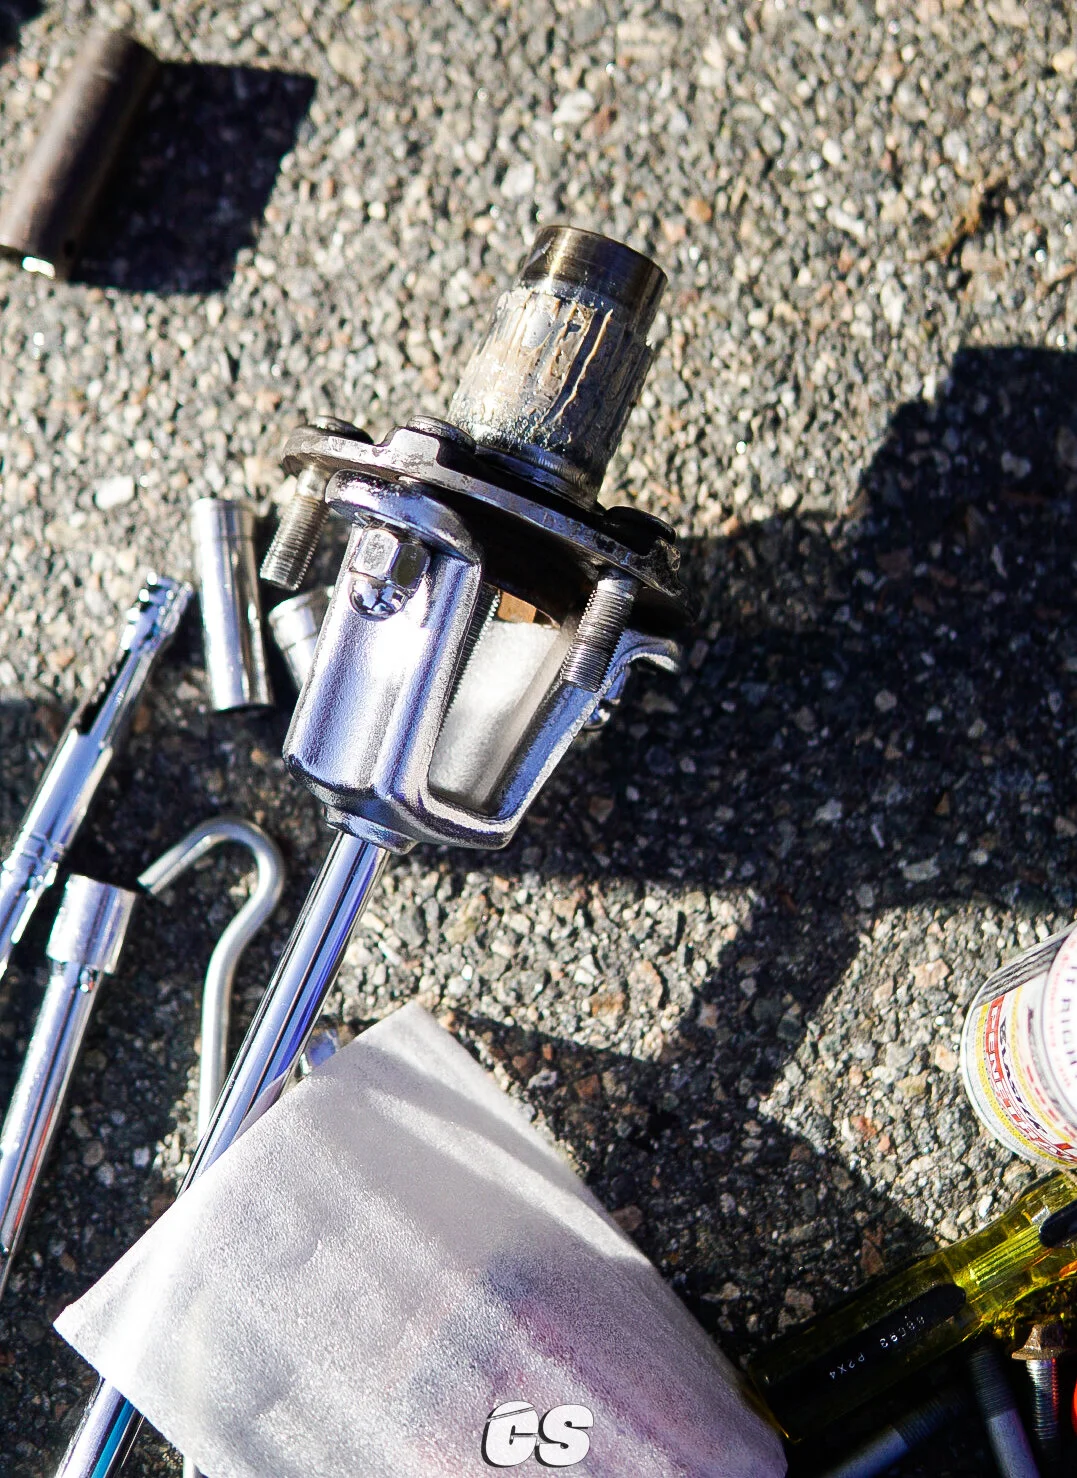
There’s nothing like a good unboxing—coilovers, rotors, and conversion hubs were just a few of the goodies inside. It wasn’t everything I wanted to do in the first wave, but it was a decent start. Here is a link with a detailed D.I.Y guide for anyone who wants to learn. 5x114 Conversion

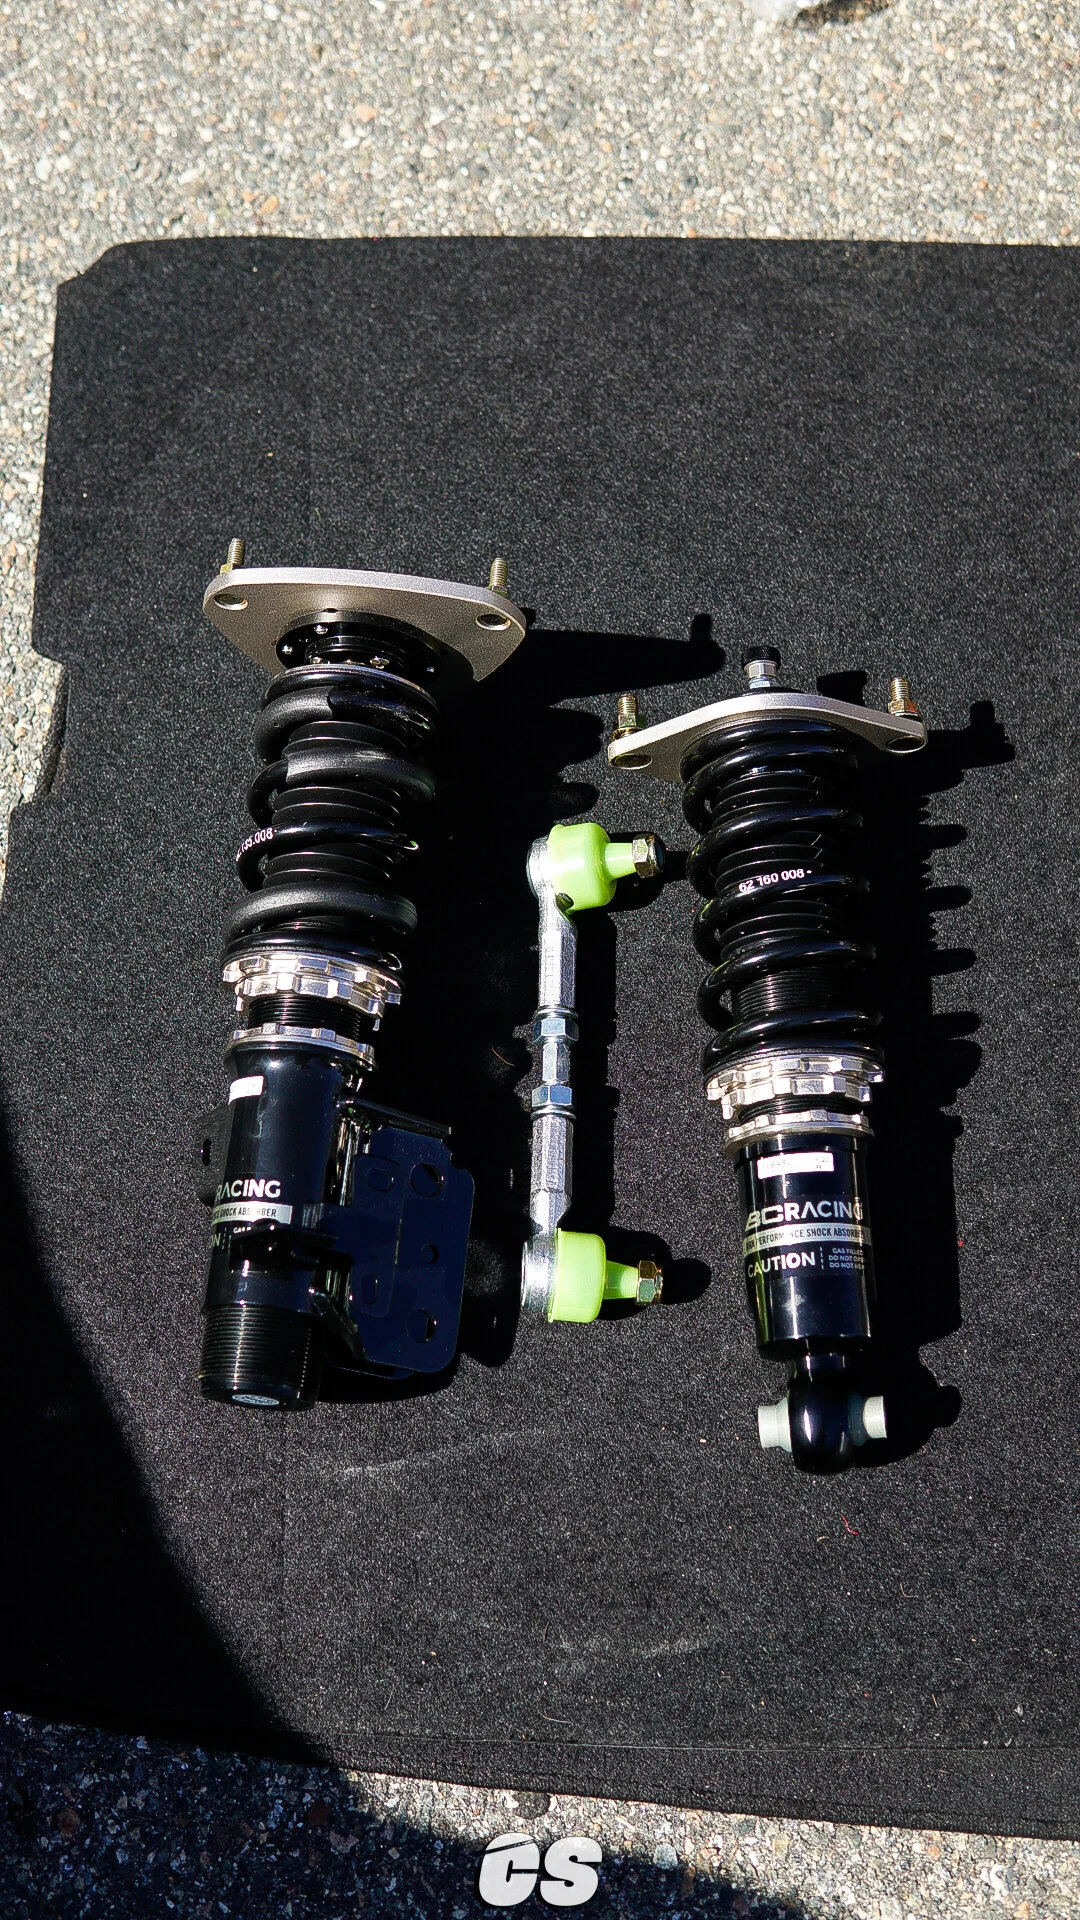
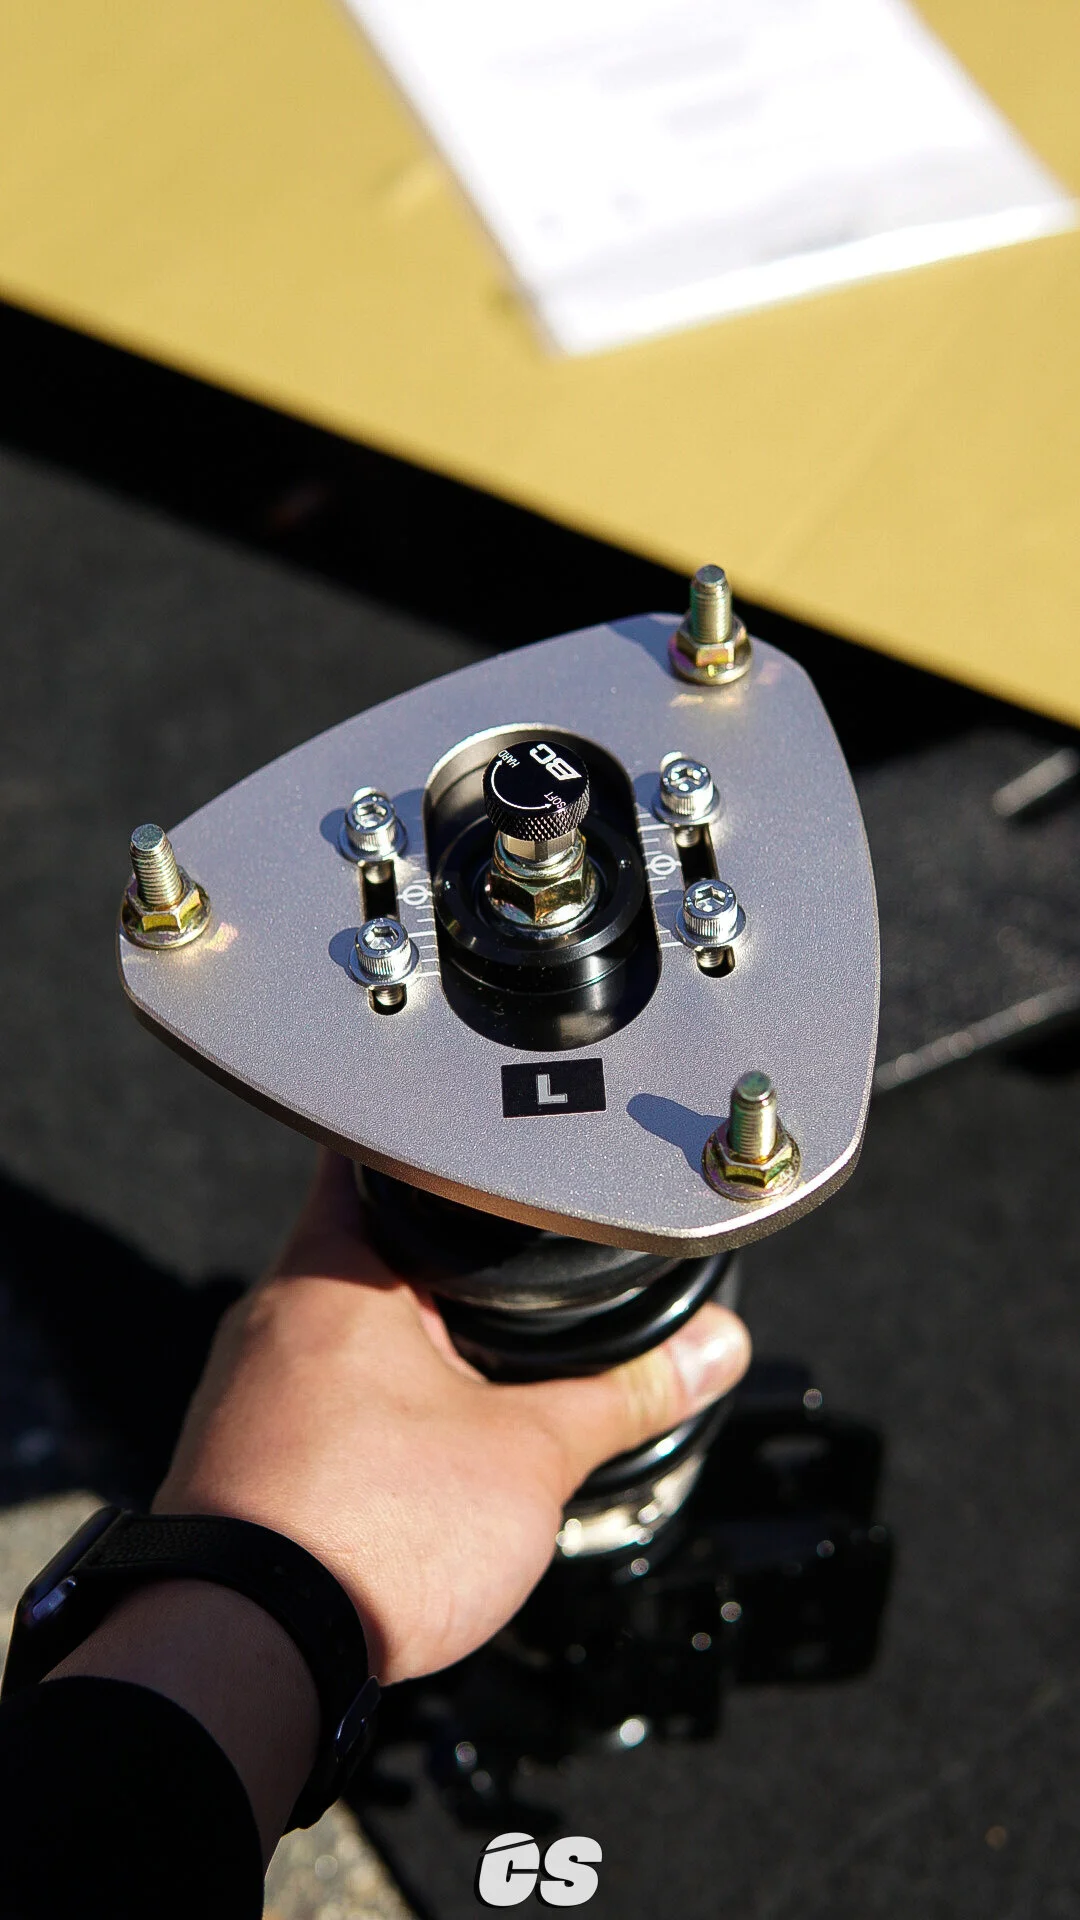
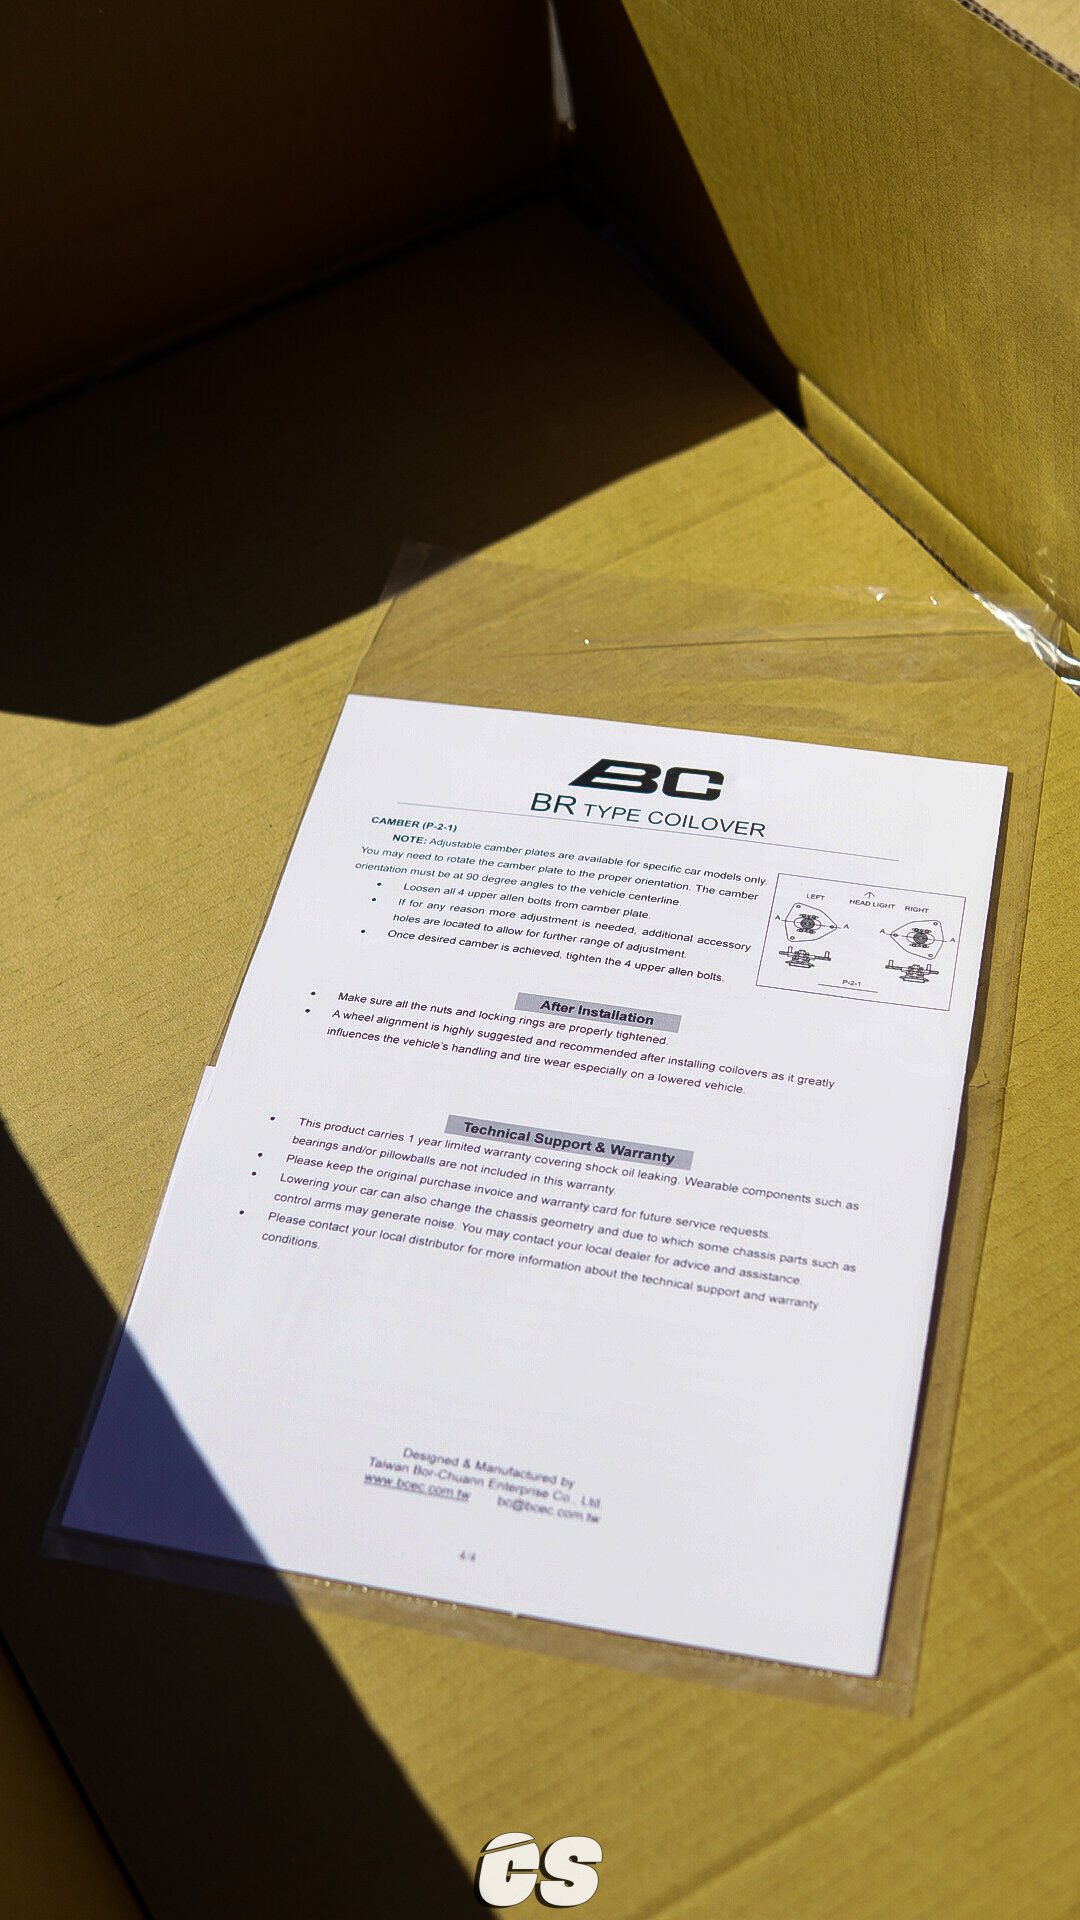
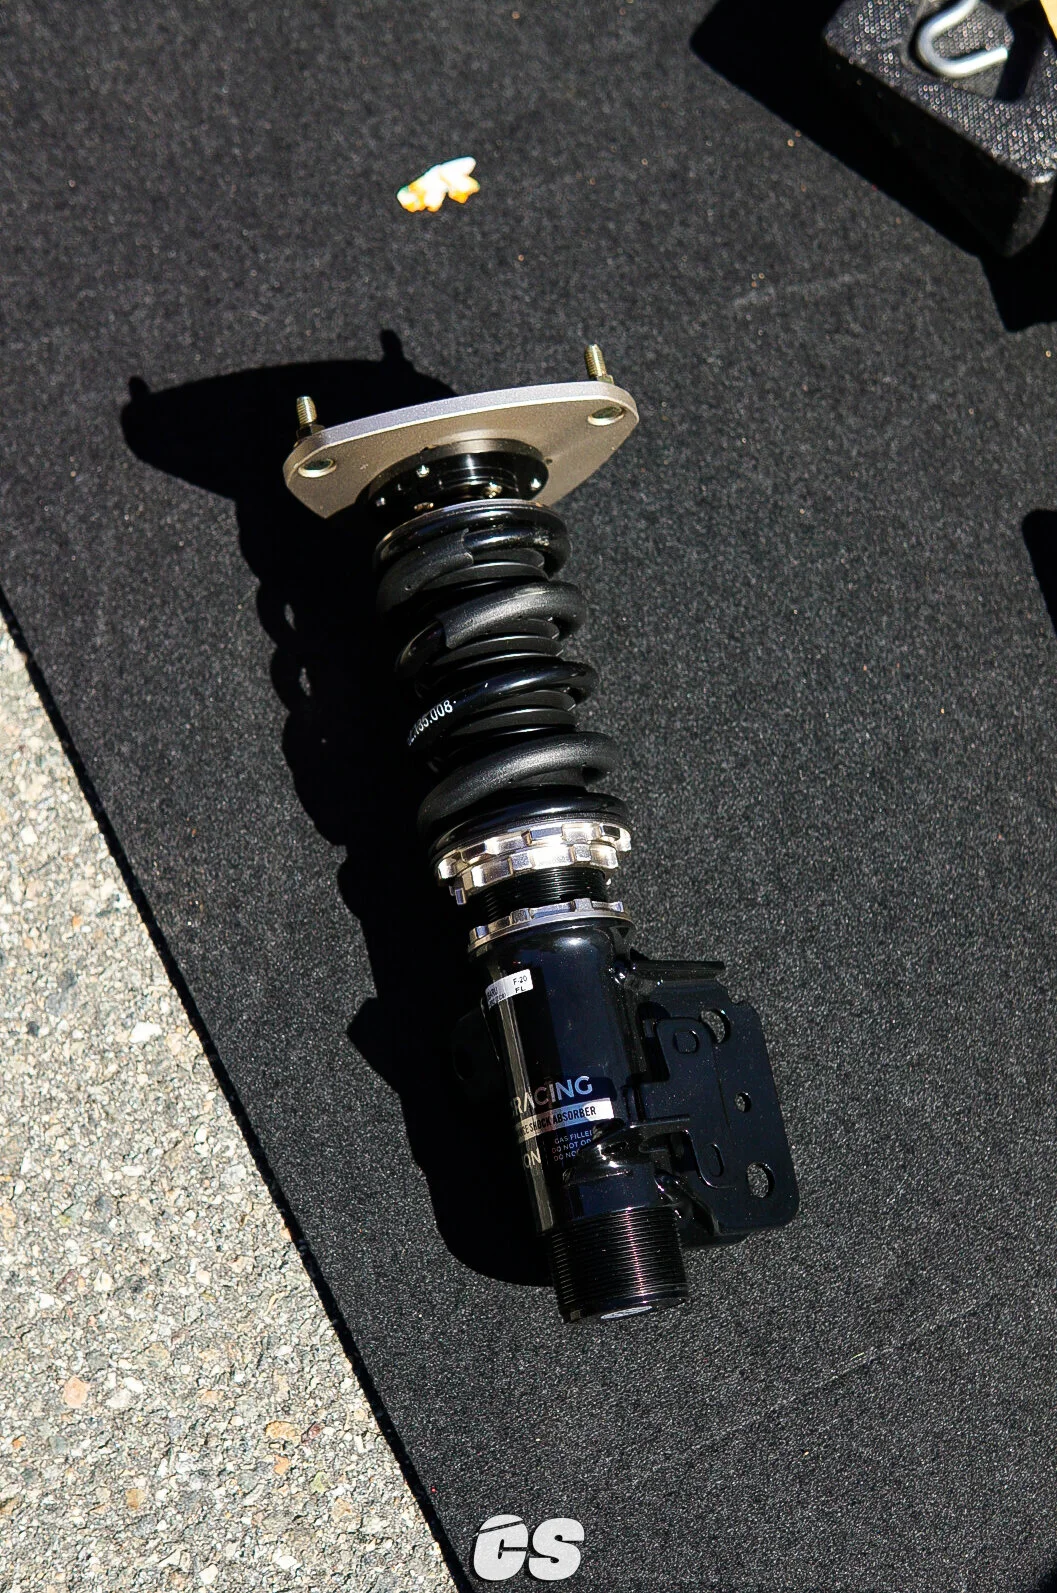
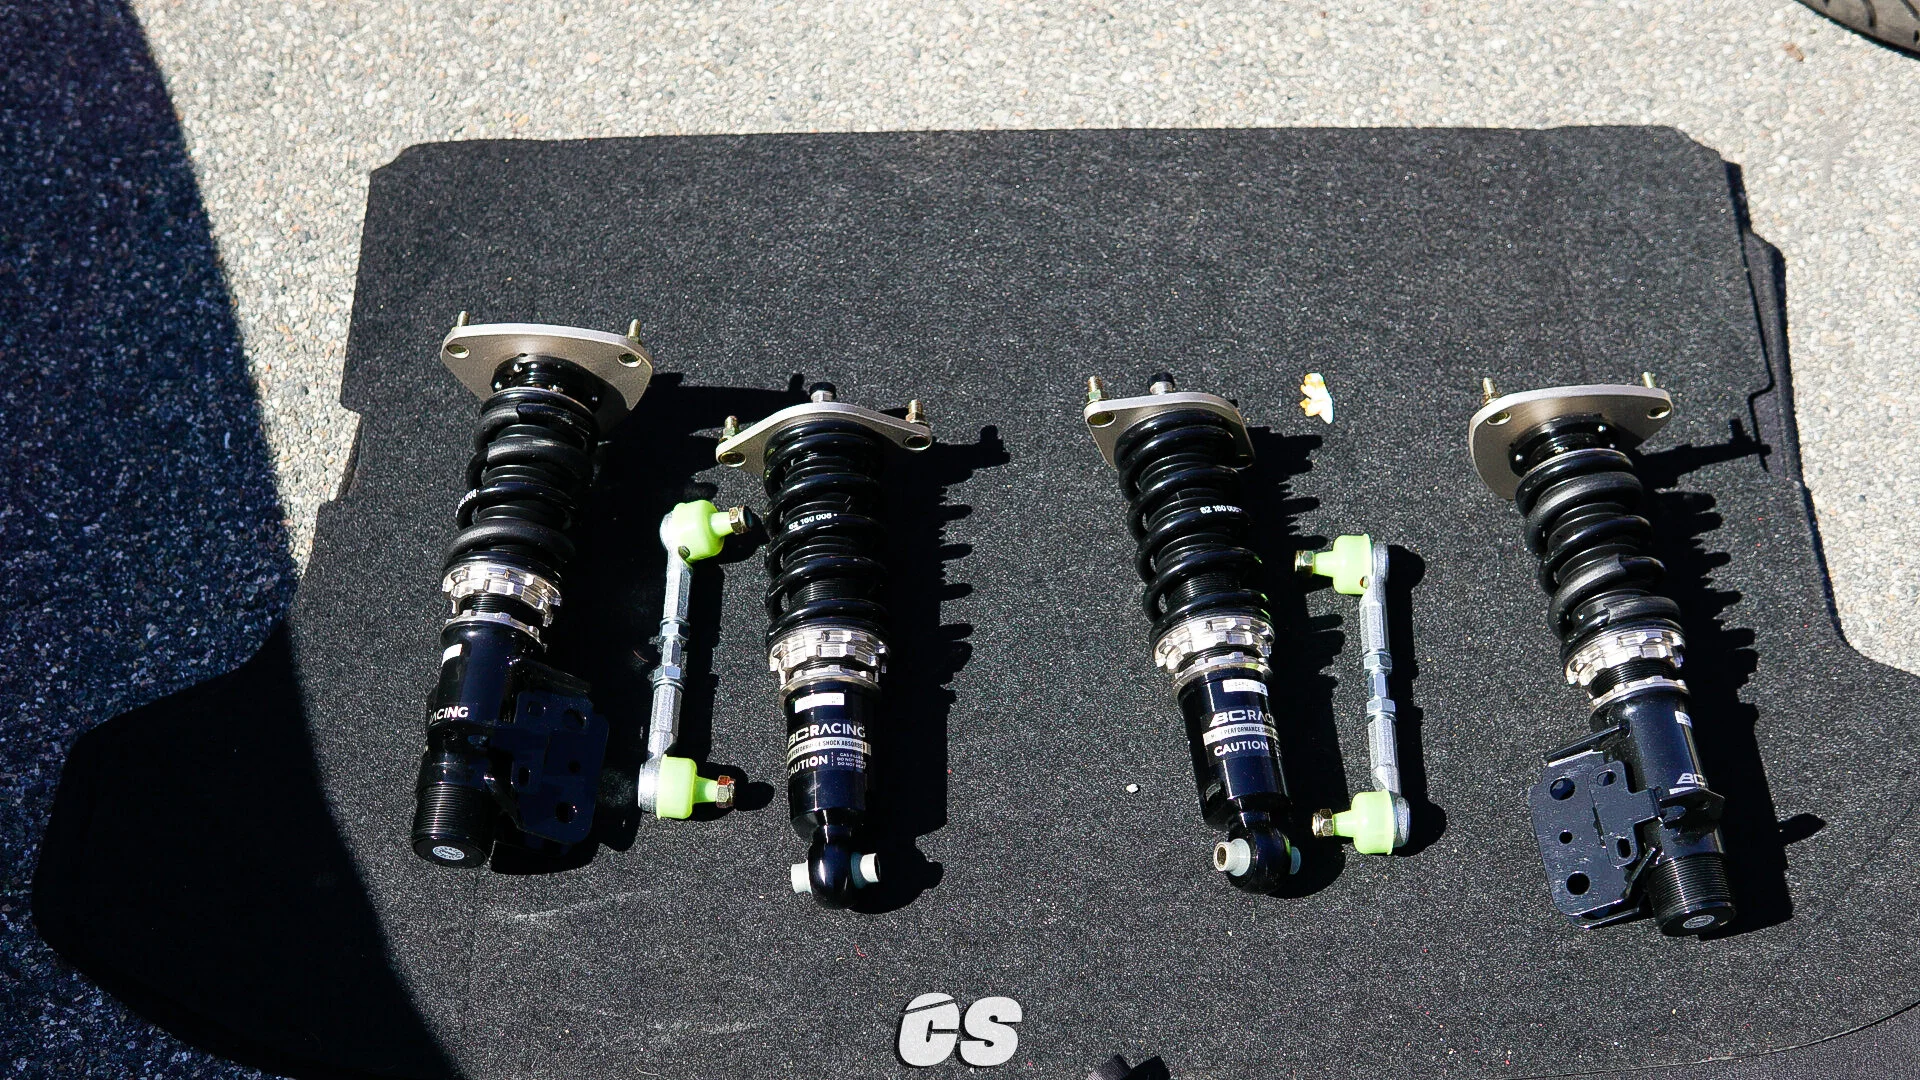
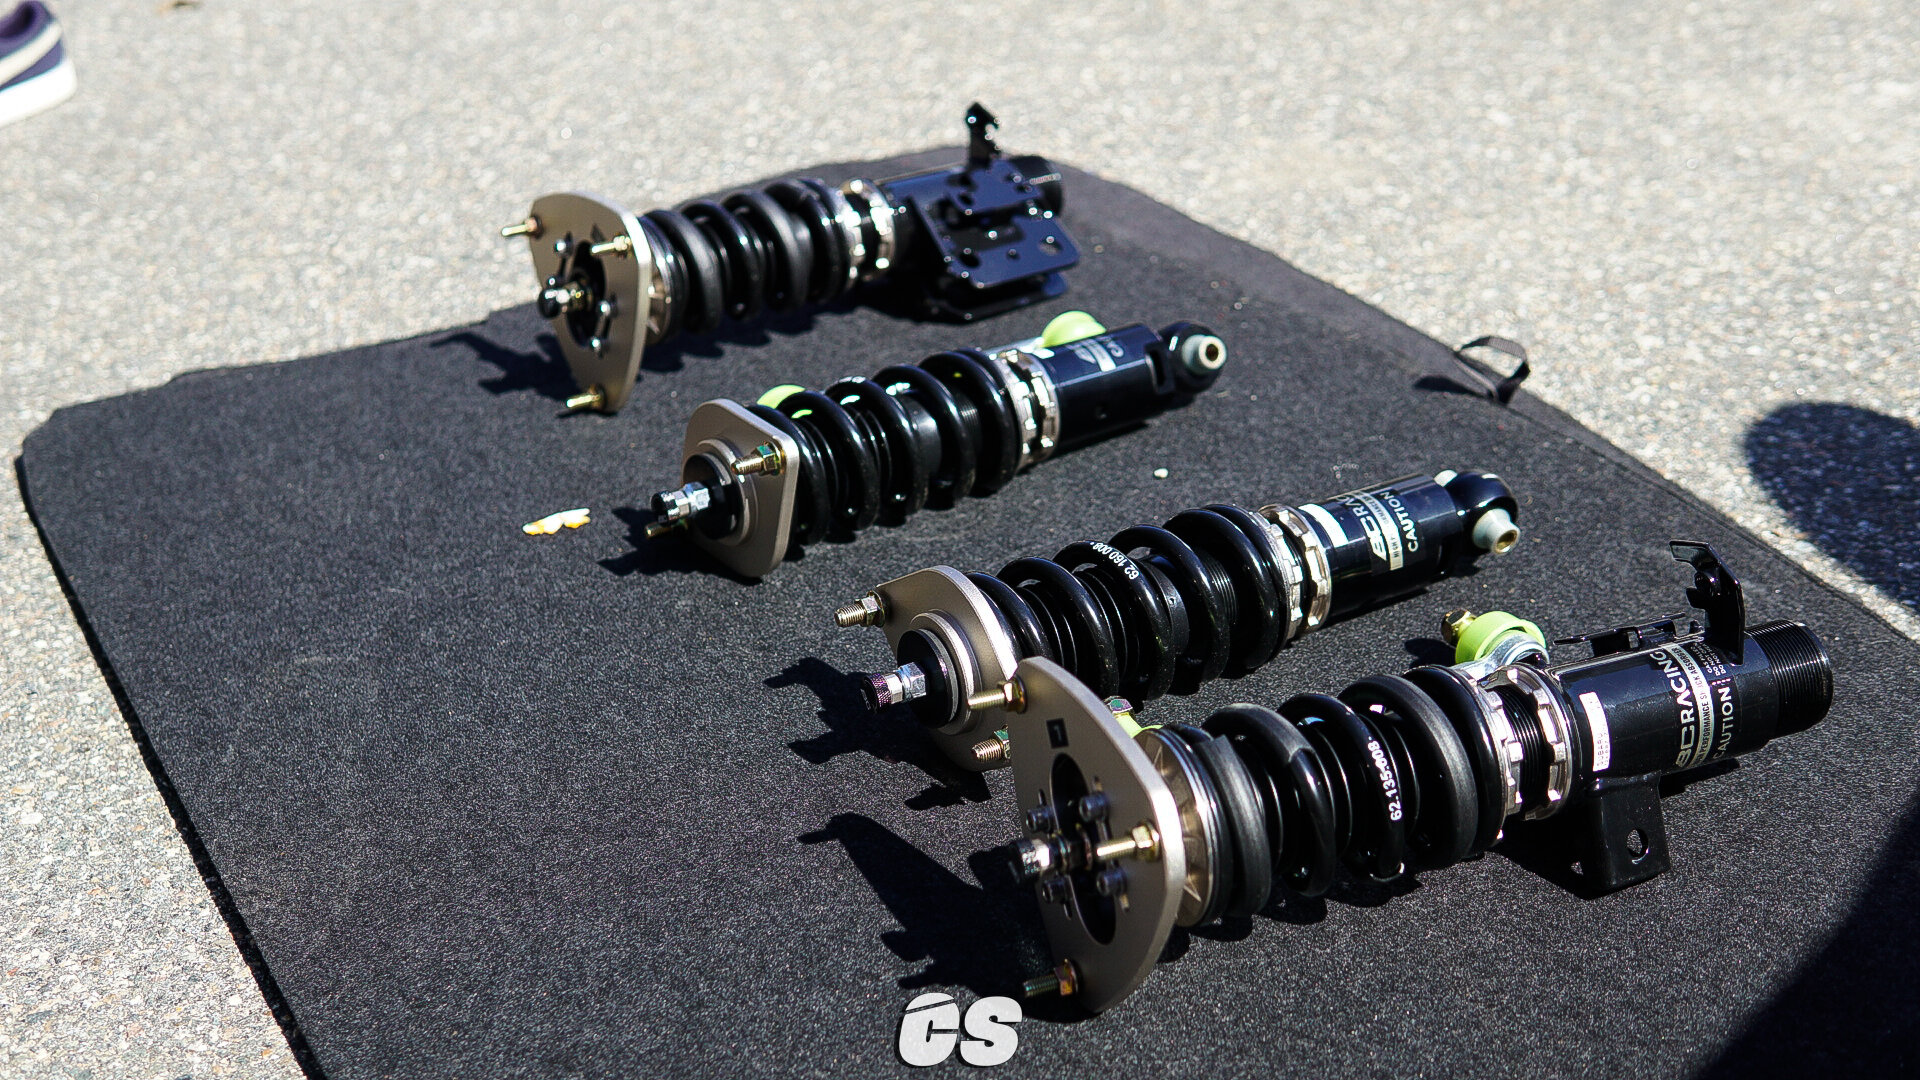
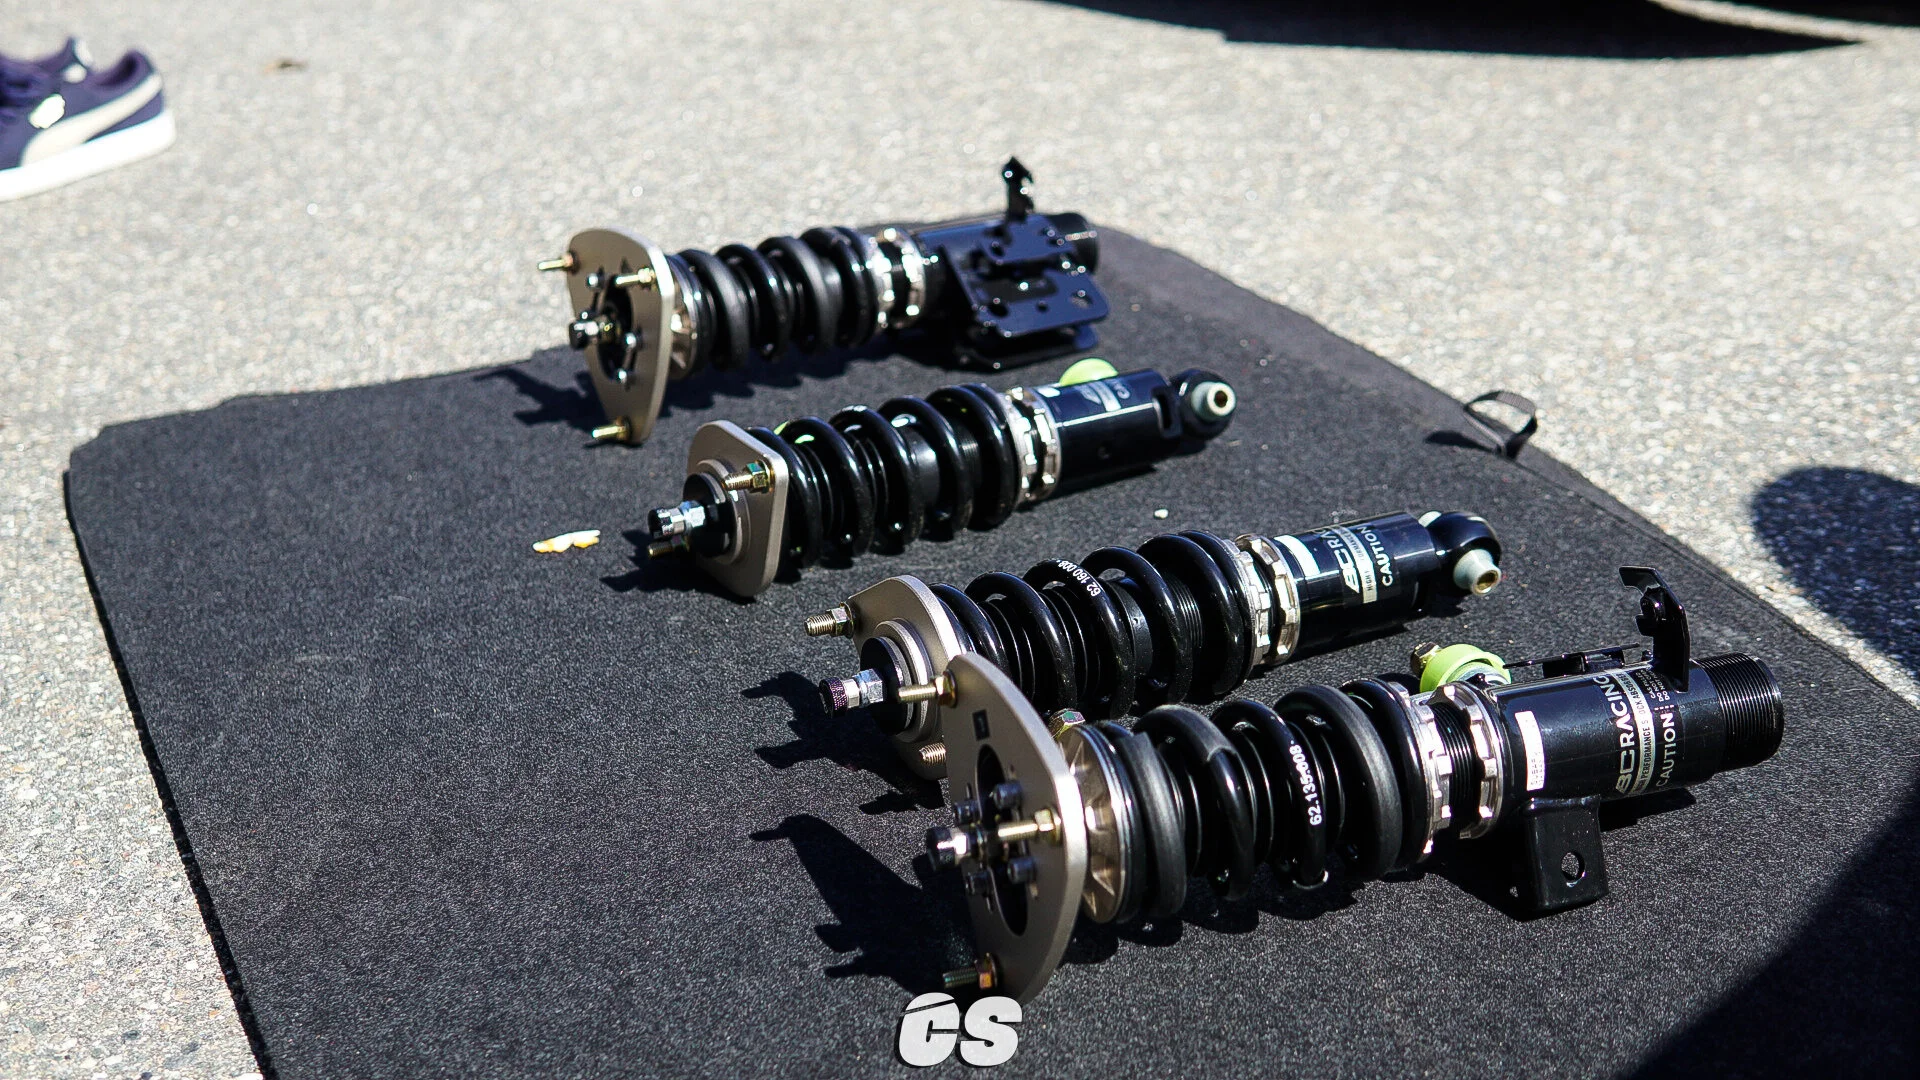
The market is flooded with countless coilover options that accommodate all kinds of budgets. With the limitless options available, I had to narrow it down to the following: price, quality, serviceability, and, of course, functionality while retaining the shortest strut possible. The BC Racing BR Type Extreme Low coilover system was the only way to go for me. I would recommend checking out the BC Racing website for anyone looking for technical data. The guys over at OEM Plus, LLC. supplied the coilovers, the Whiteline roll center kit, and the Megan tie rods for a killer deal. Although they specialize in Honda tuning, I highly recommend OEM Plus, LLC. as a source for any OEM and aftermarket needs.


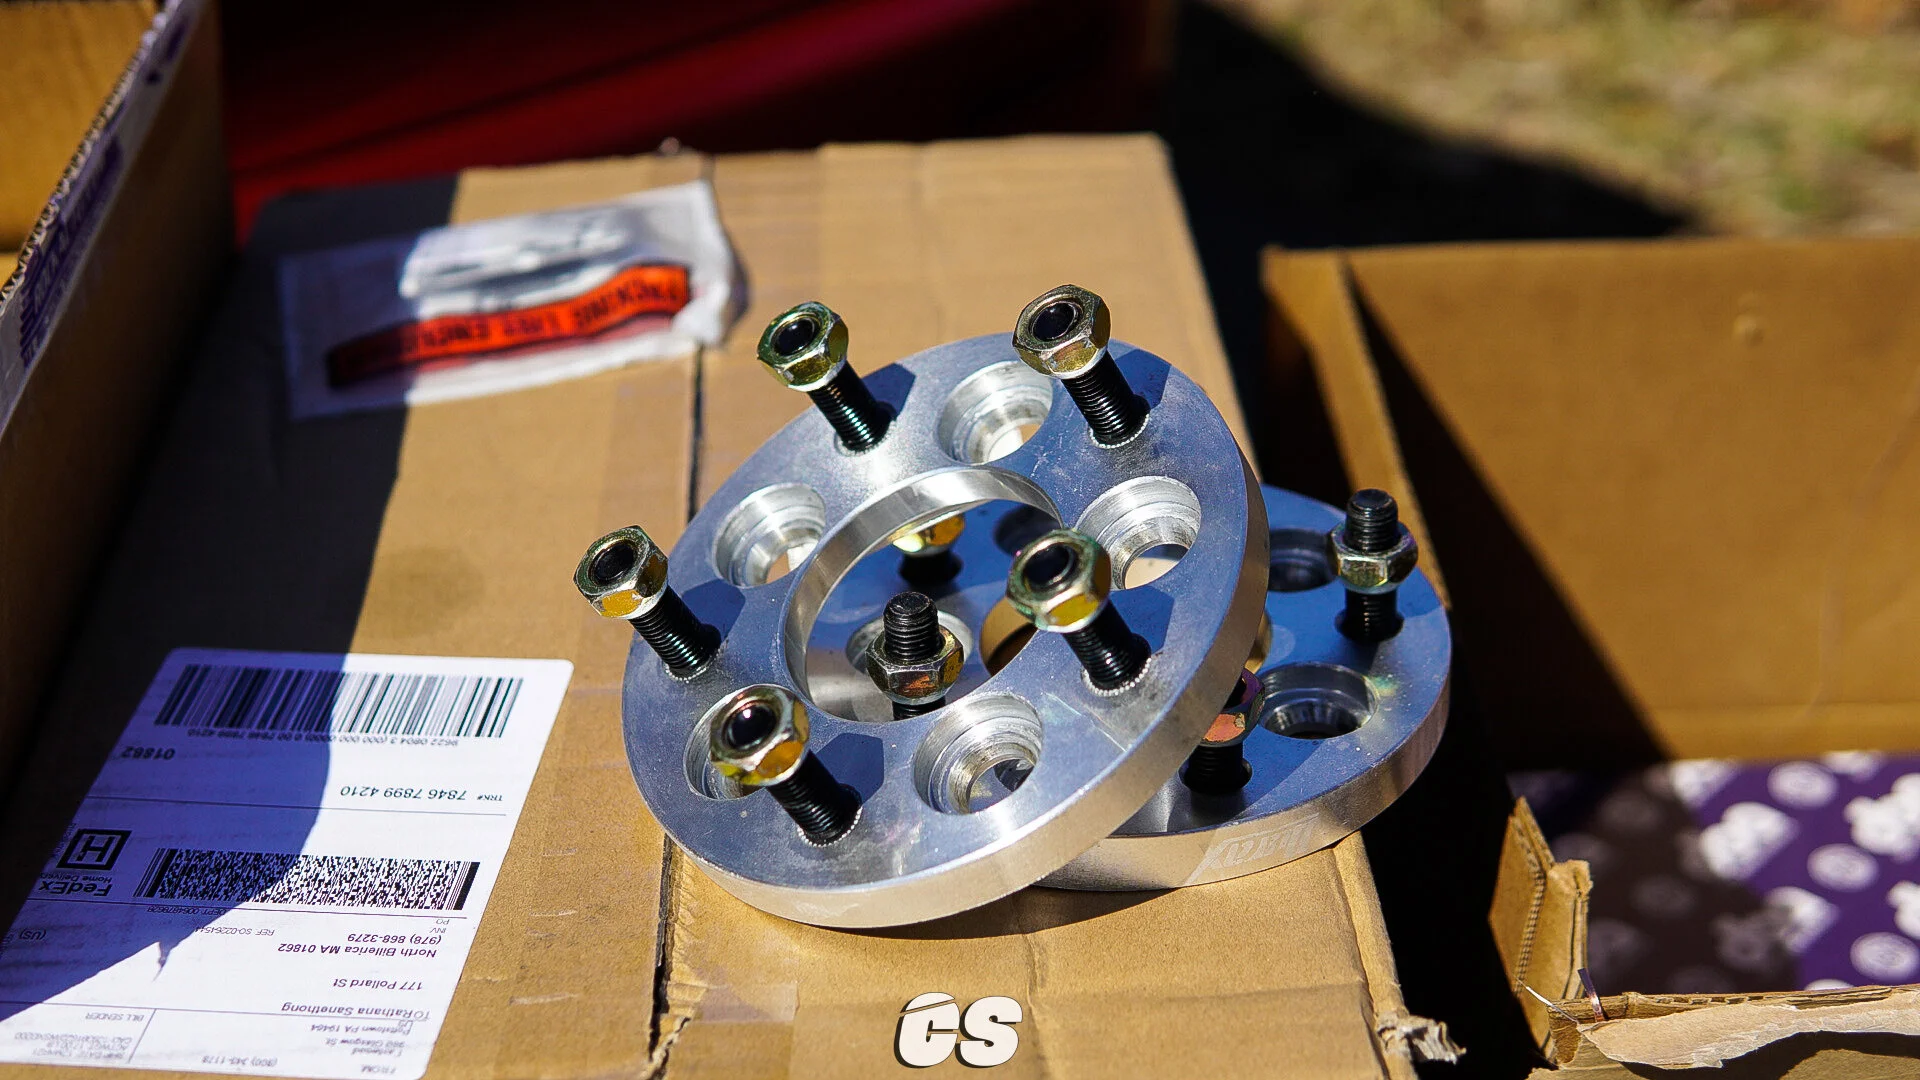
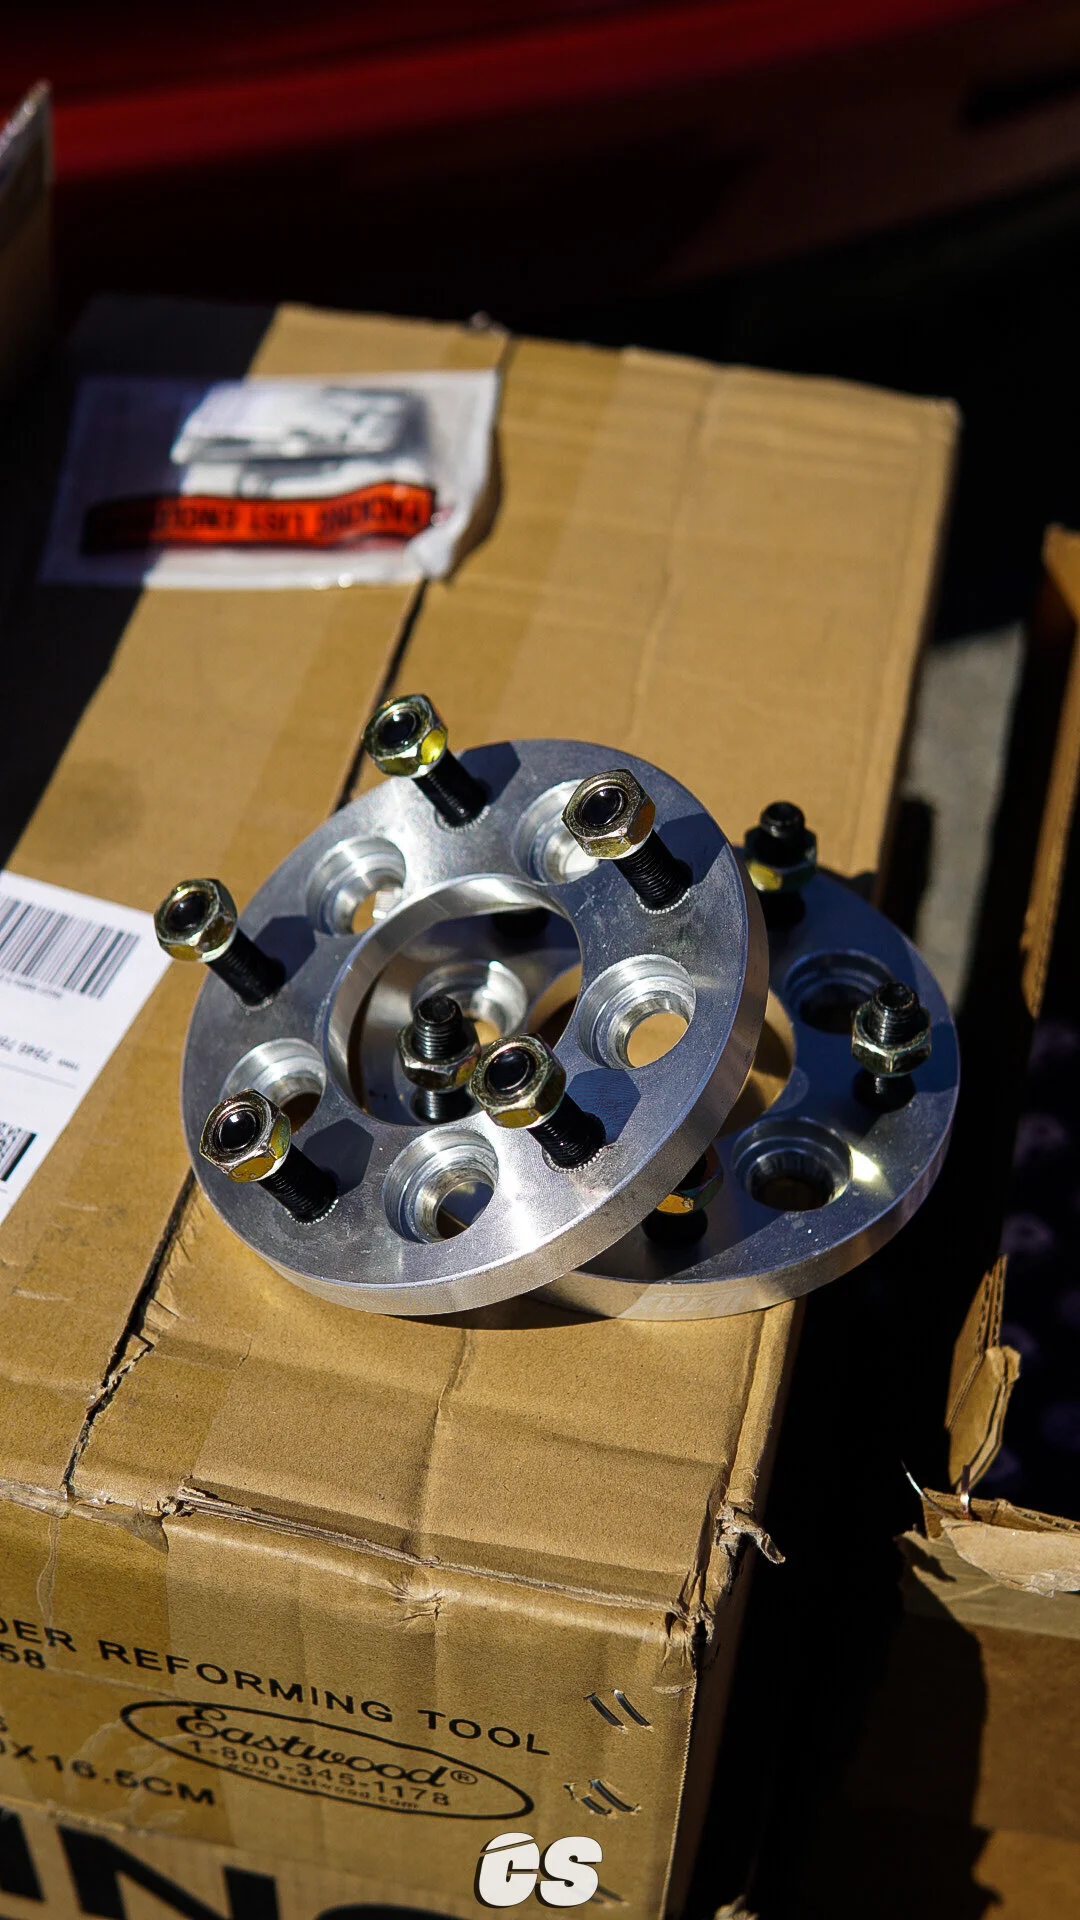
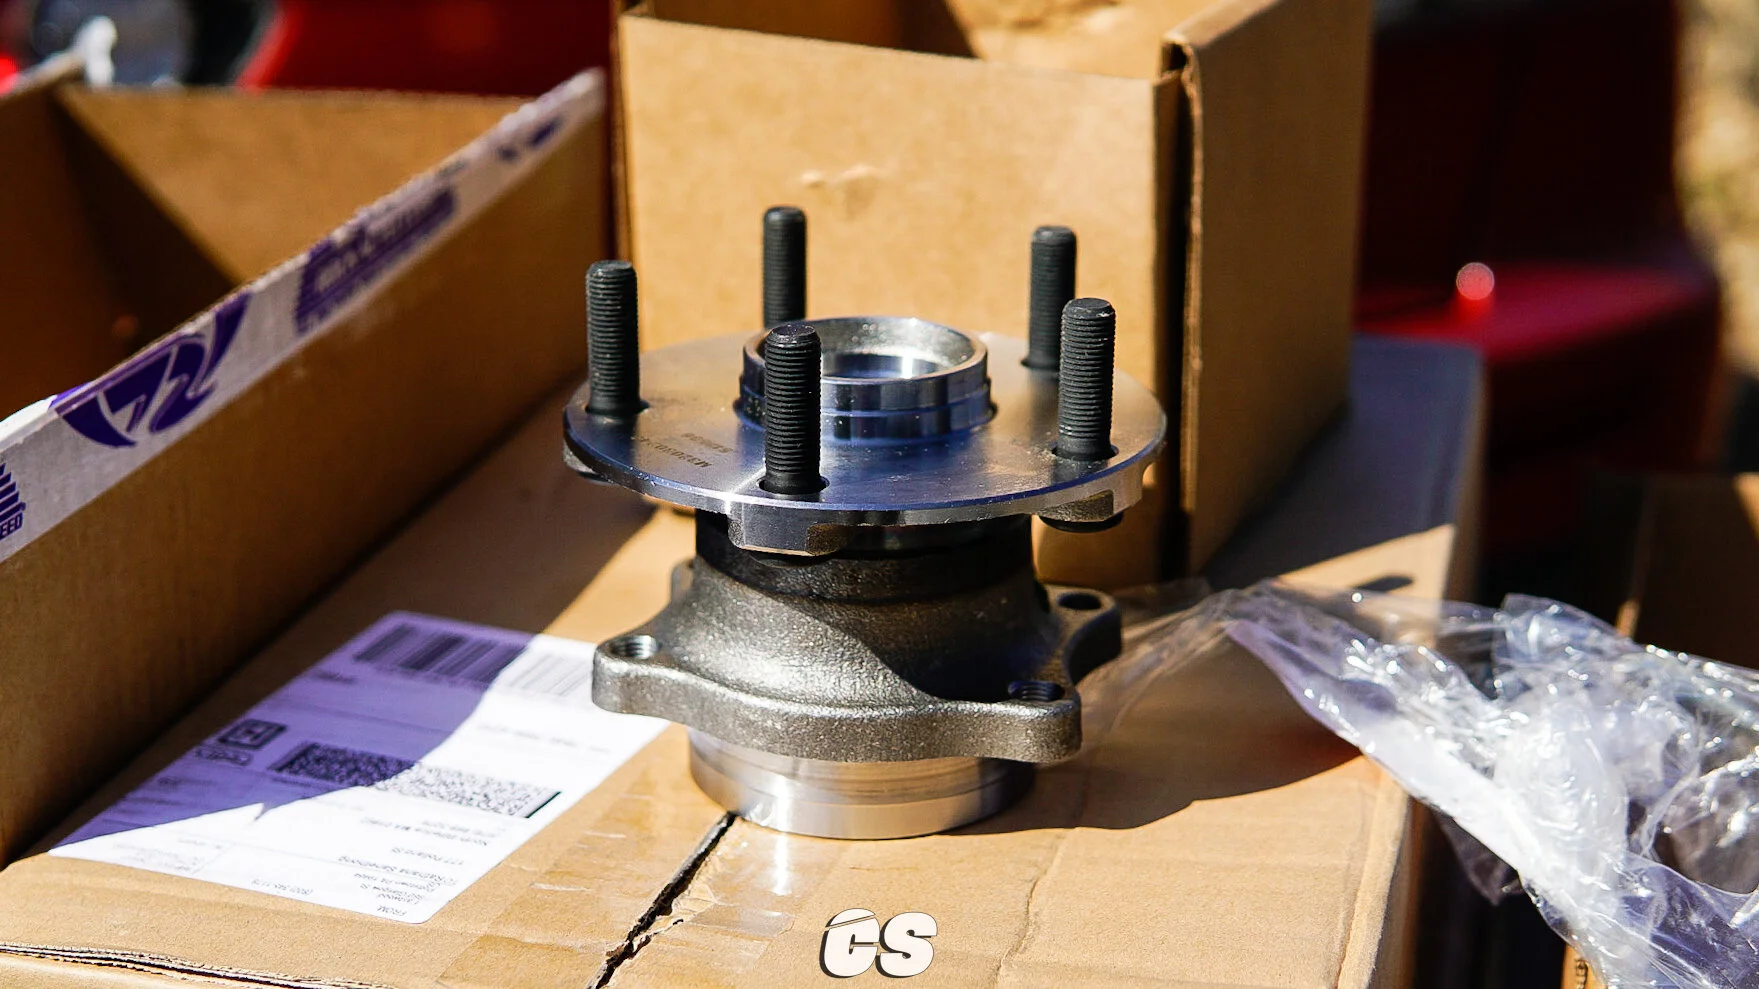
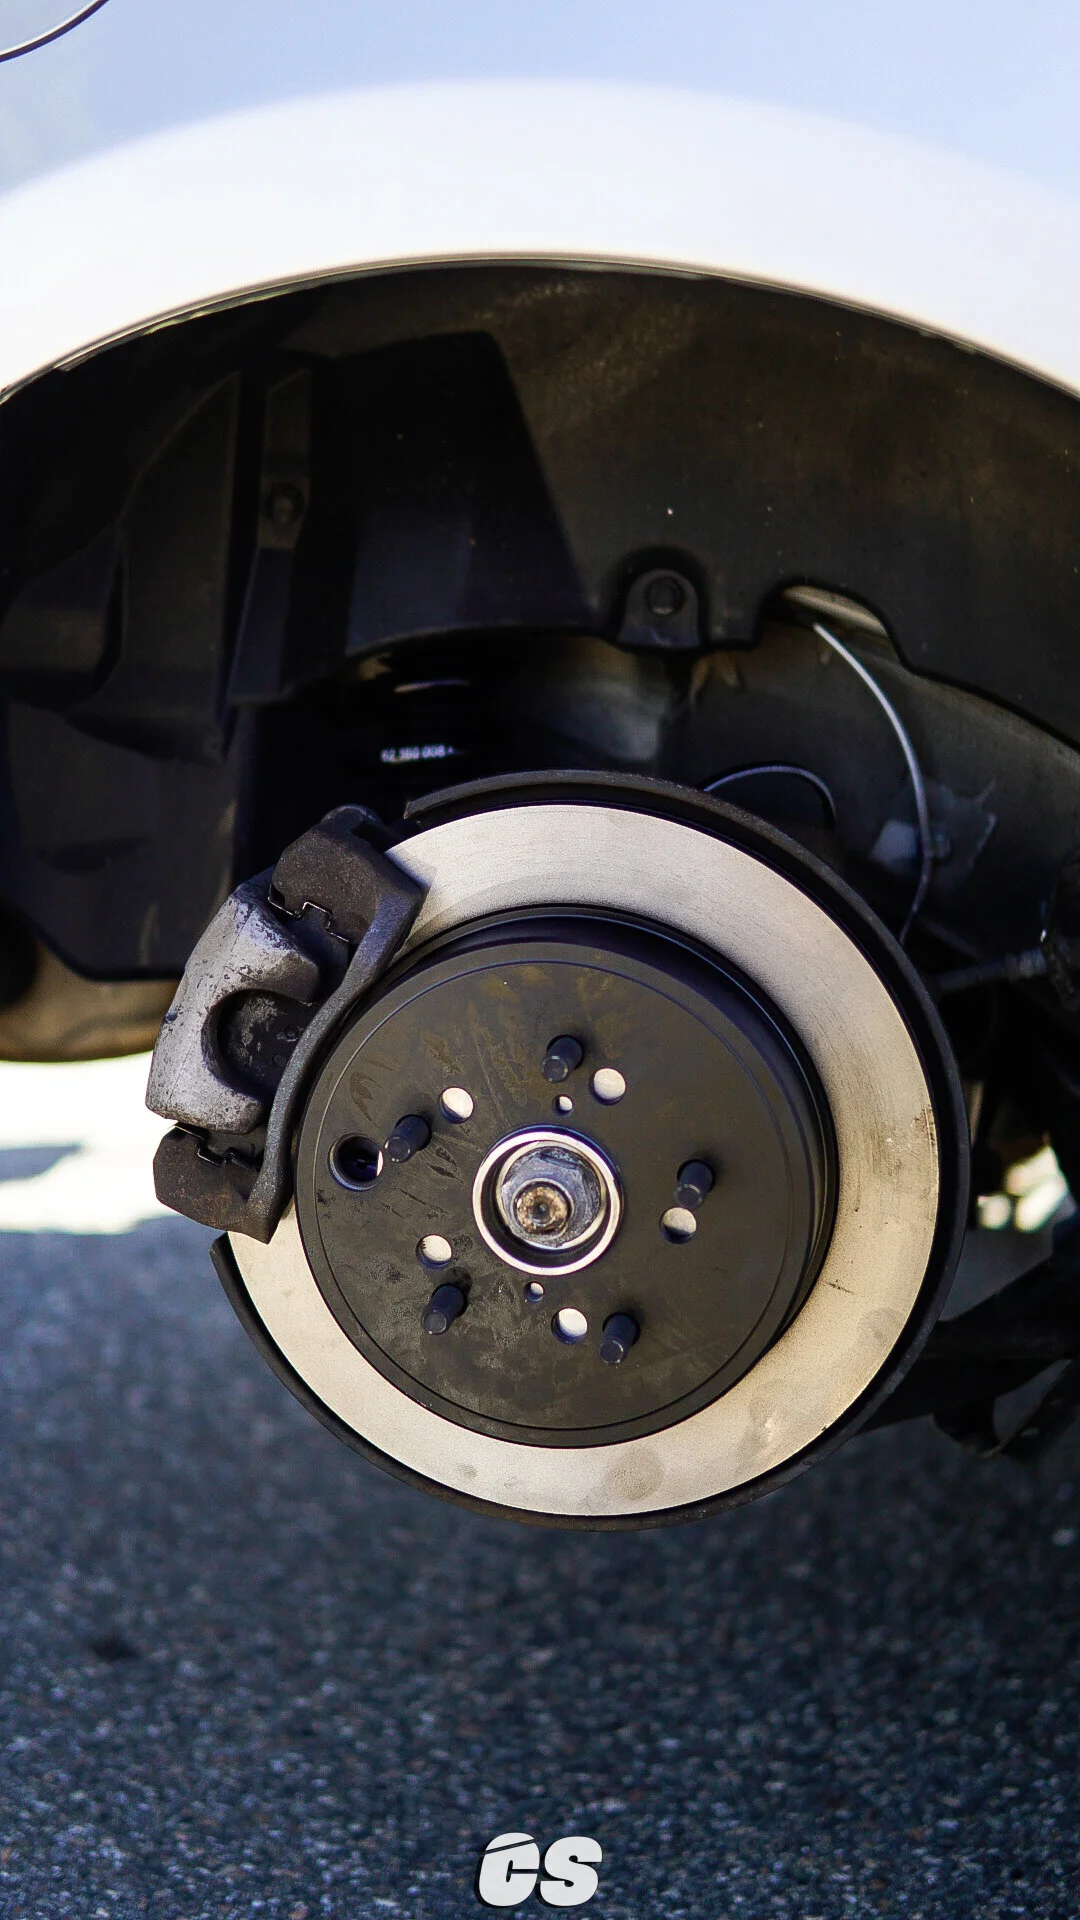
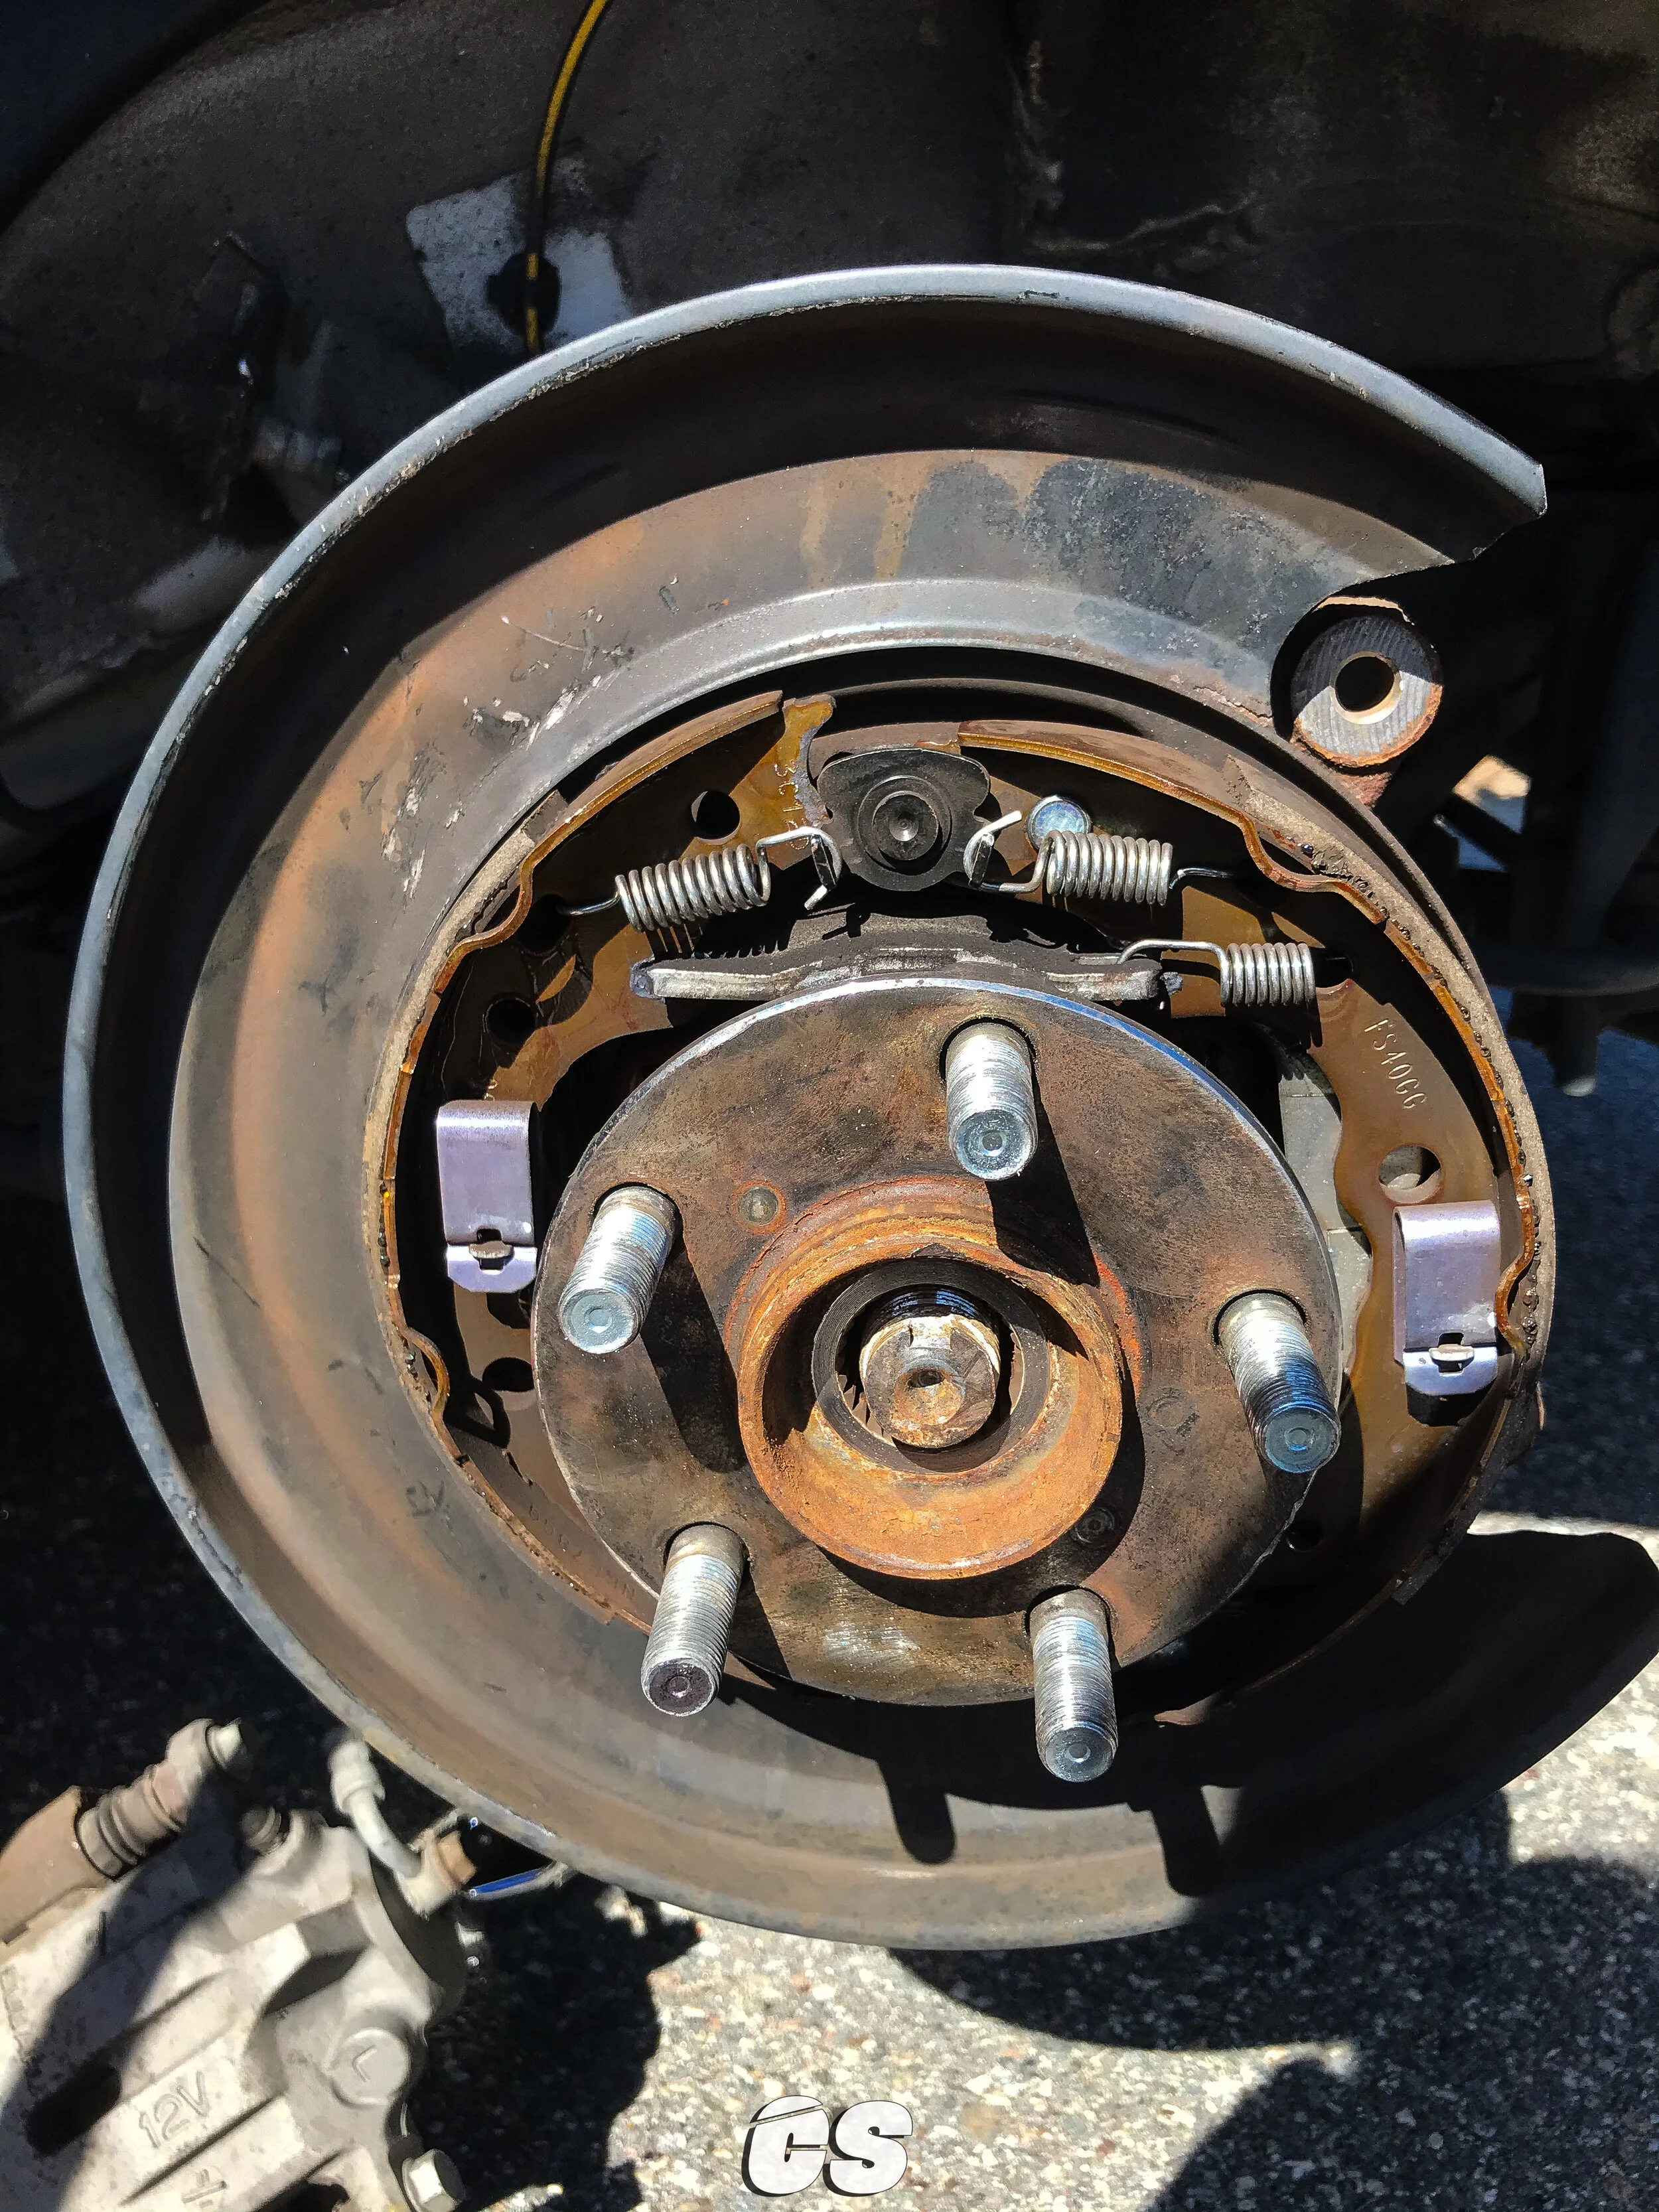
Once the necessary parts for the height and steering were squared away, I tackled a less popular modification for this build. The FR-S/GT86/BRZ chassis all come equipped with the 5x100 bolt pattern, which is less than ideal. Before purchasing the car, I knew I wanted to do a true 5x114 conversion swap; this way, I could have more wheel options, a better wheel bearing, and the kind of rad detail that would be missed if you weren’t close enough to appreciate it.
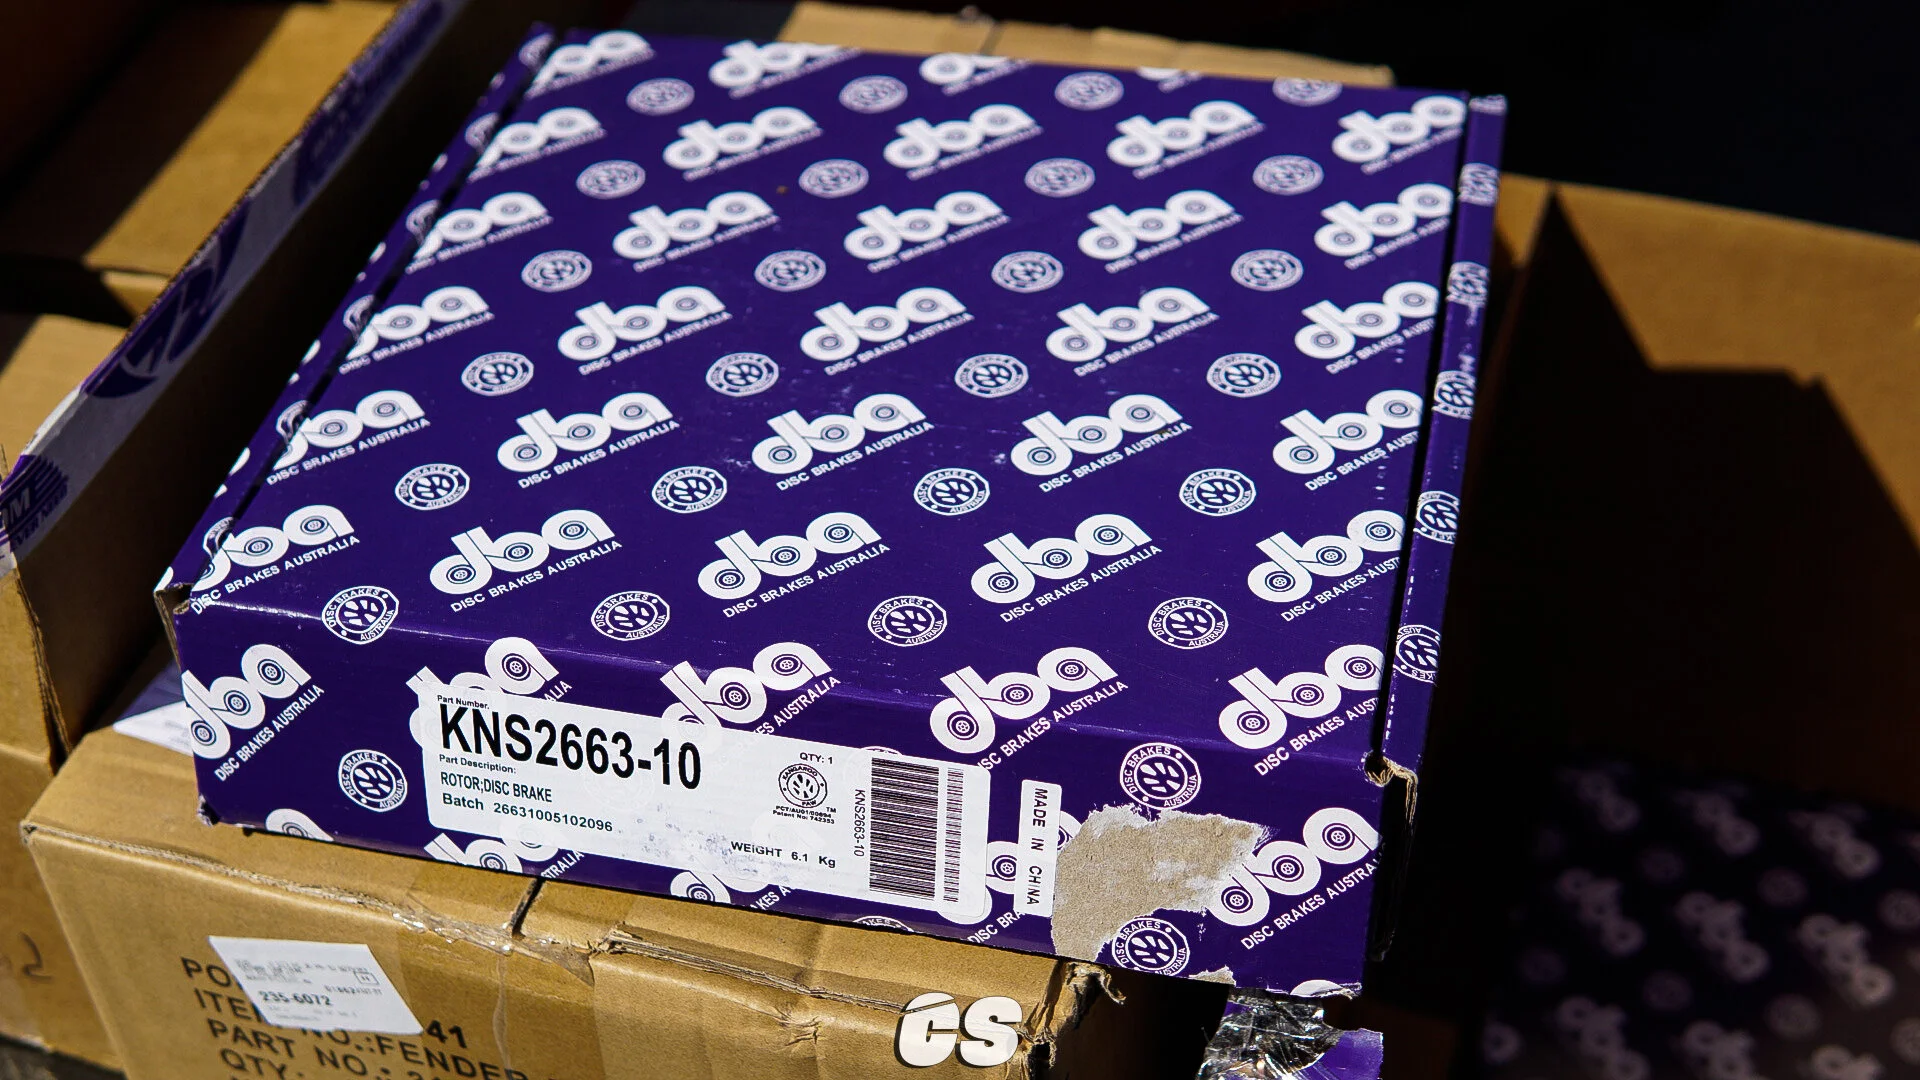
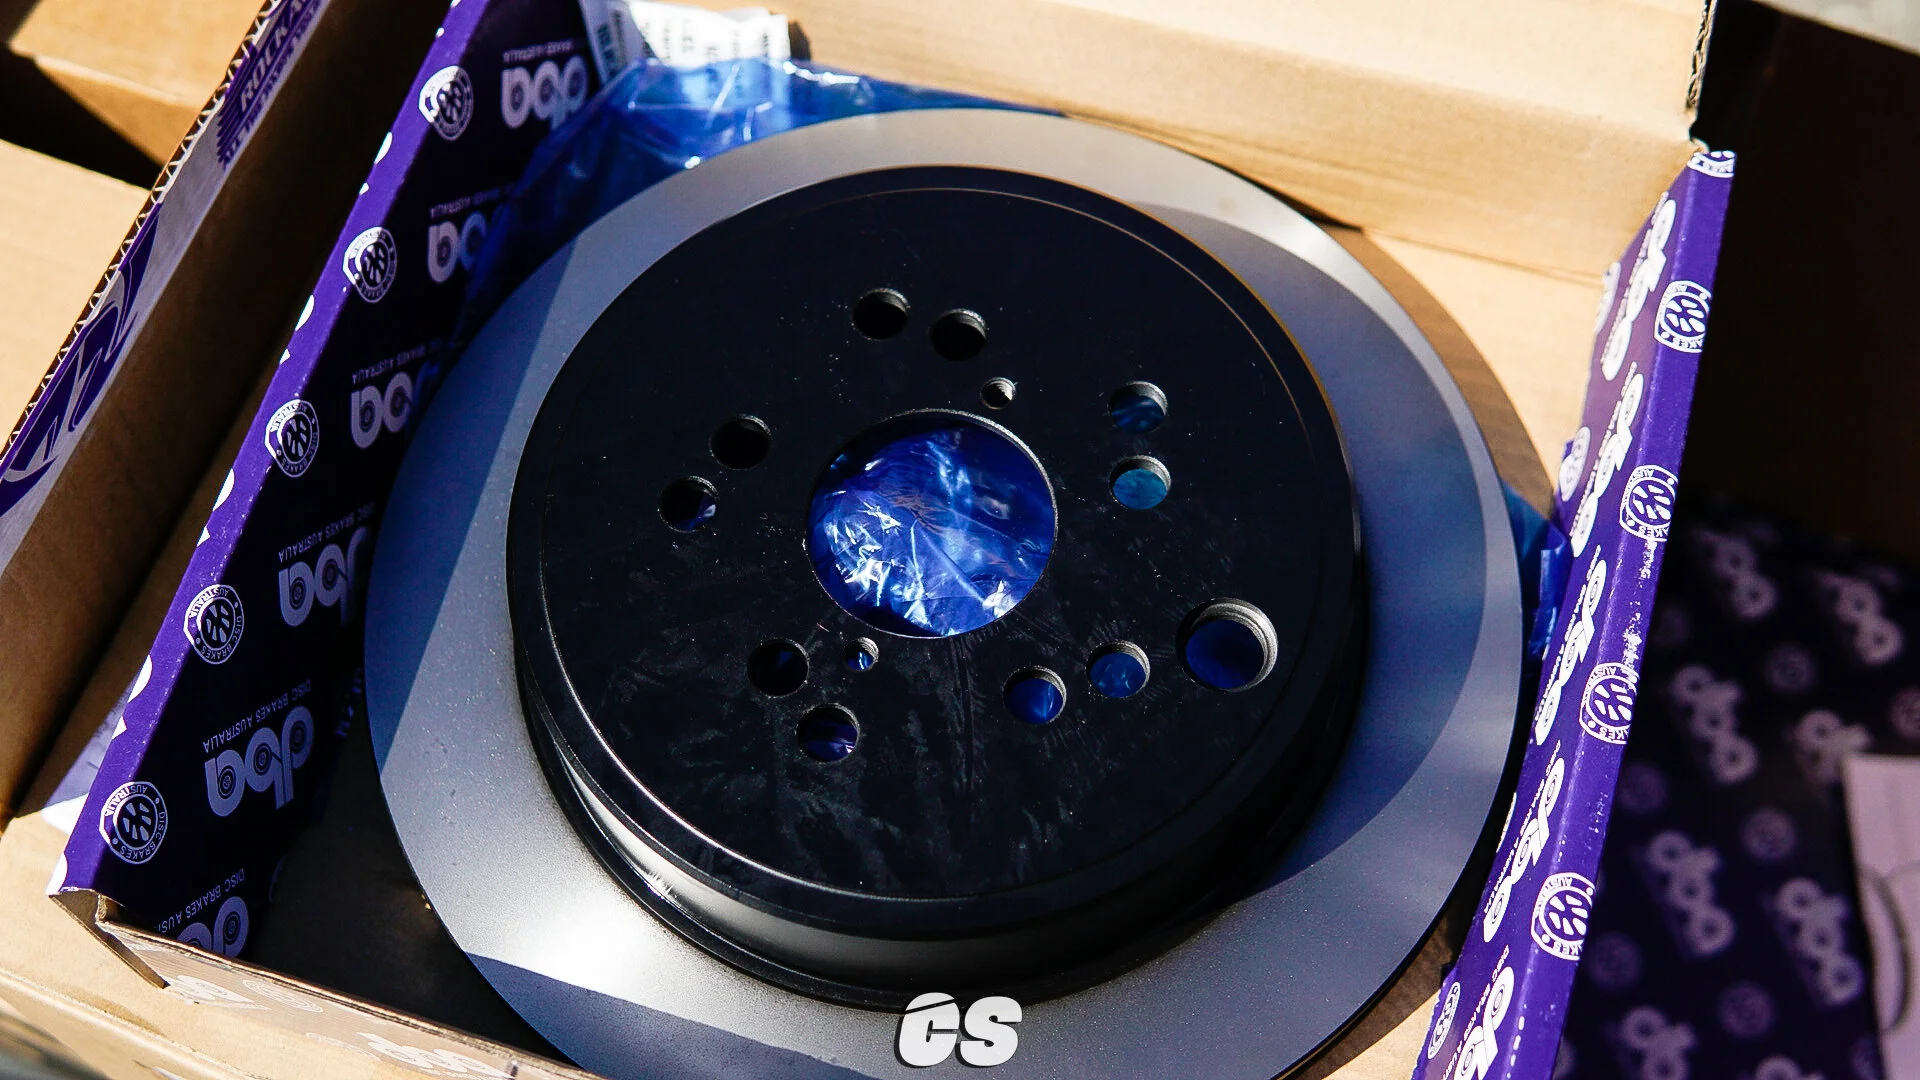
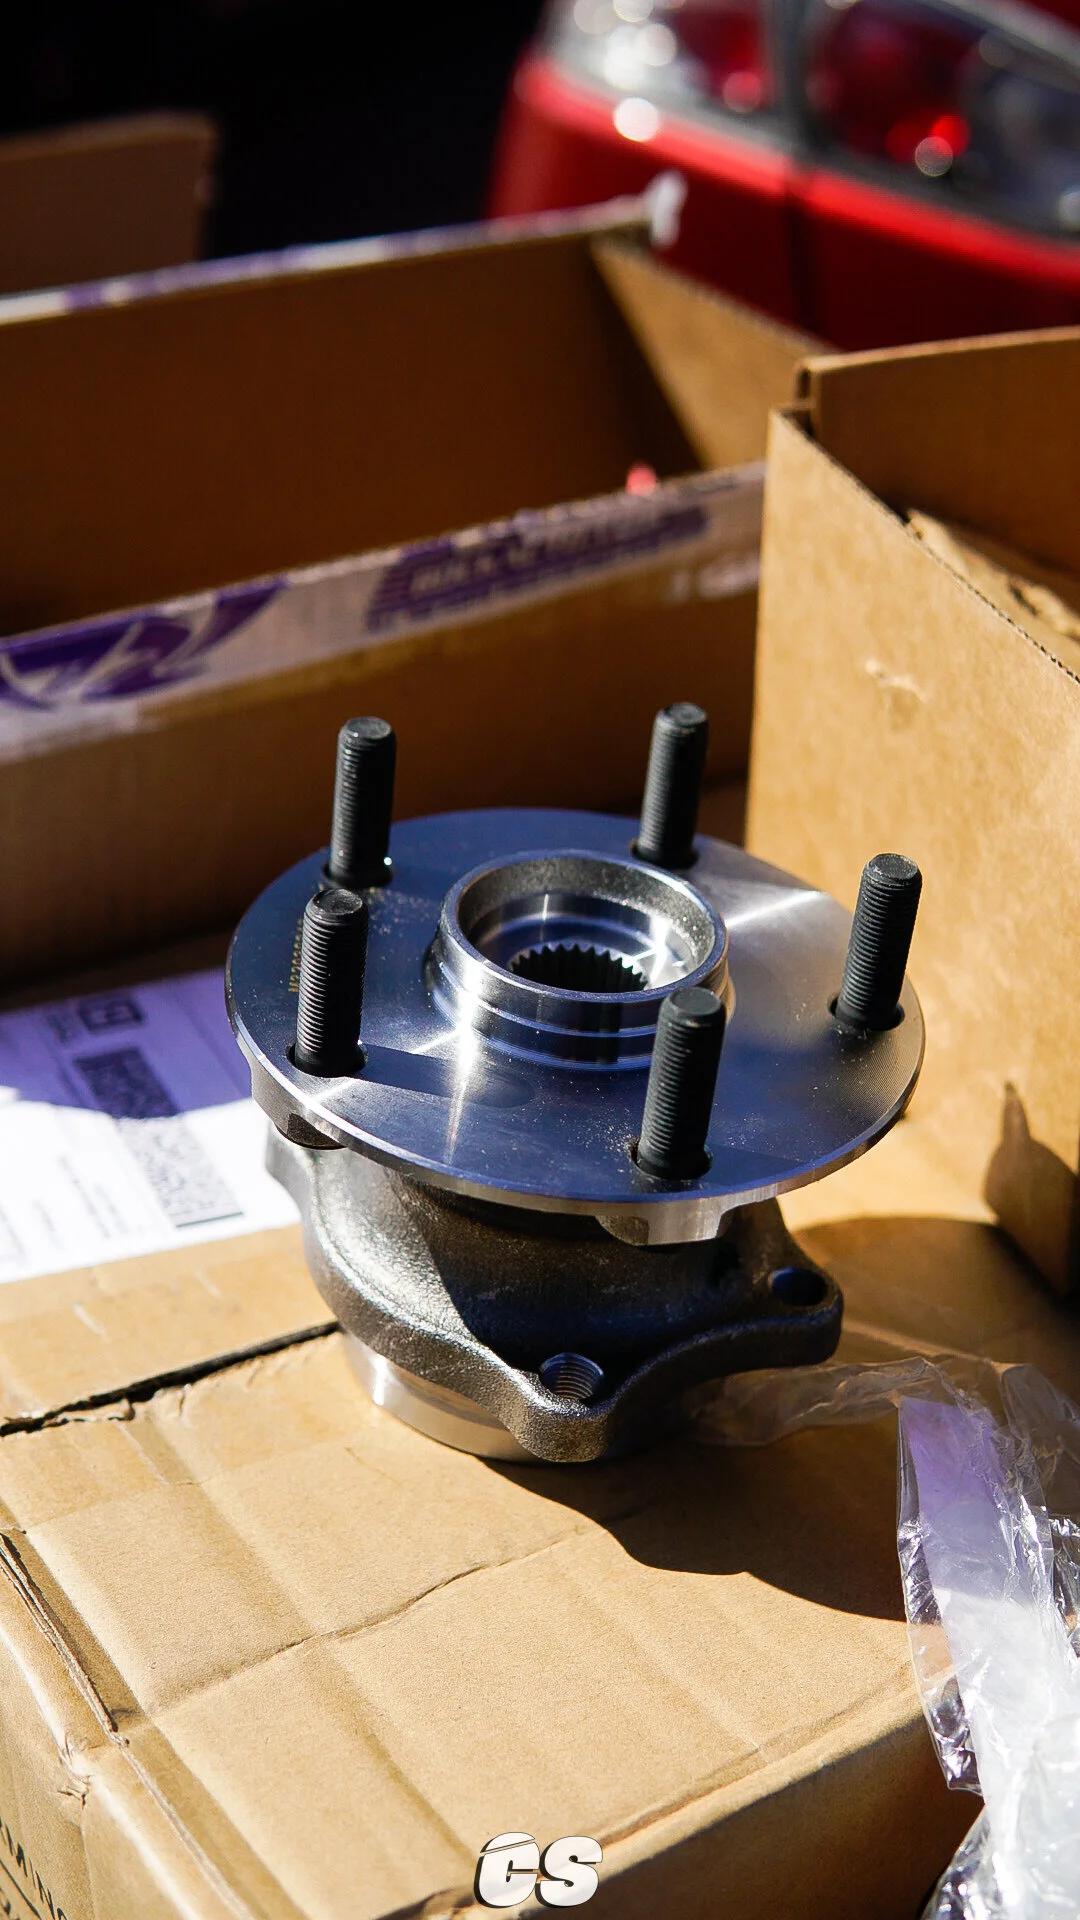
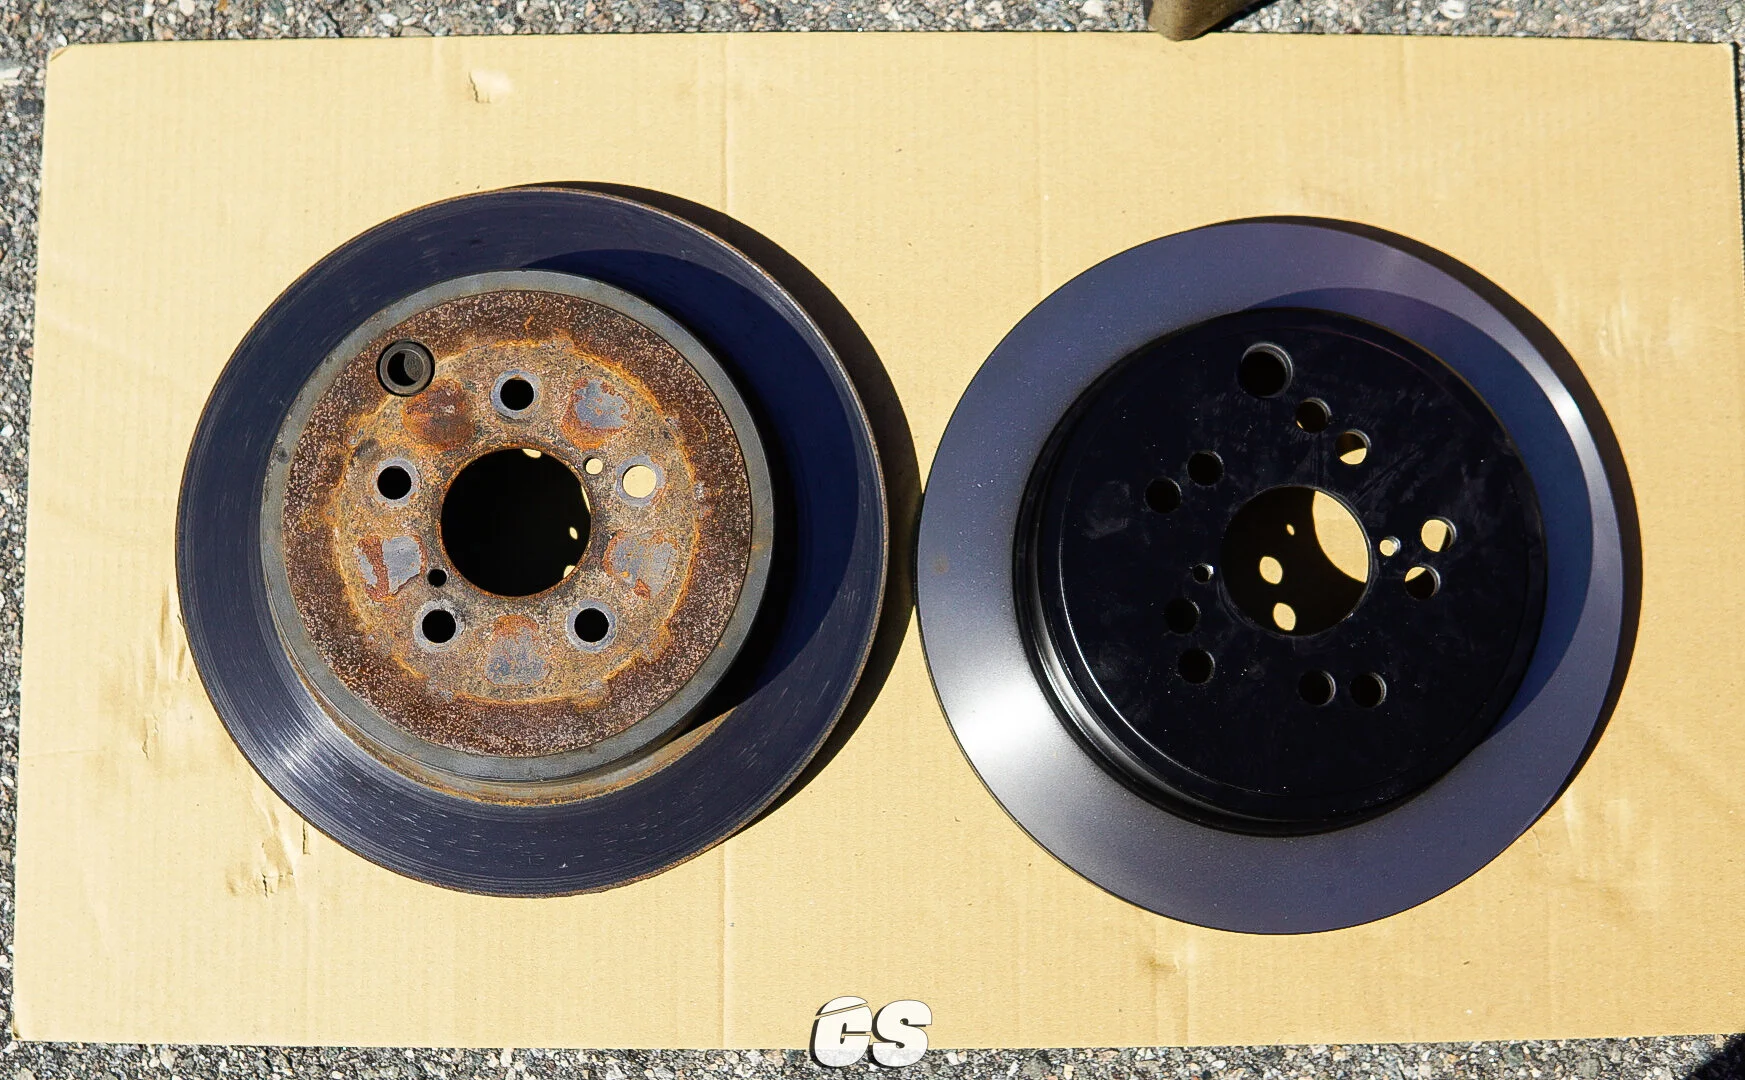
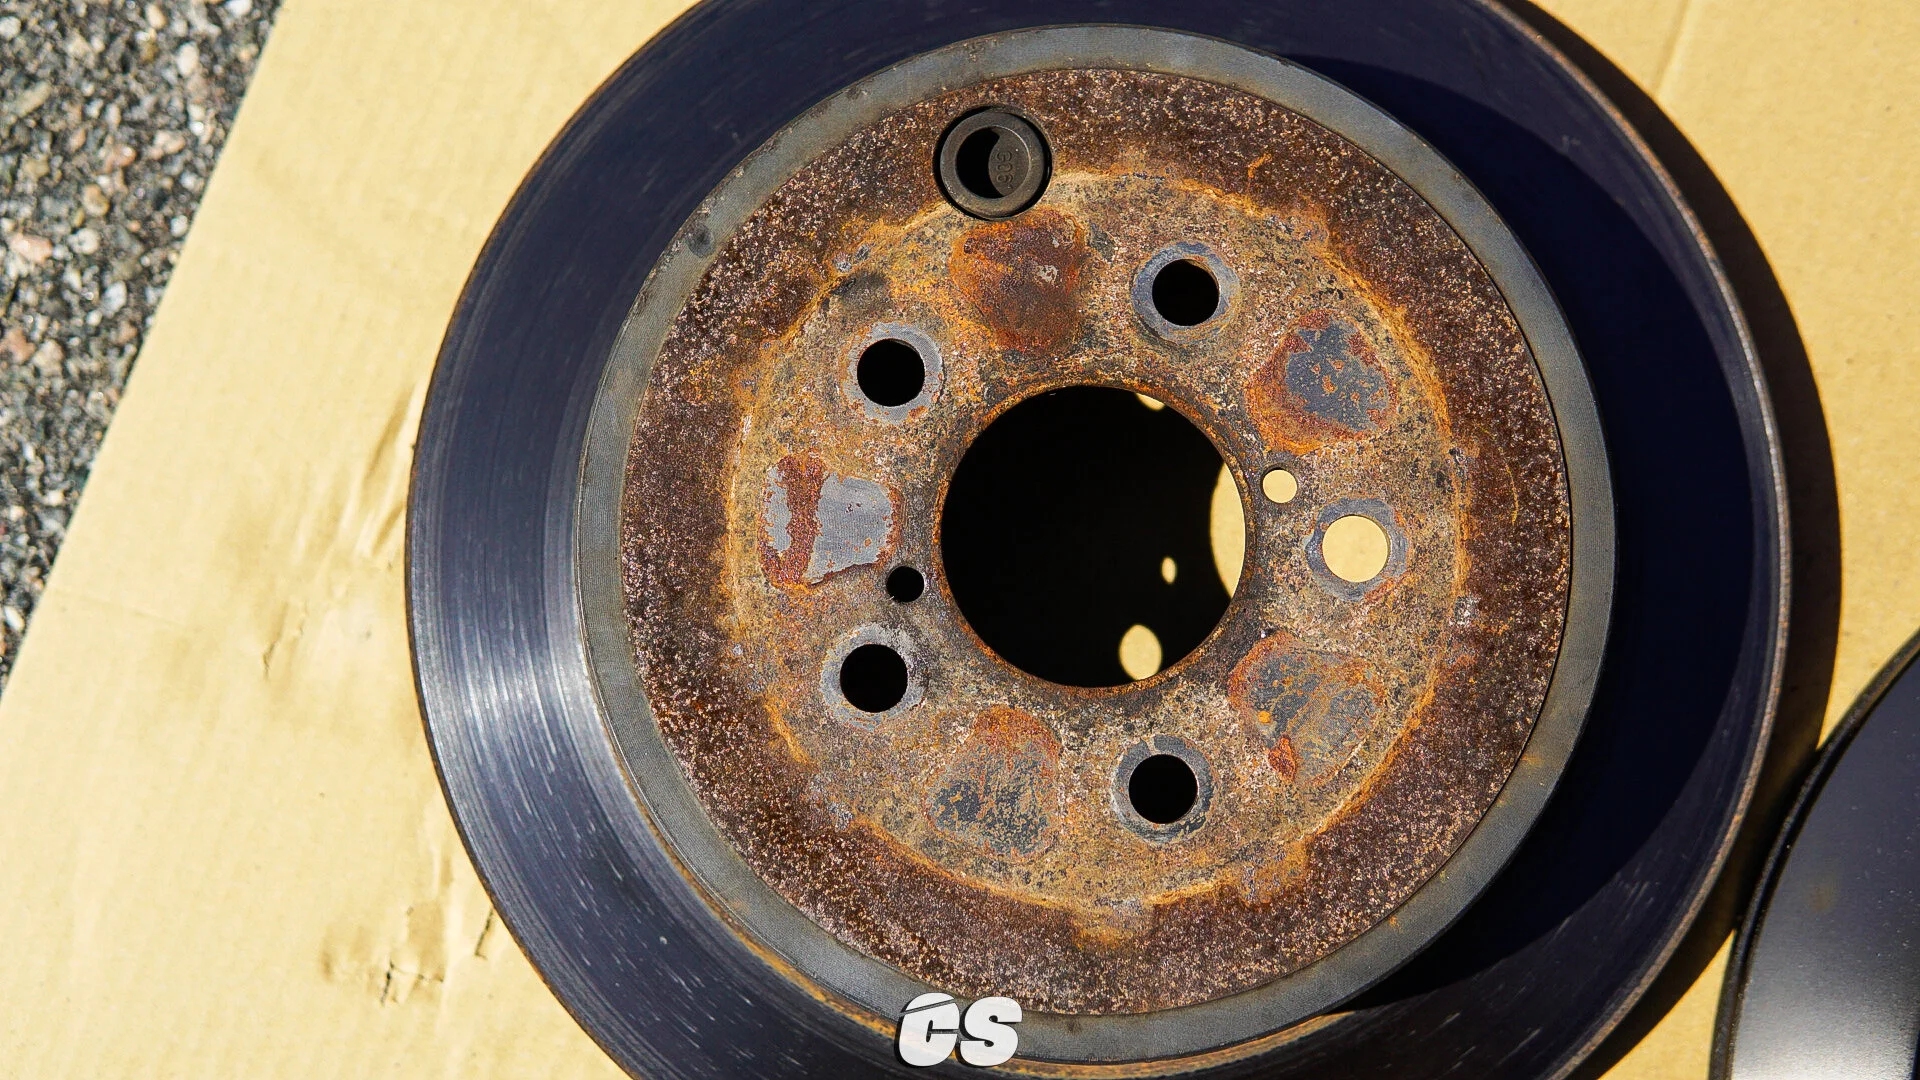
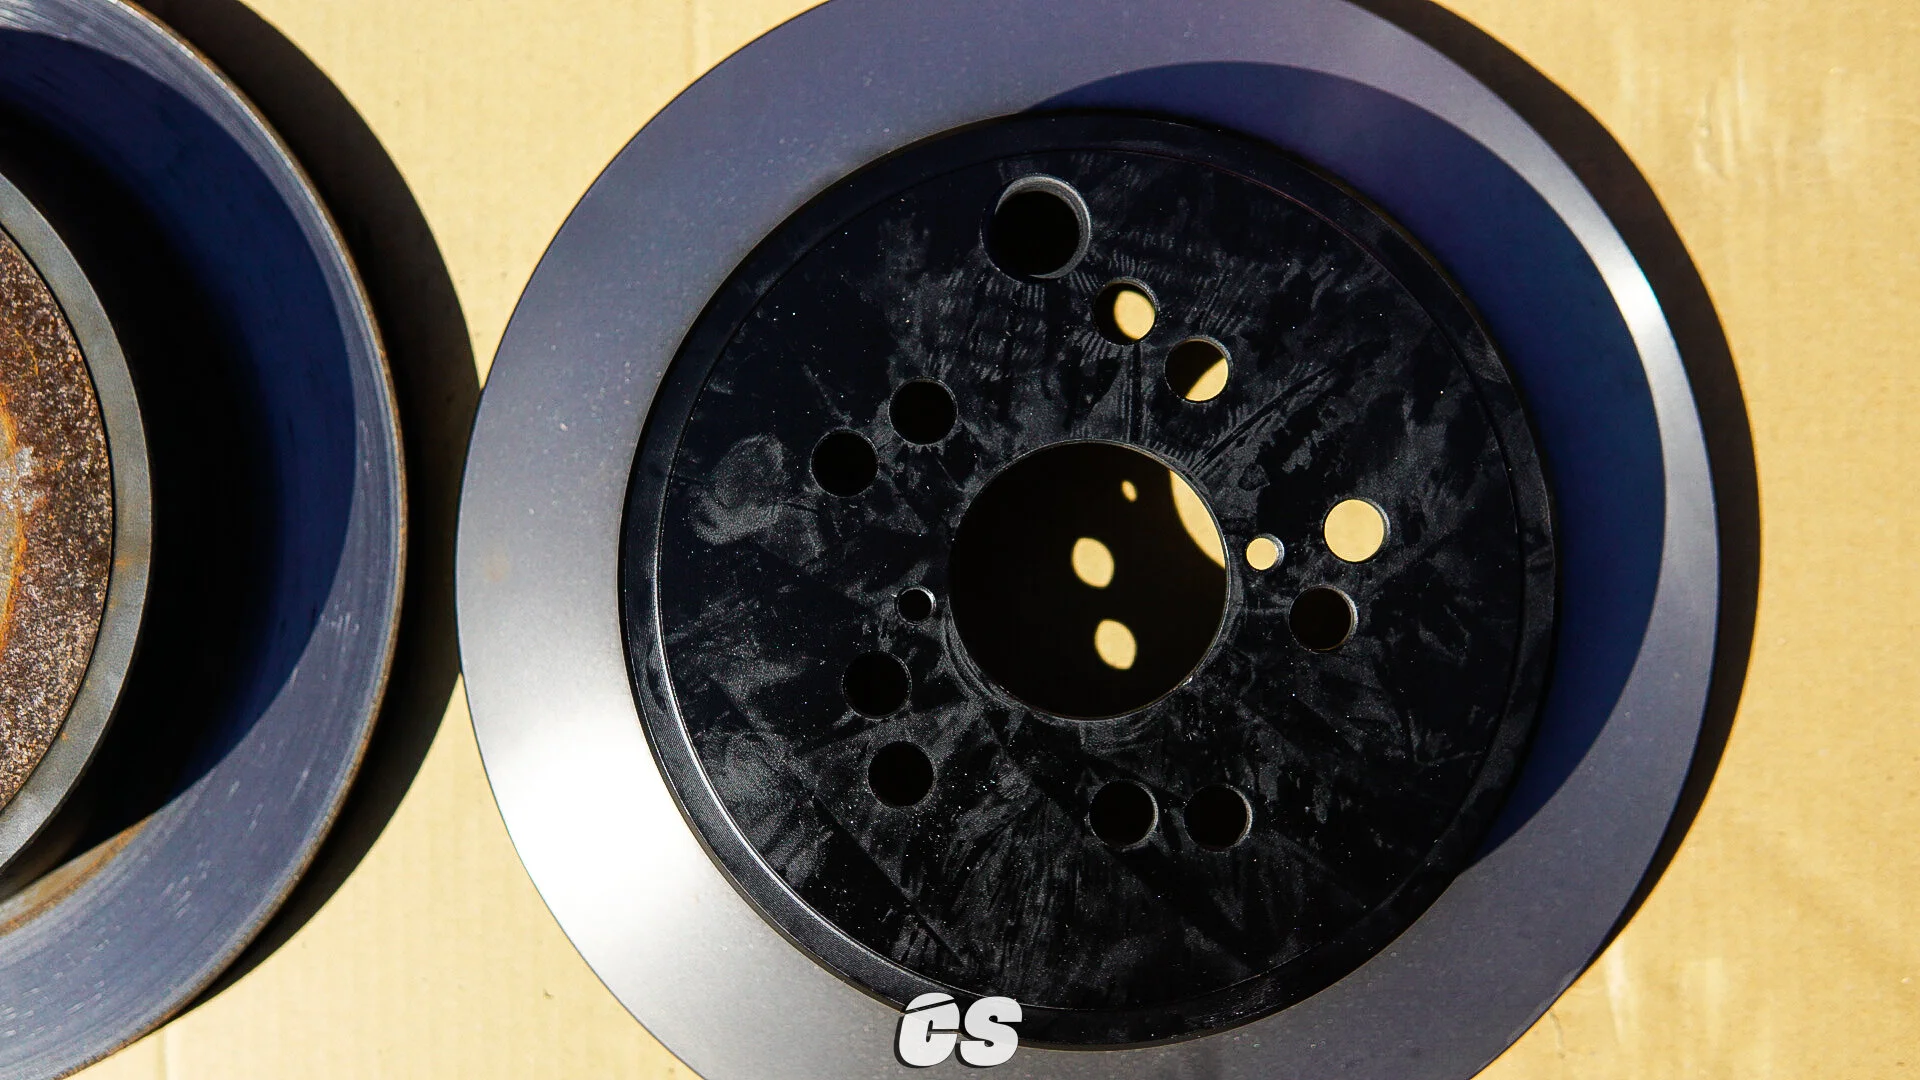
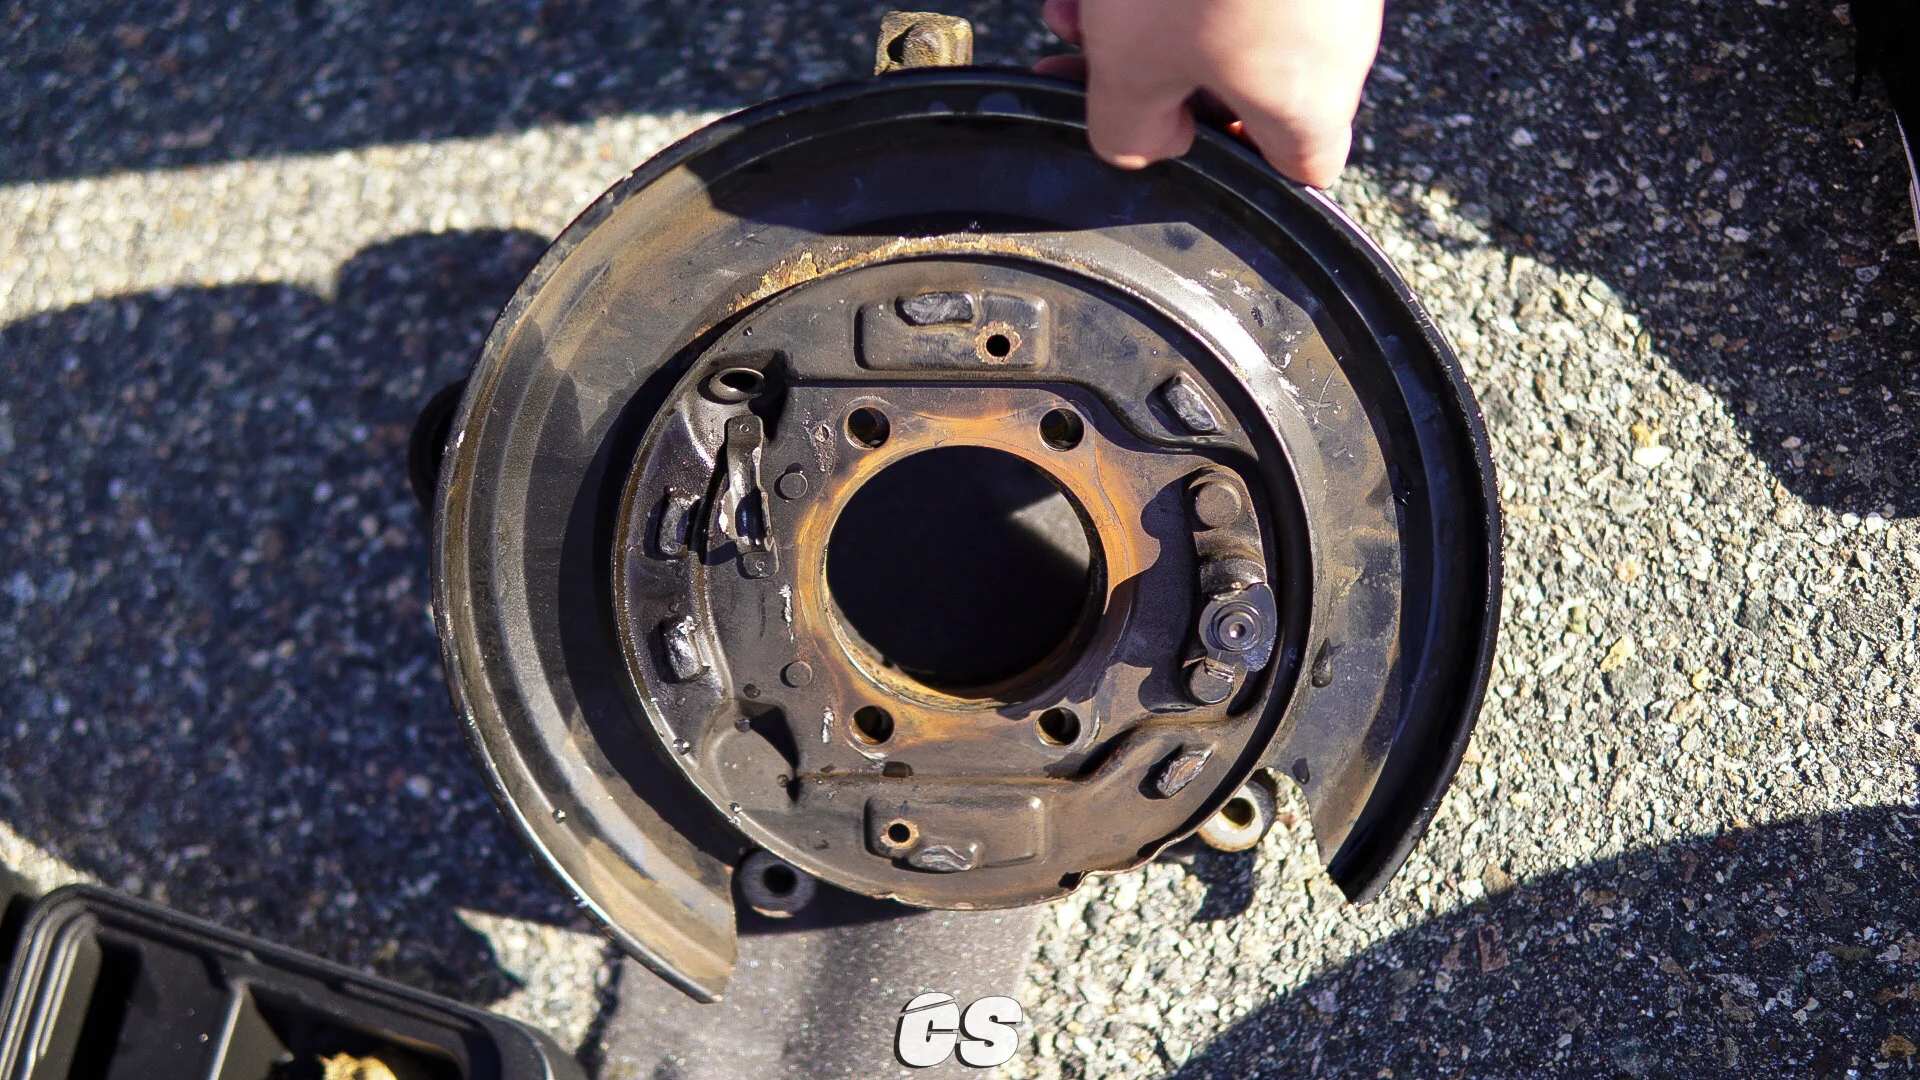
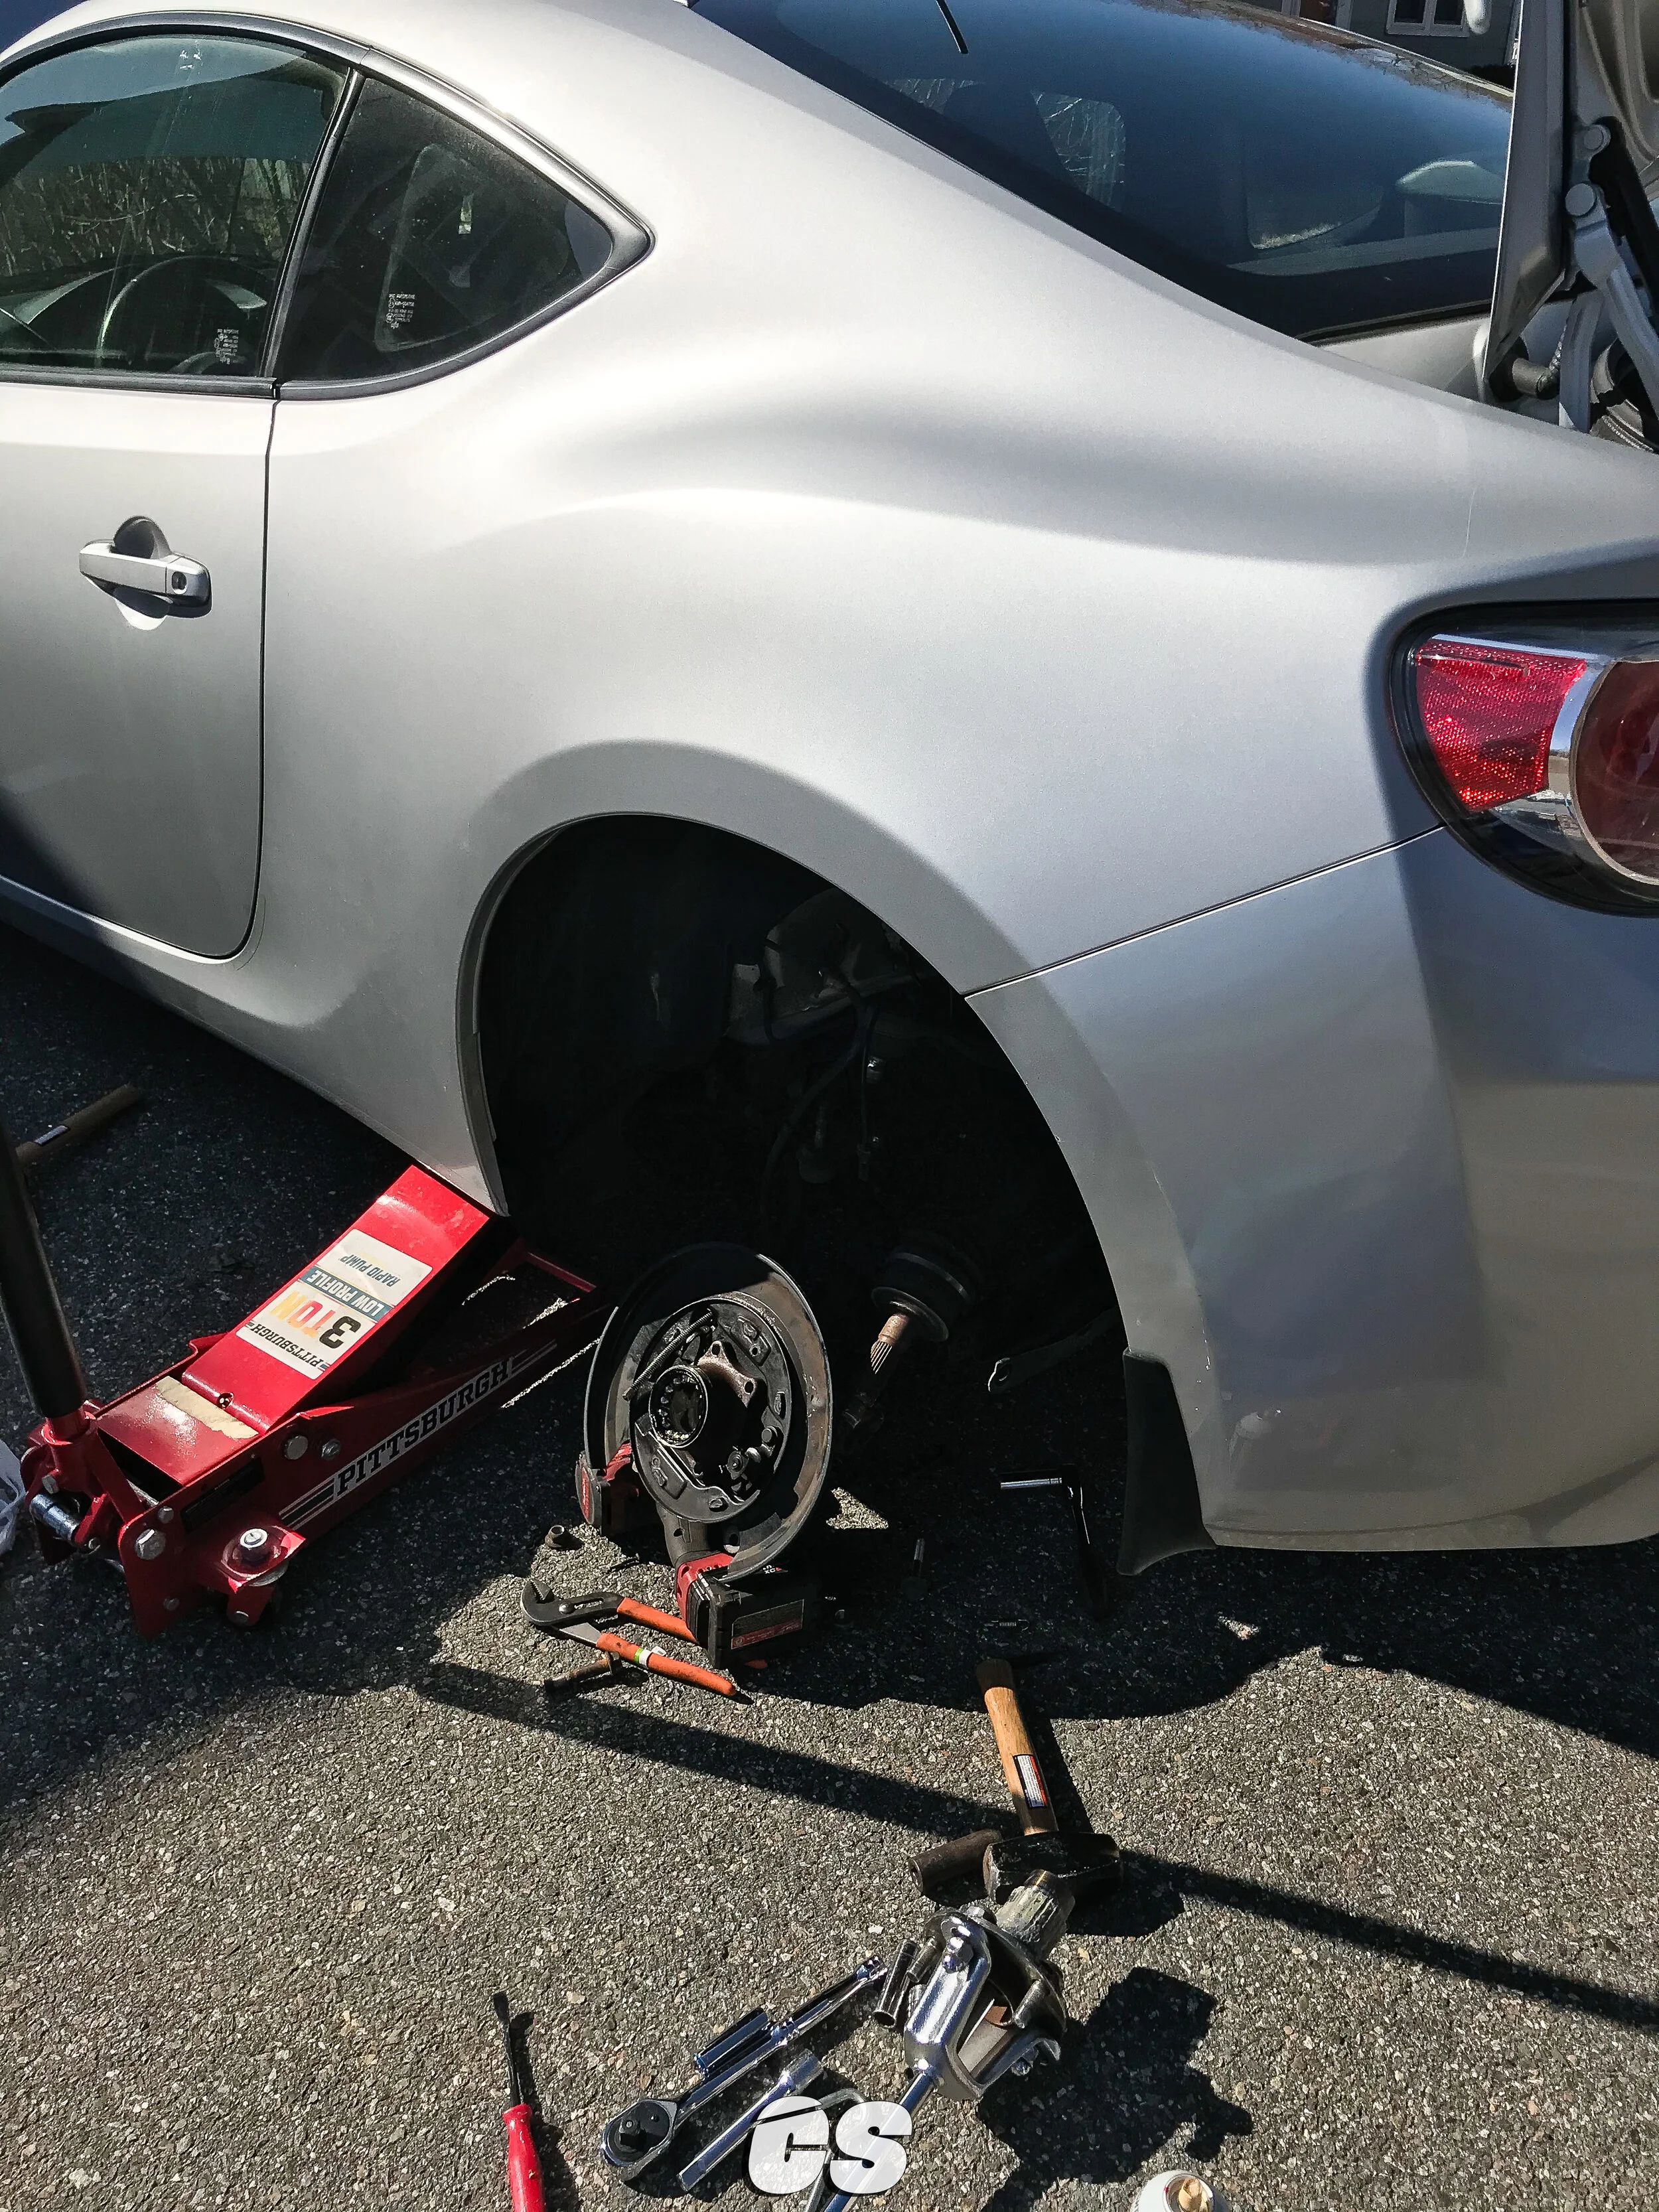
So, let’s recap: pictured above and to the left is the dual-drilled rear brake rotor, supplied by KNS Brakes. Above, and to the right, we’ve got your standard OEM 08+ Subaru STI hub. And right below those two pictures is a 5x100-5x114 conversion spacer. I reached out to Coby at KNS and he was happy to help me source out the correct rotor. The rotor is a critical piece in this process, not only because it’s dual-drilled, but also because the center of the rotor is compatible with an STI hub. It When doing this conversion, you’ll need to accommodate for the larger center hub, as well as maintaining the same diameter rotor so you can clear the stock caliper. In layman’s terms, the parts have to fit just right in order to work. This rotor does exactly that; it is designed for STI hub clearance while retaining the same circumference as the original FR-S rotor. Neat, right?
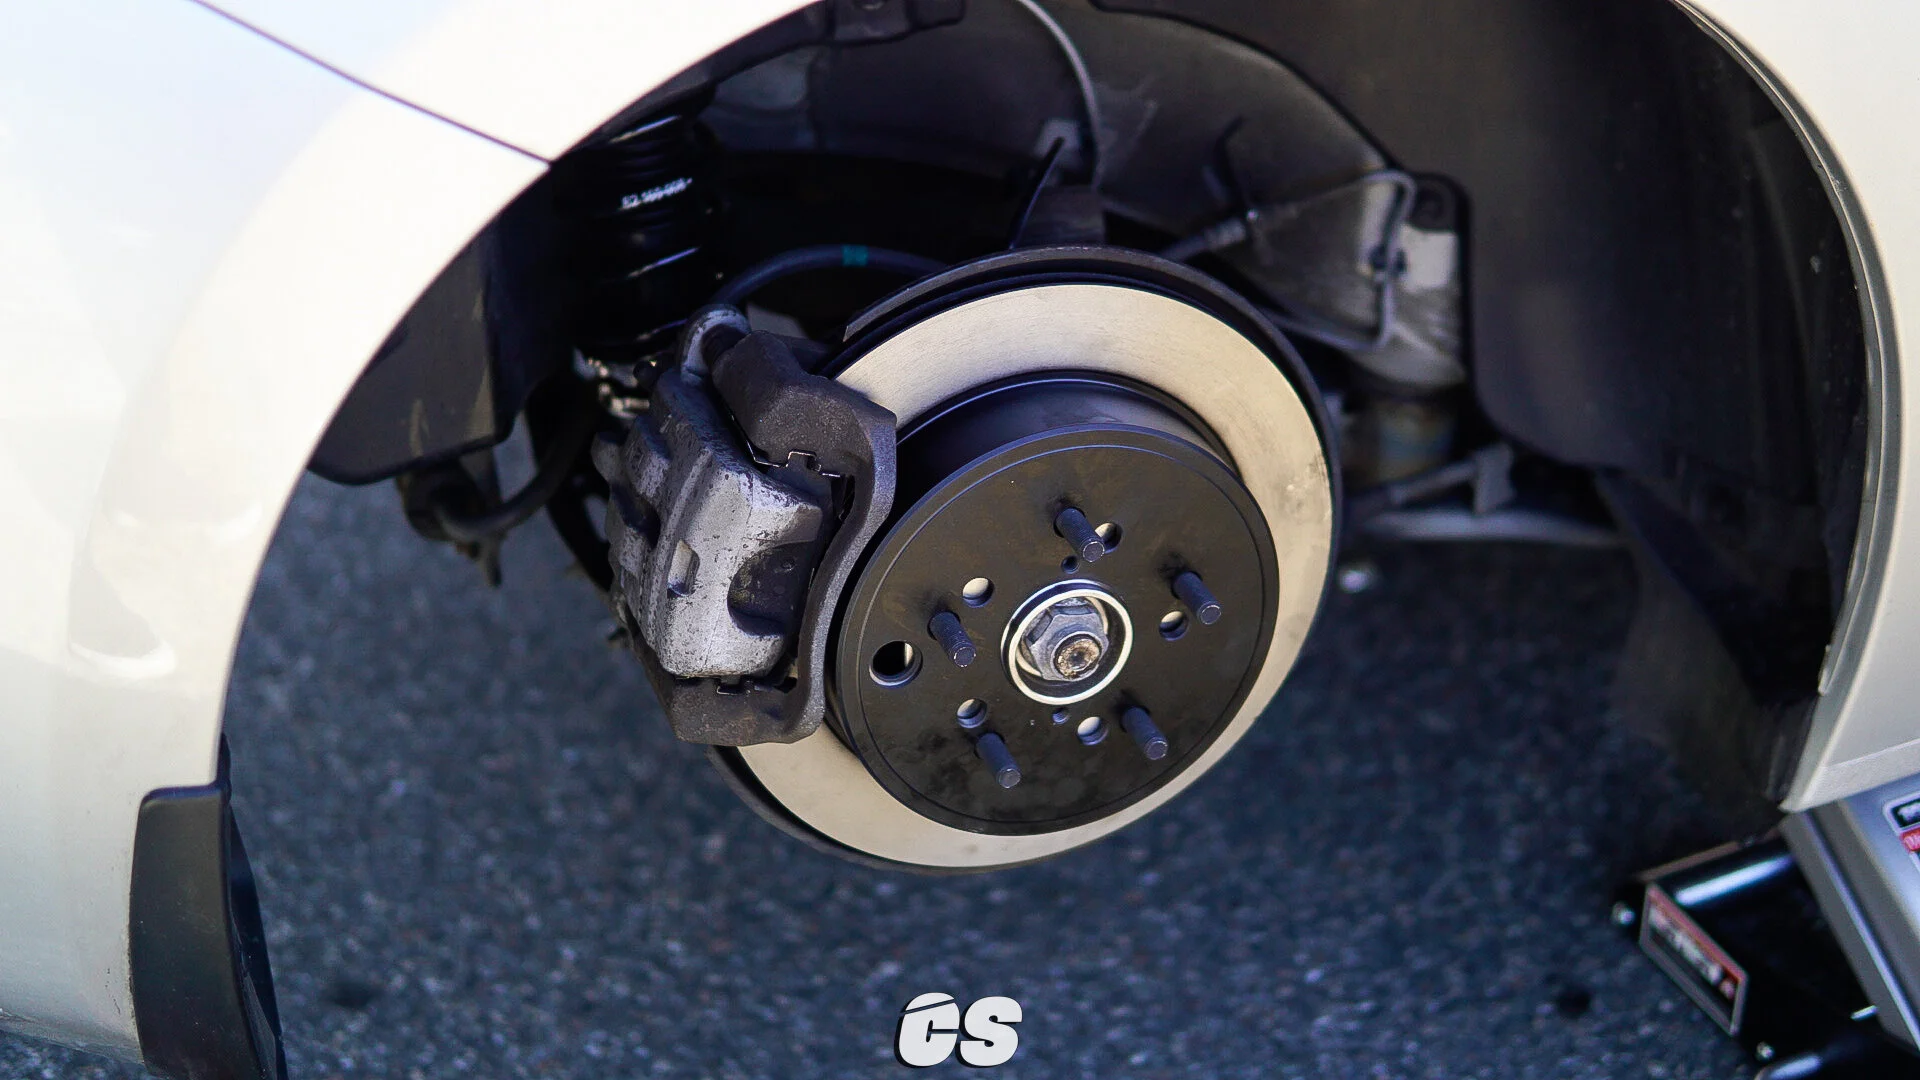
Your standard 08+ STI hub is a direct bolt-on to the FR-S/GT86/BRZ chassis. I picked up the conversion spacers from Up-Garage USA for dirt cheap. Ideally, I would’ve wanted to do the same hub and rotor conversion for the front, but Parts Shop Max—the only supplier available at the moment for FR-S 5x114 front
hubs—has been out of stock in all of their locations.
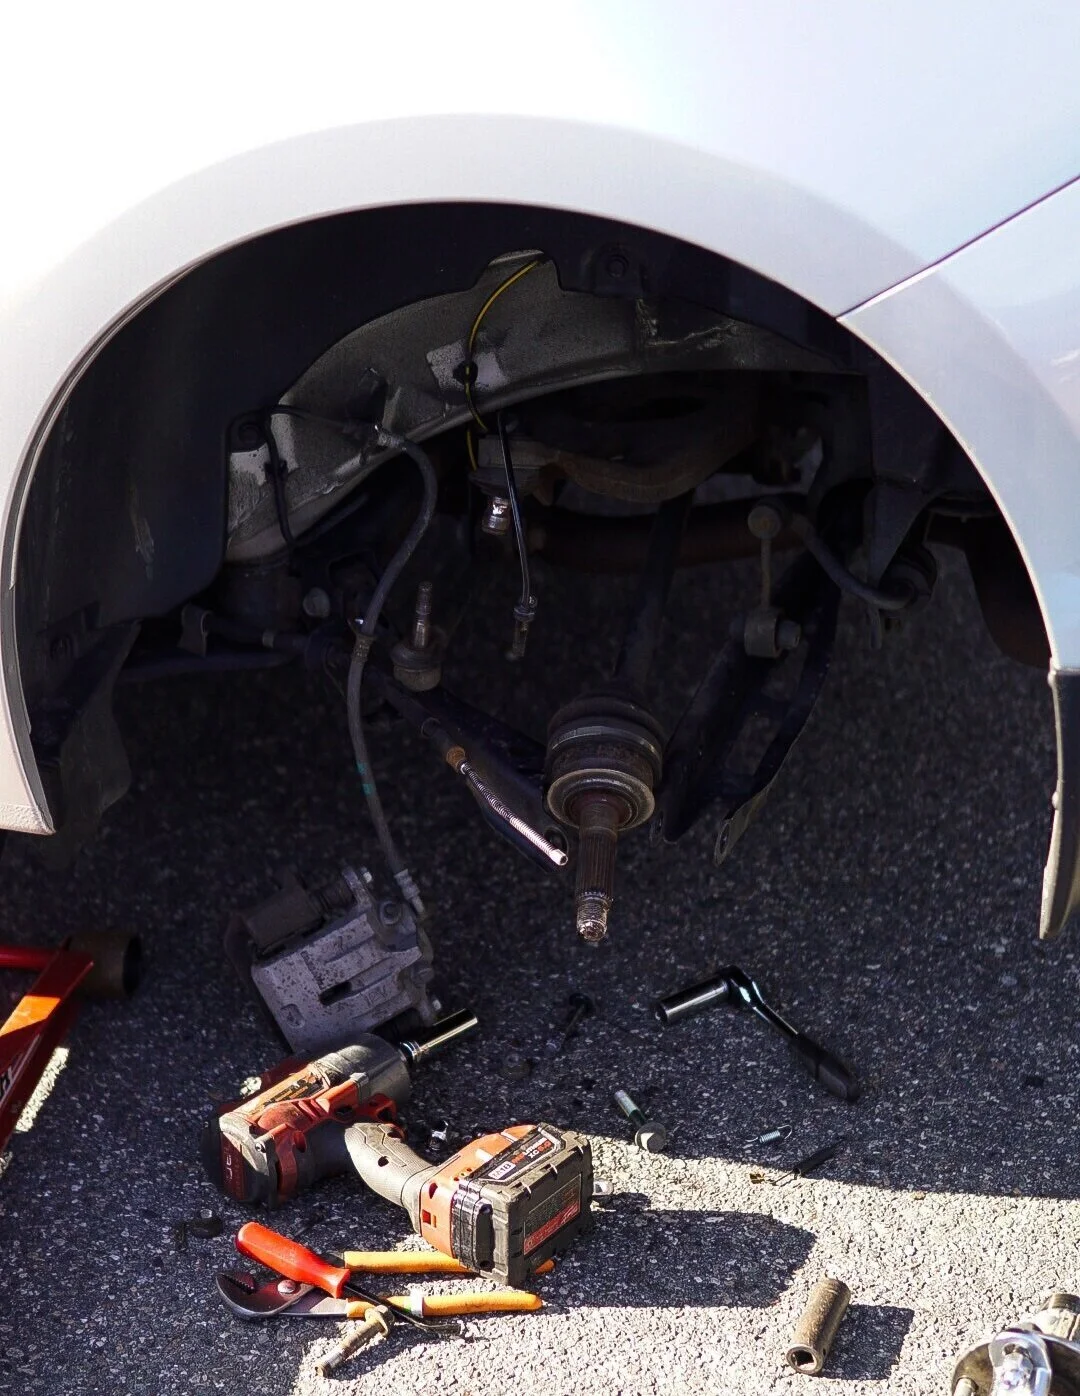
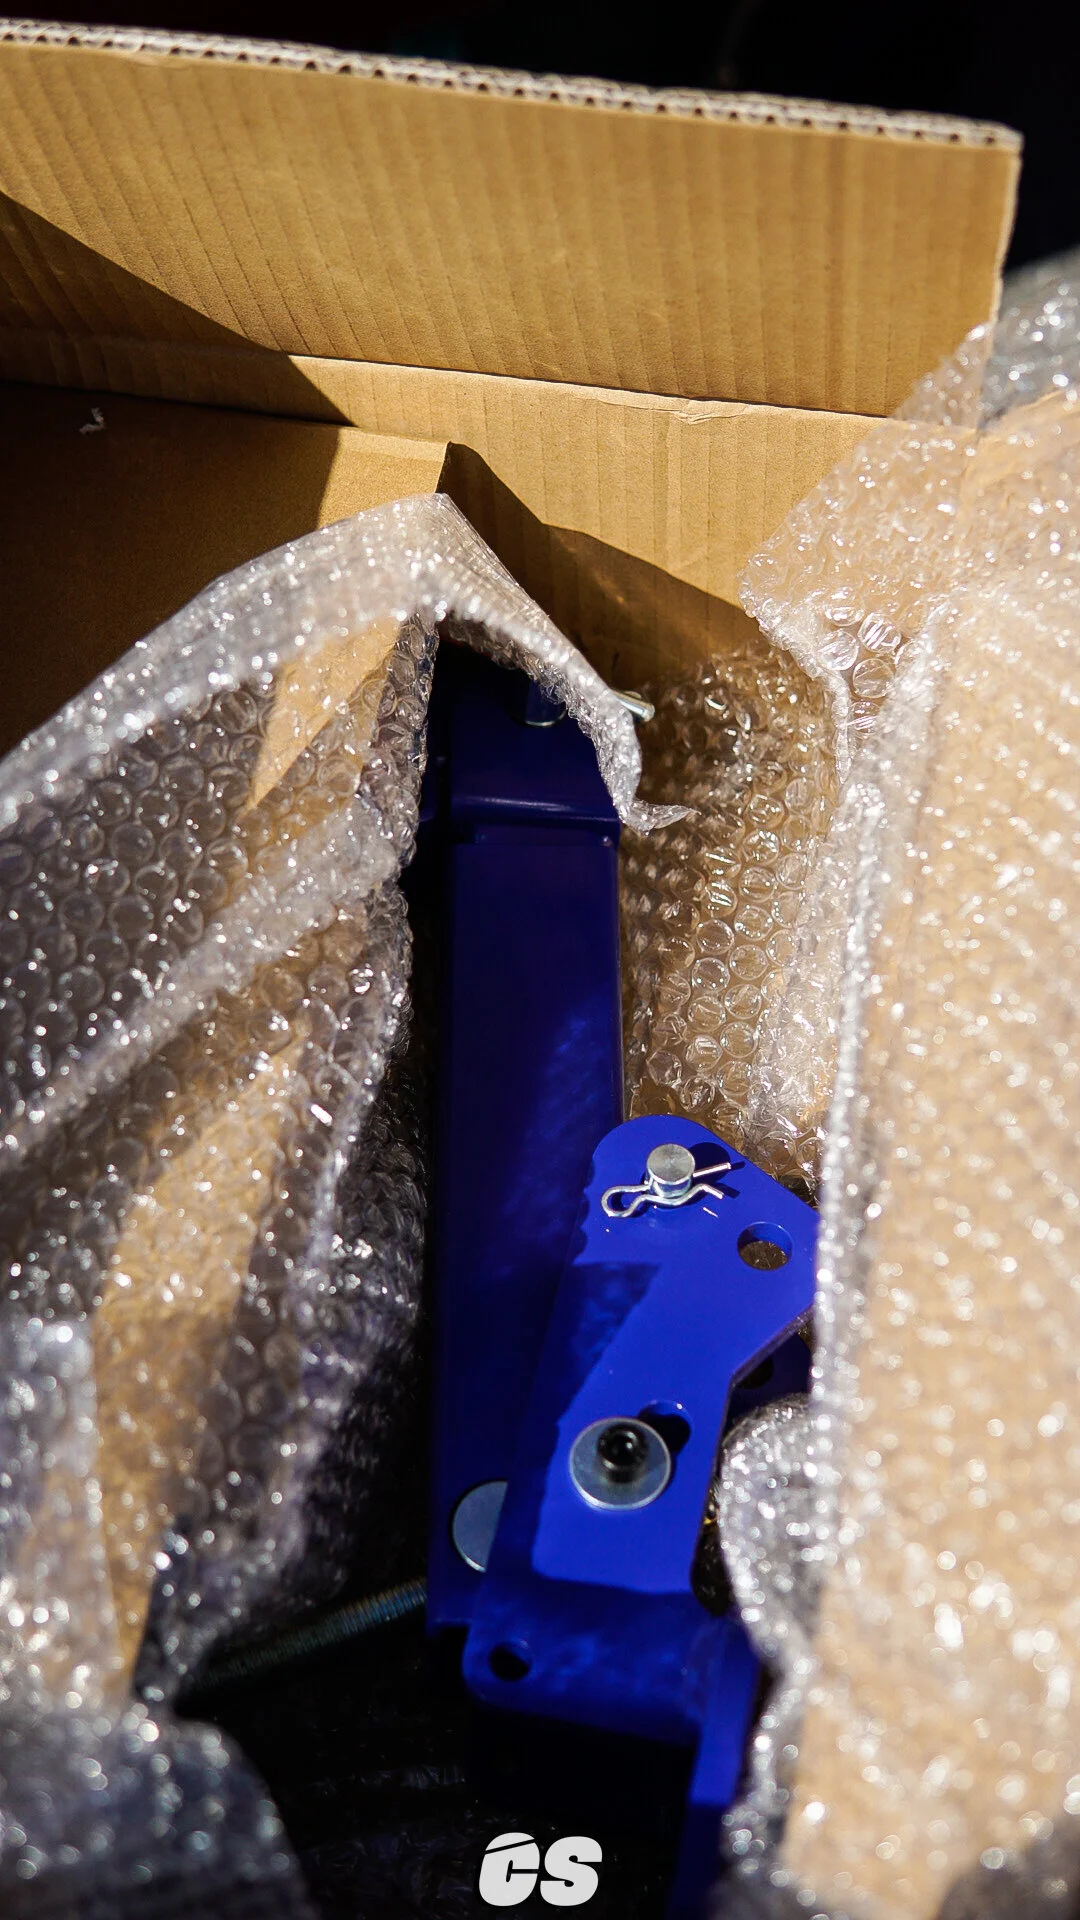
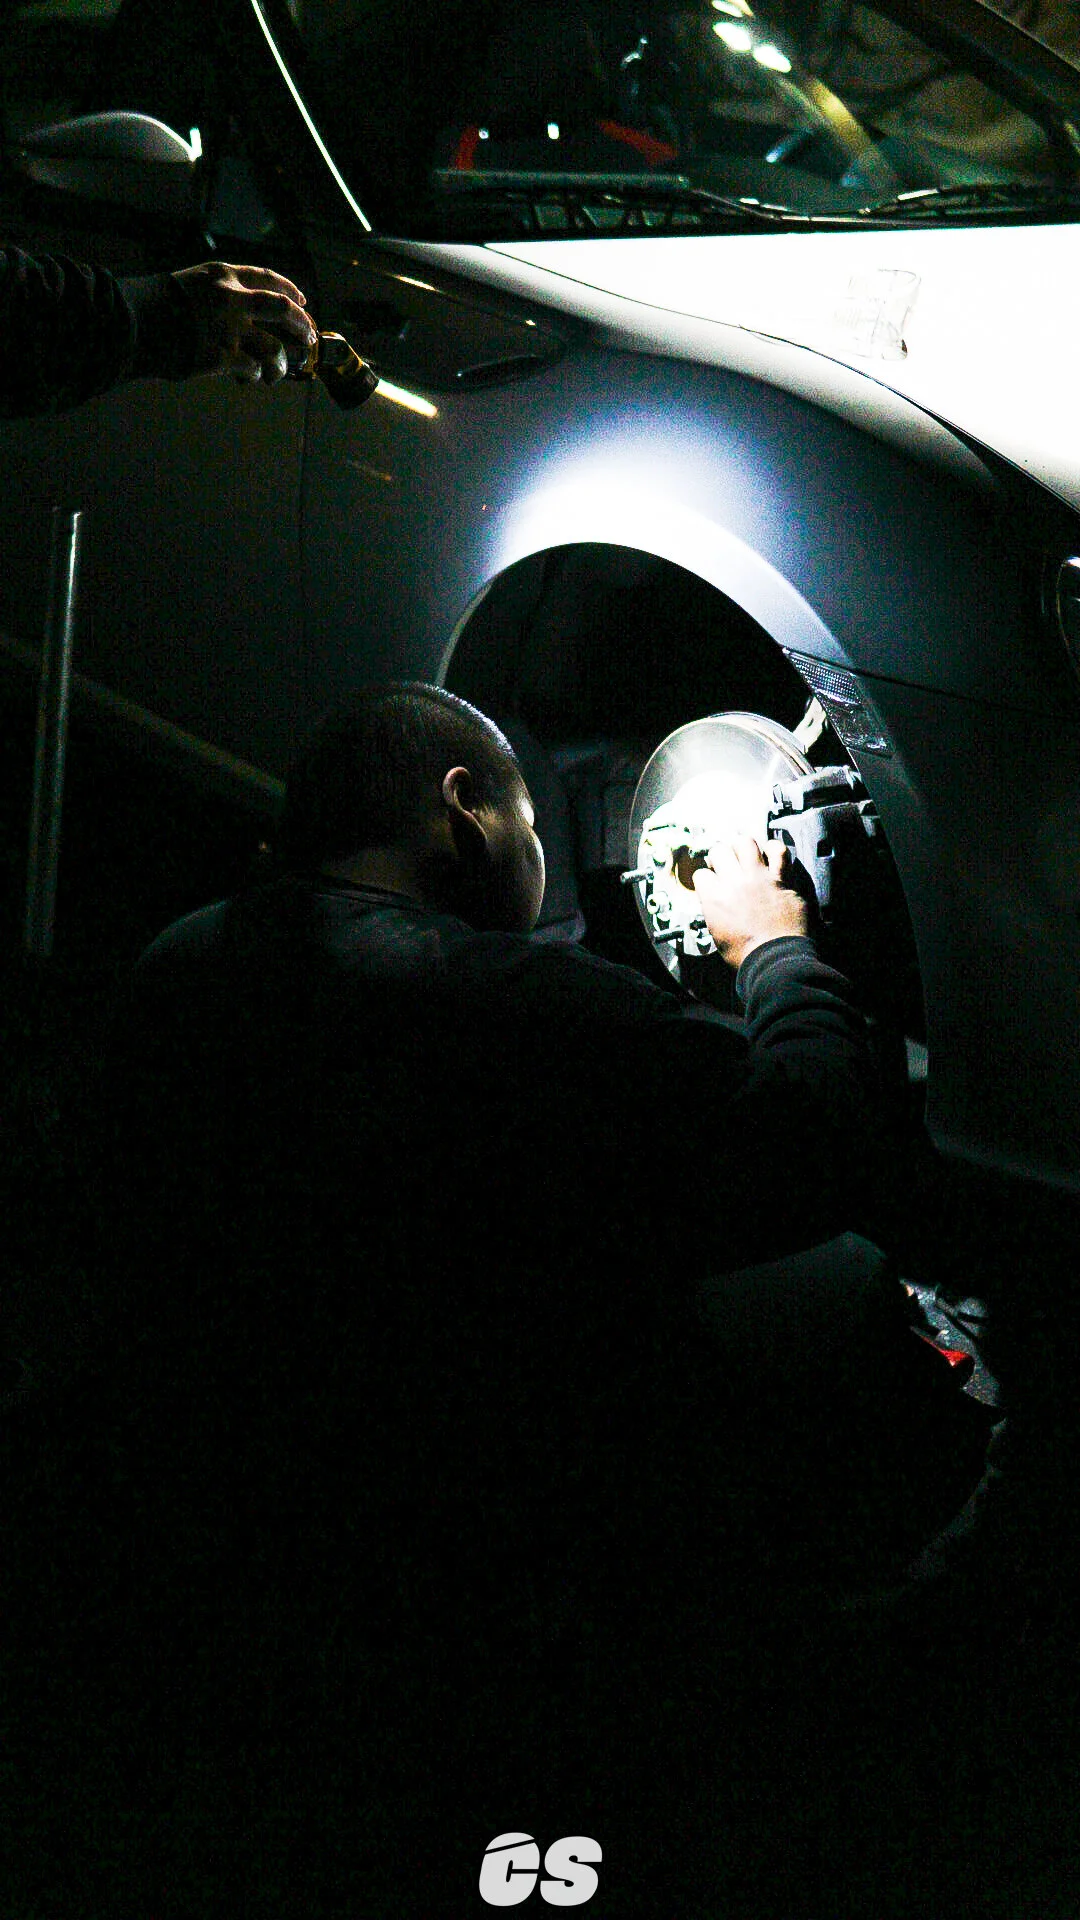
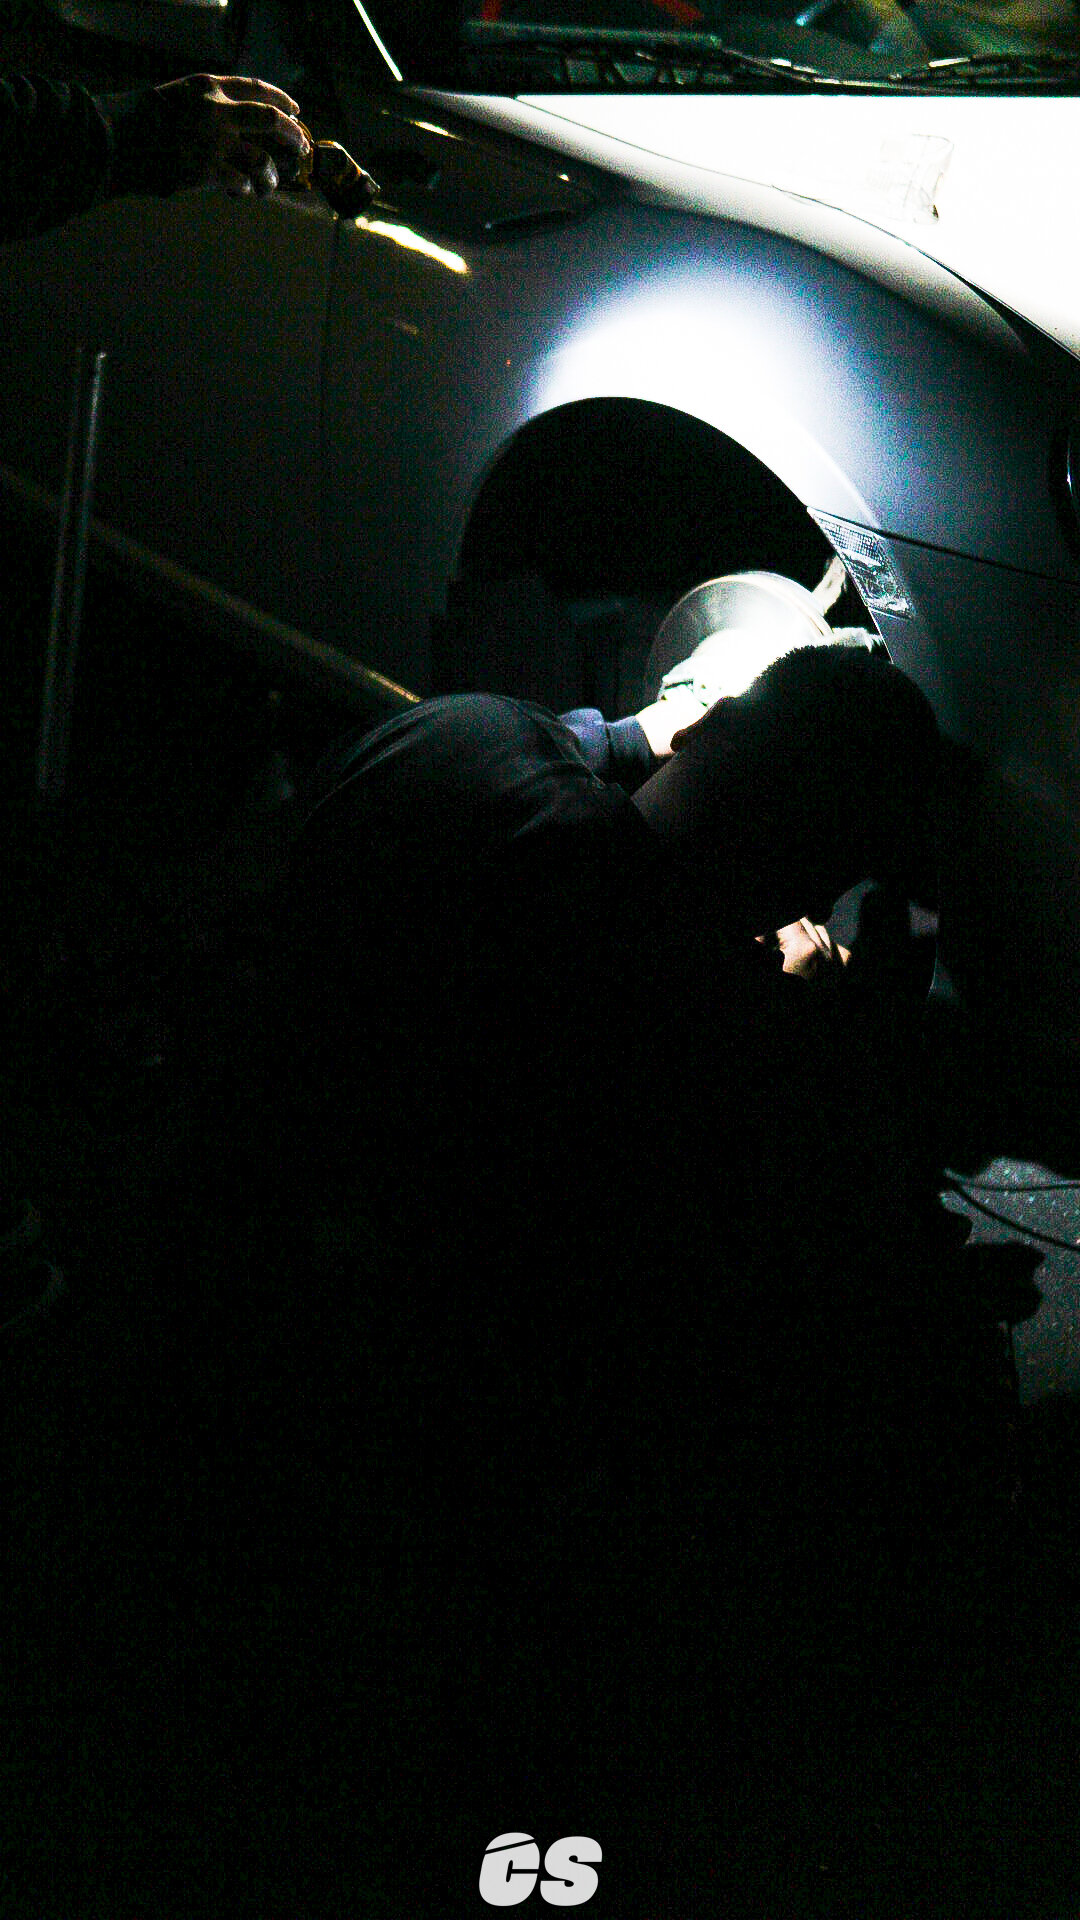
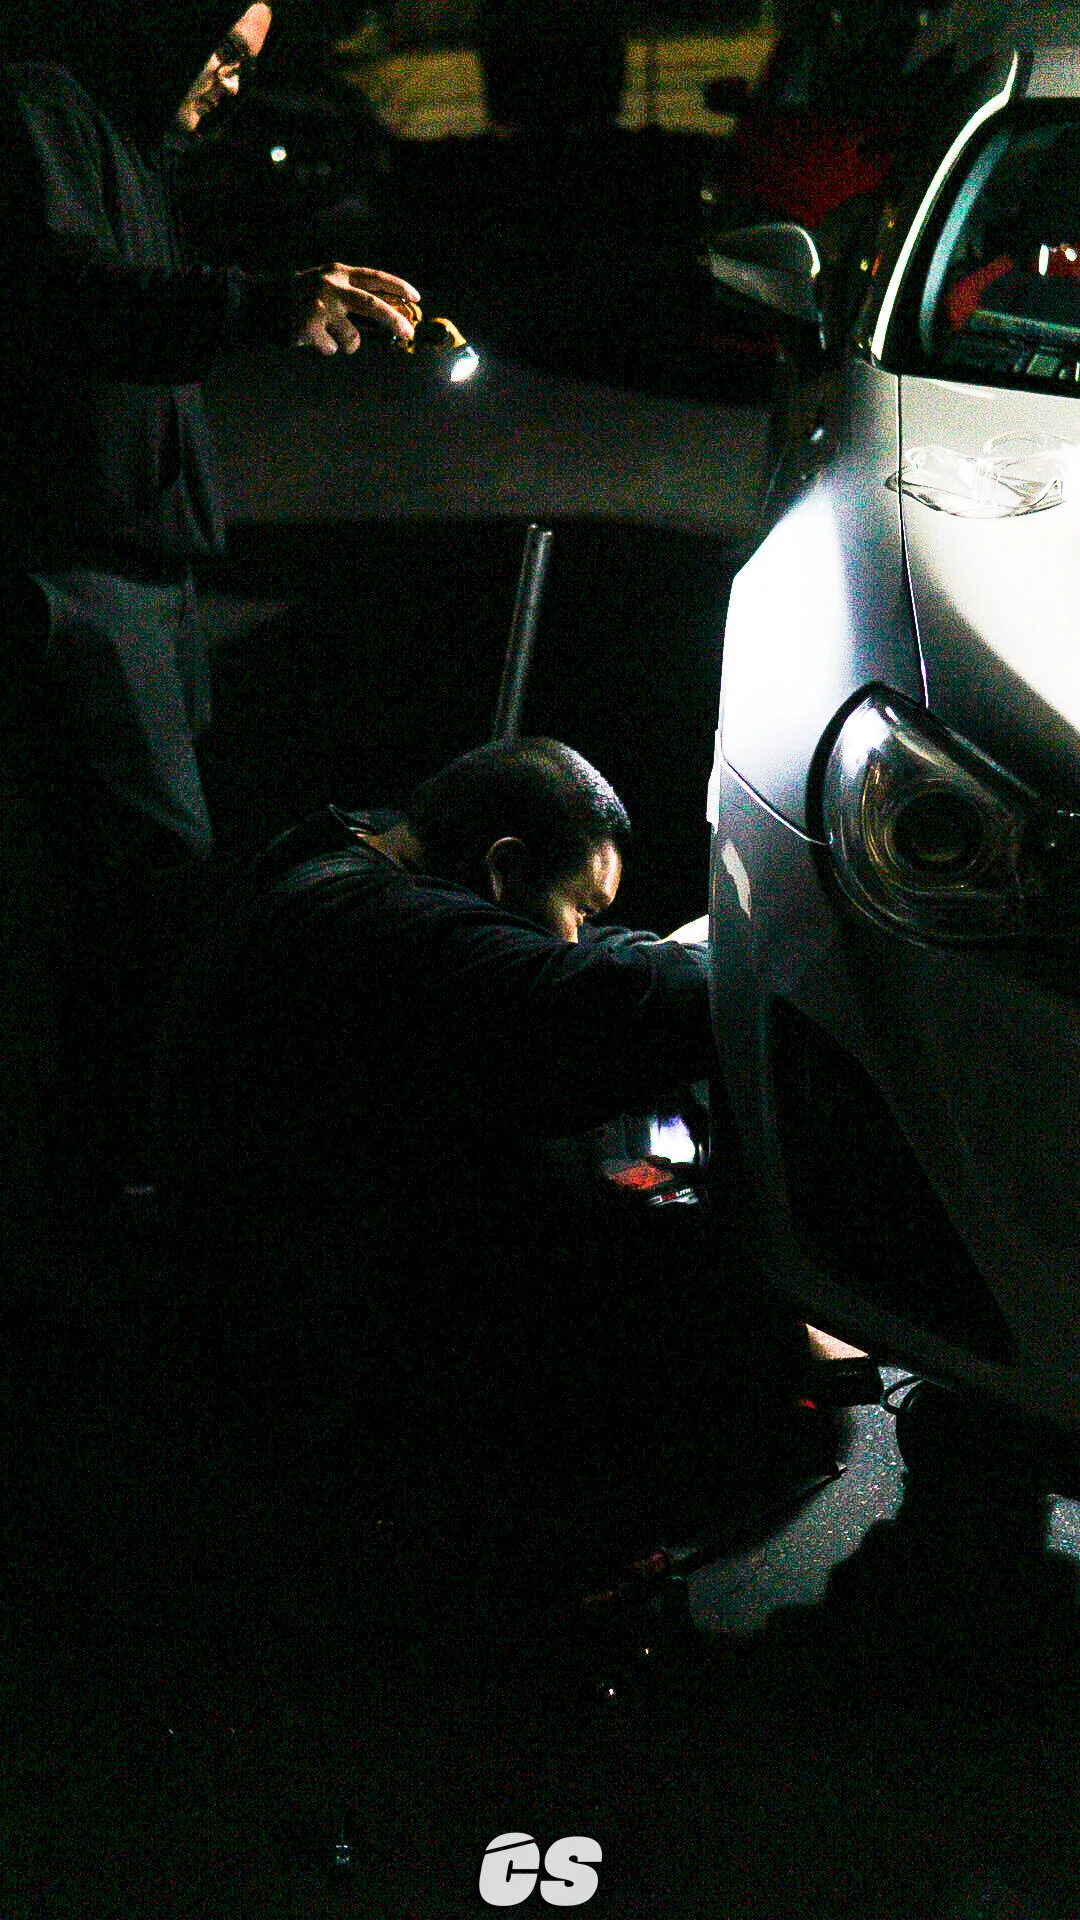
I started out with the driver’s side, which gave me a bit of a hard time. Even with a slide hammer, the main portion of the hub was still attached to the knuckle. As it turned out, the whole thing had to be removed. Luckily for me, the guys over at Midas gave it the old “Midas touch” and worked out that pesky hub.
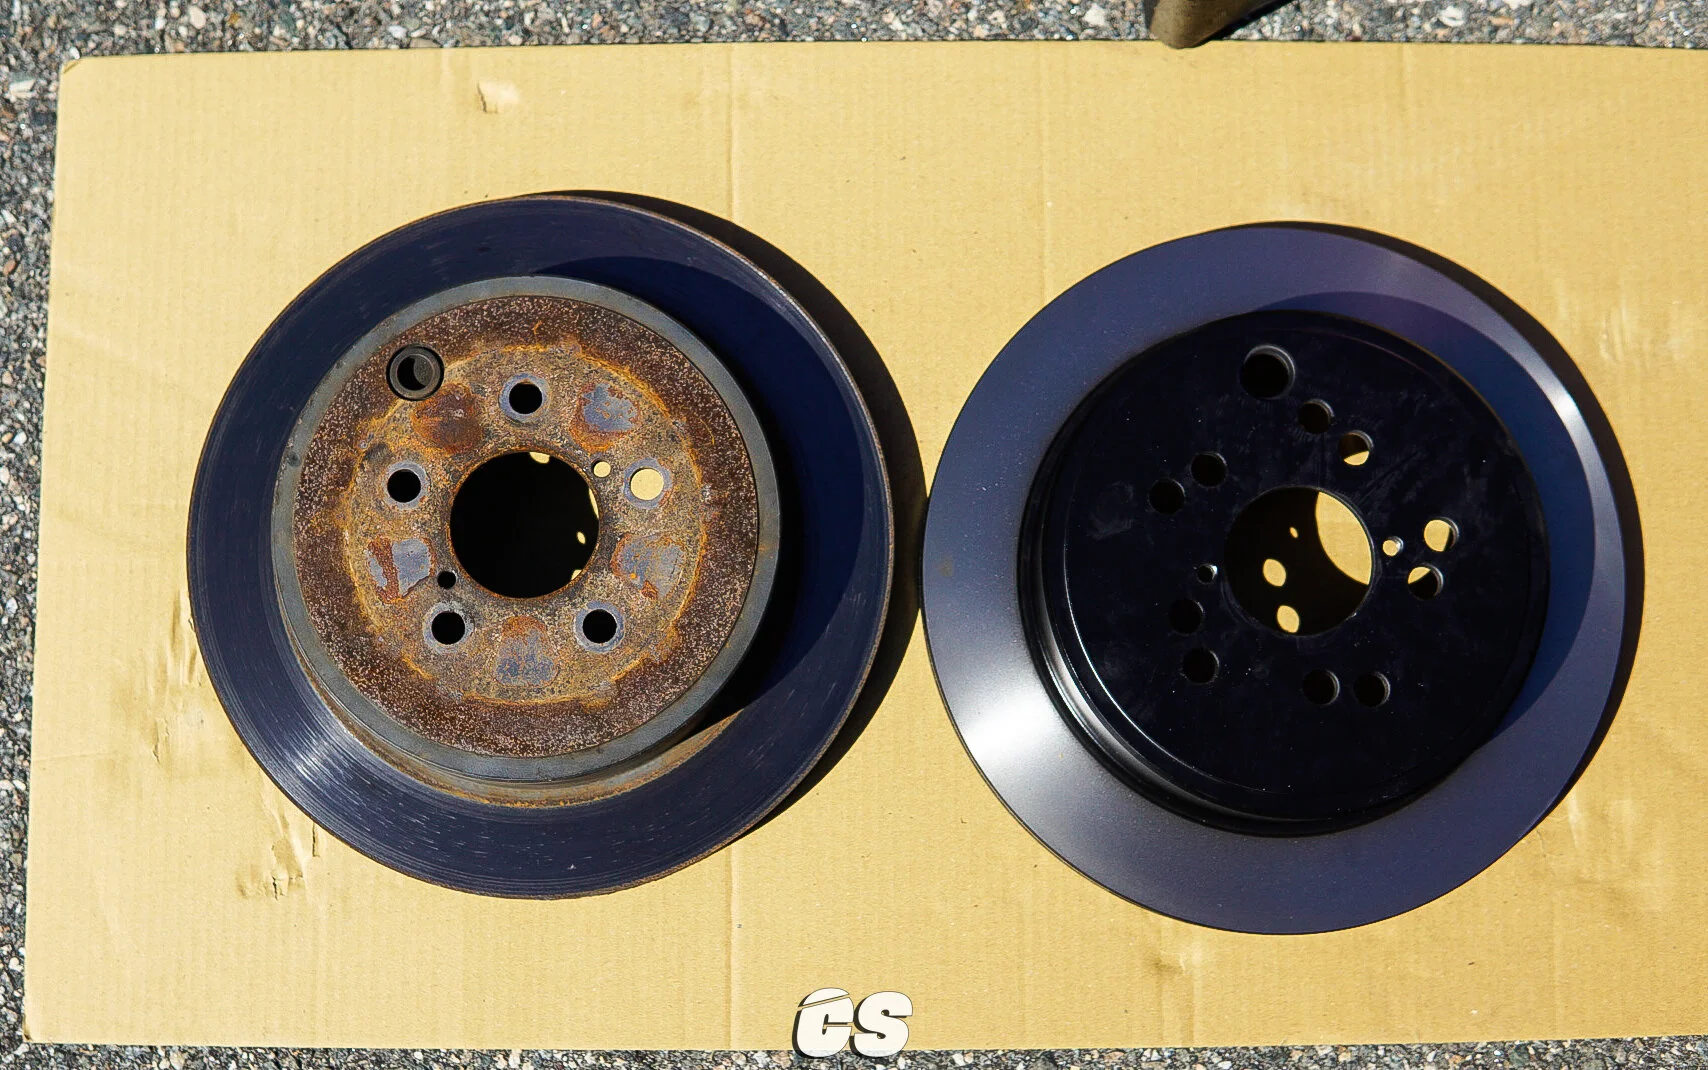
Here’s a side by side comparison of the rotors—the color makes it hard to see, but the new rotor’s center is a bit larger, even with the overall circumference being the same size as the old one. This allows for clearance of both the hub and caliper.


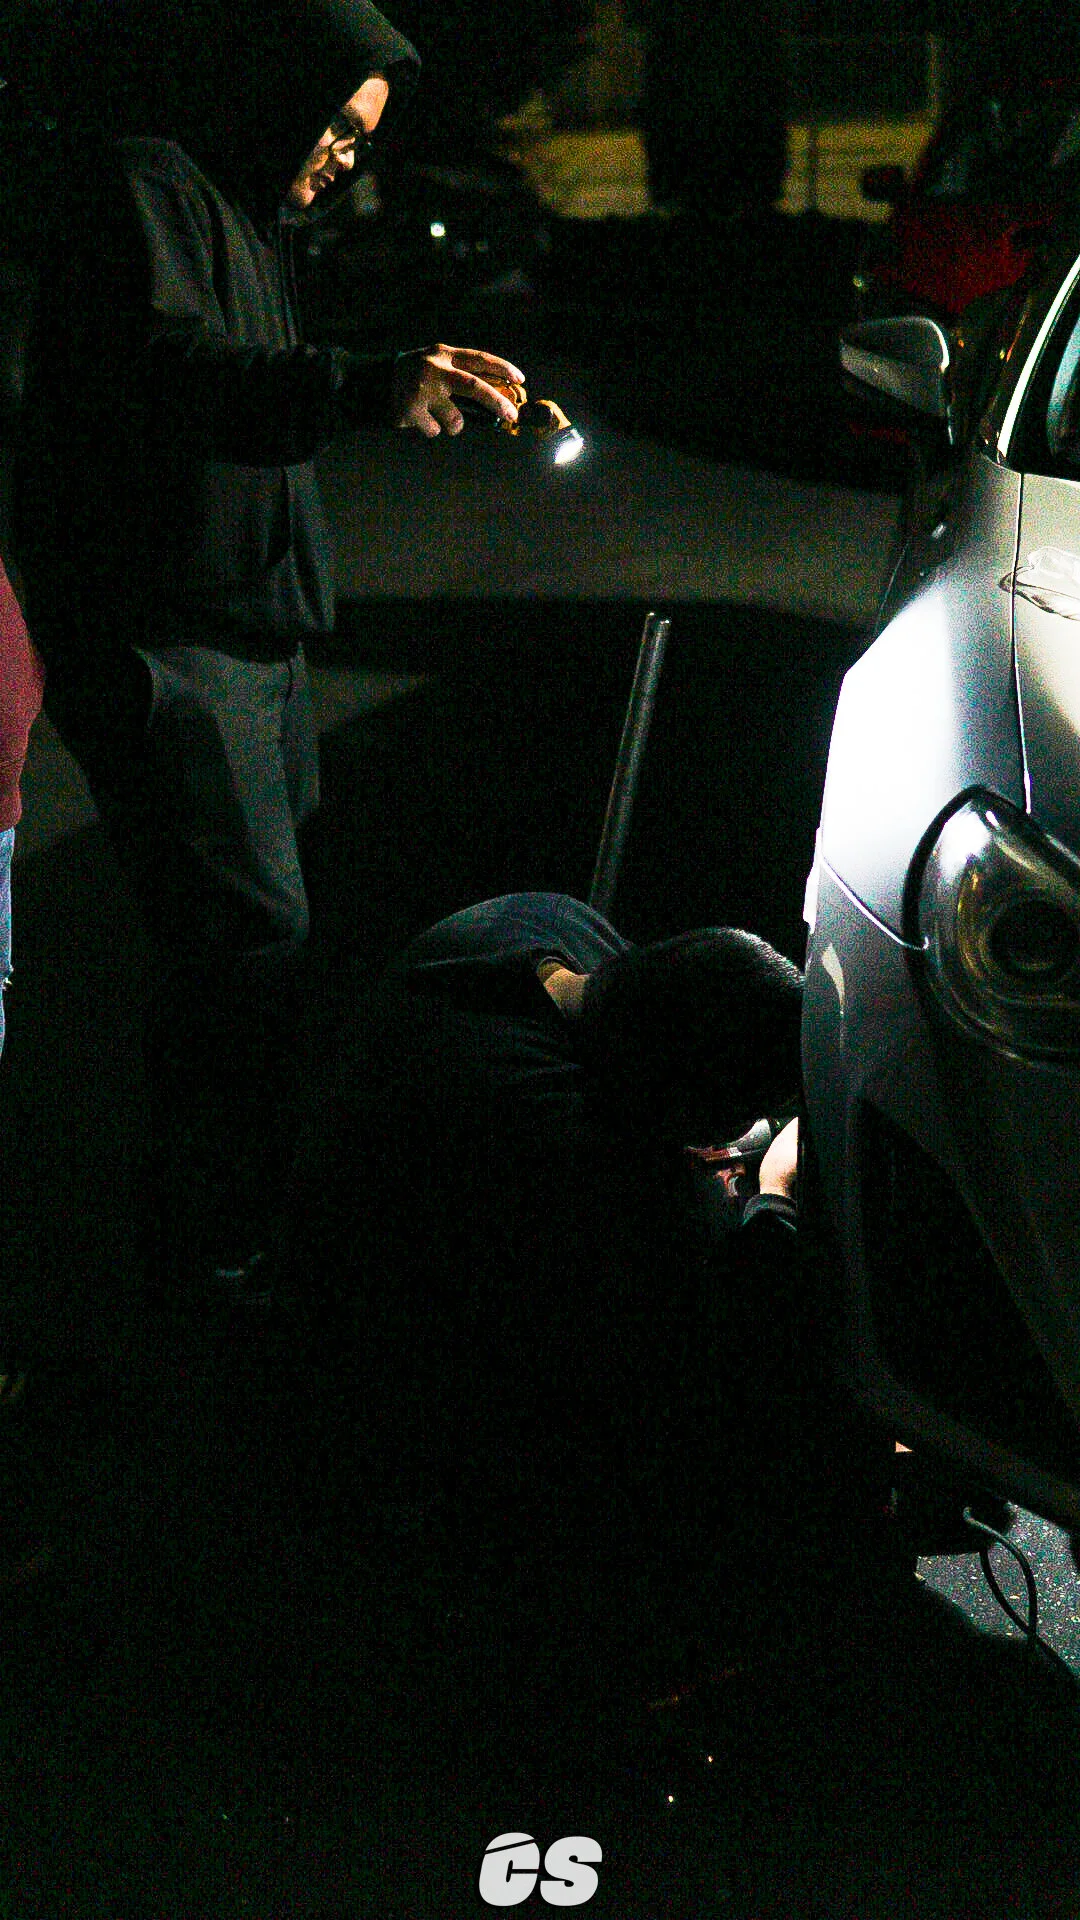
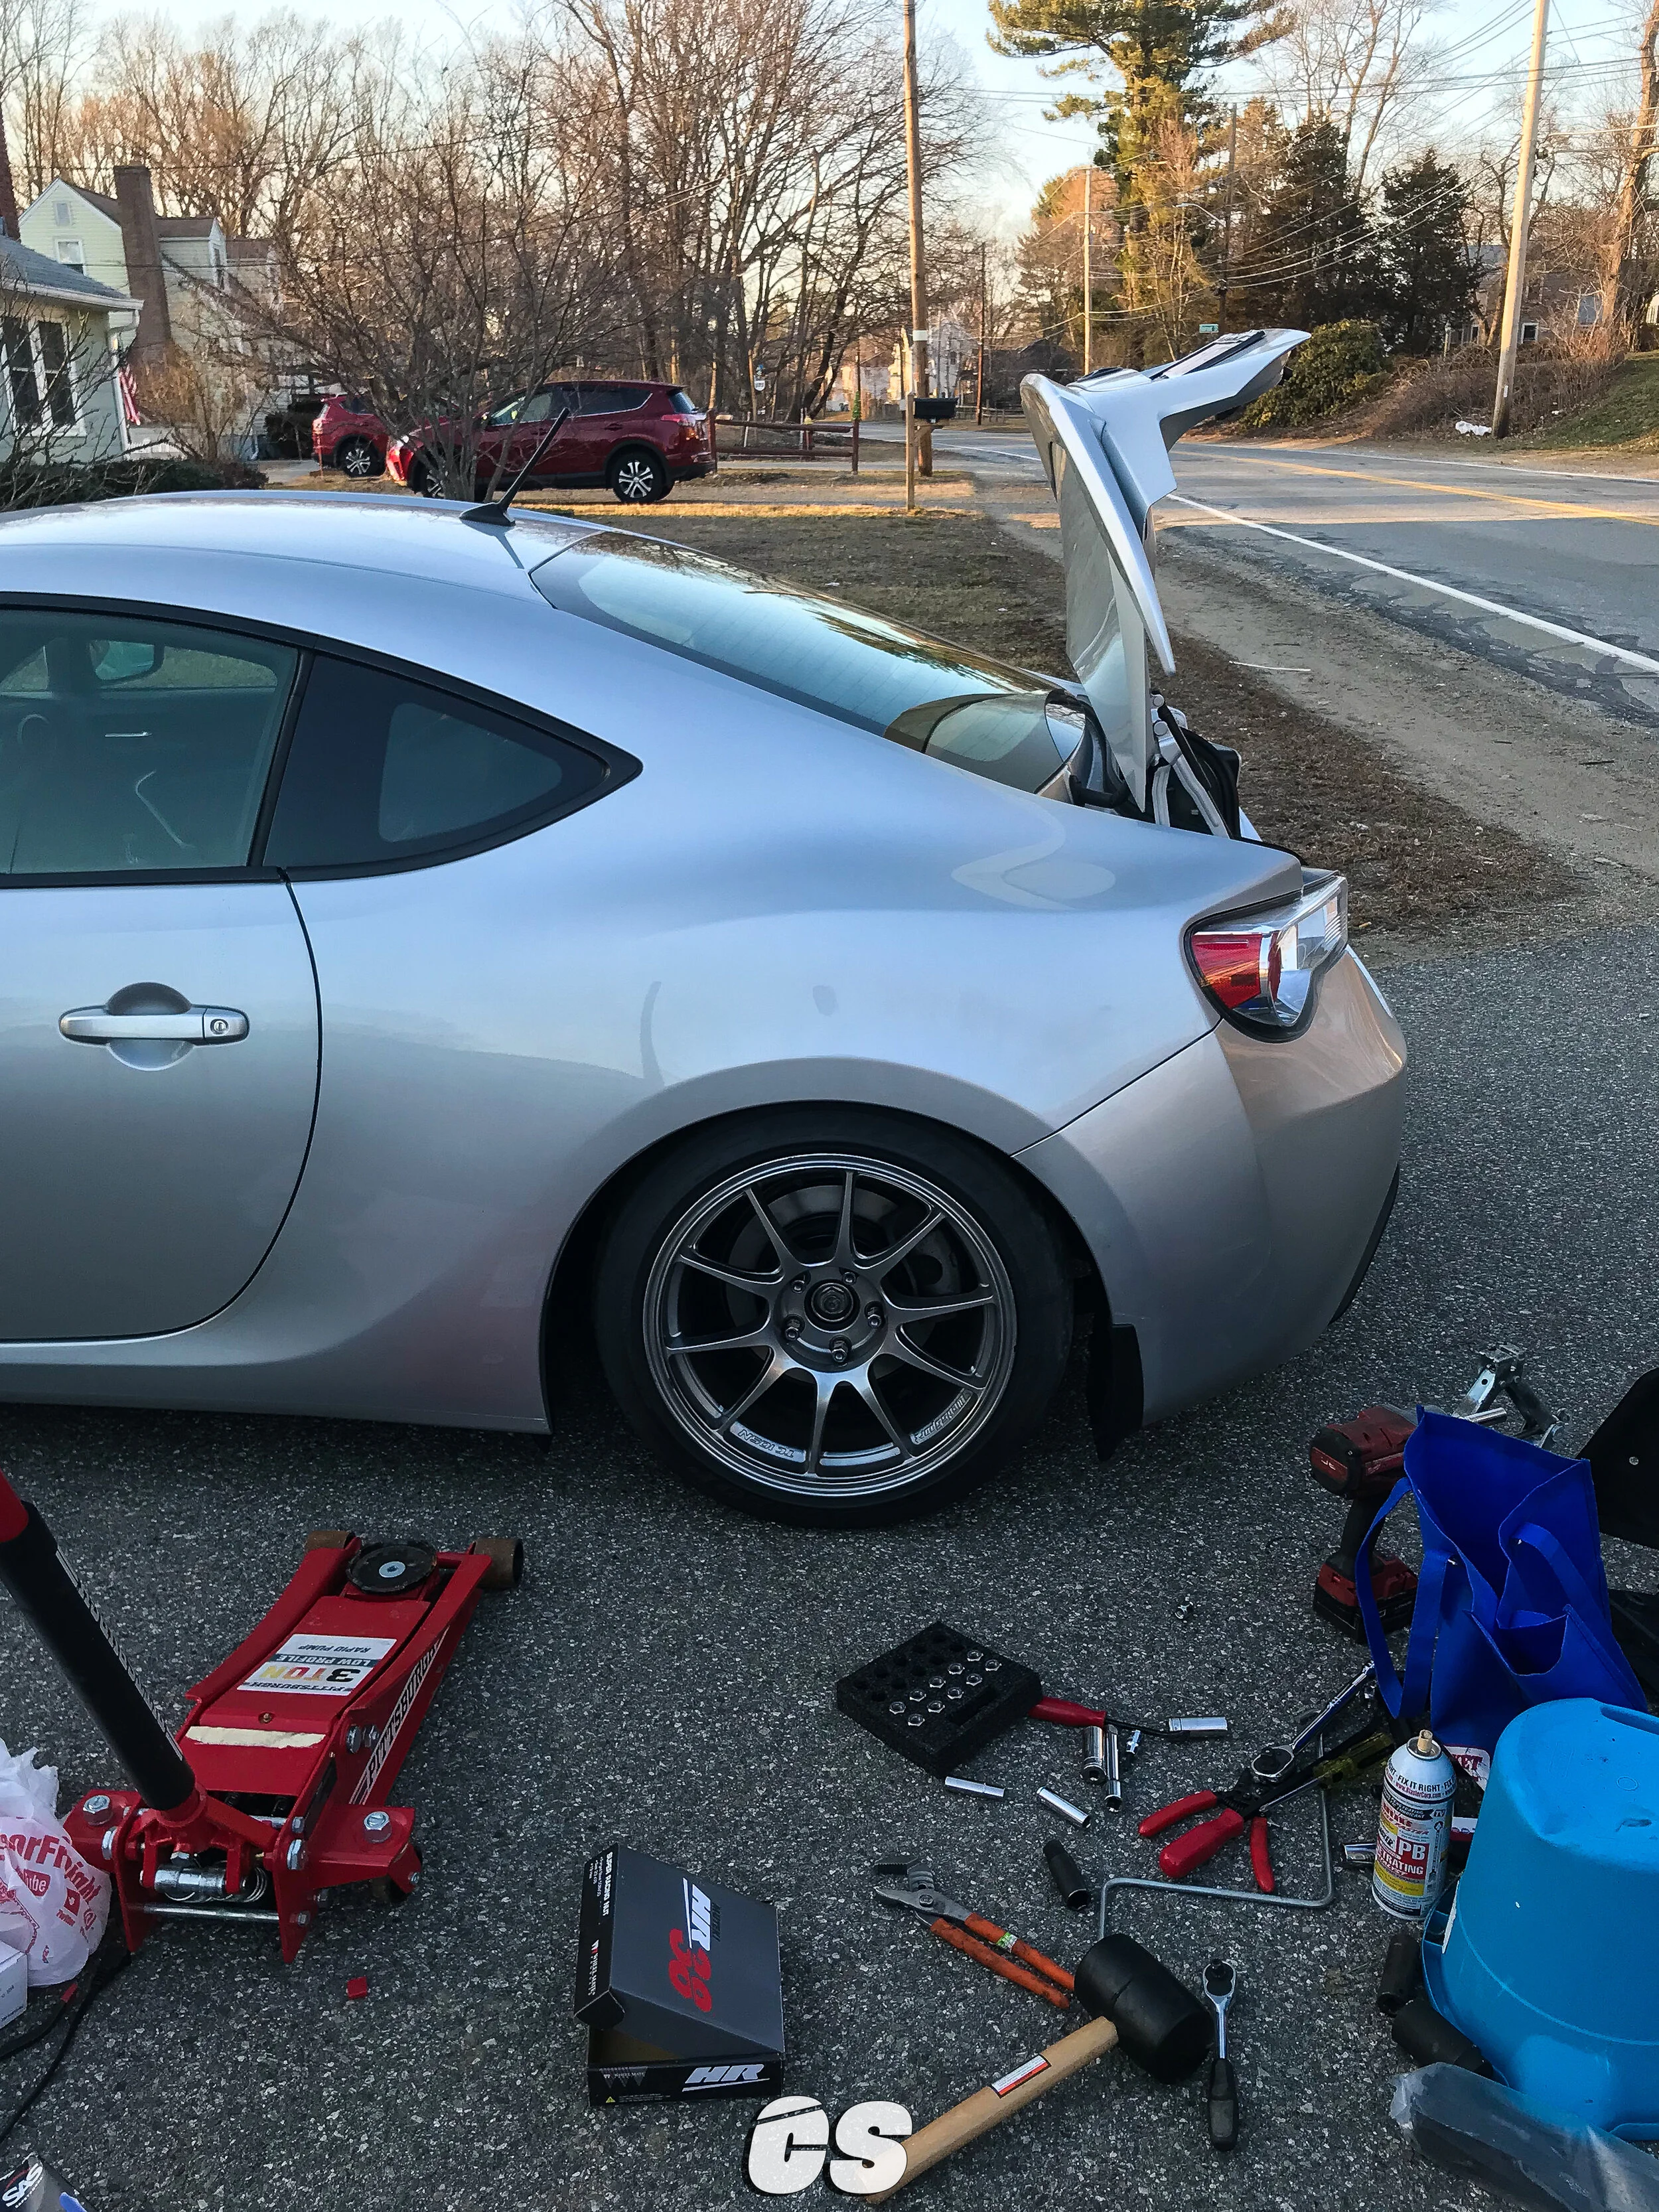
Fortunately. the passenger side was slightly more cooperative—everything came off and went back on smoothly. By the time I made any progress, I was already losing daylight, so I left the coilovers at their factory height settings.


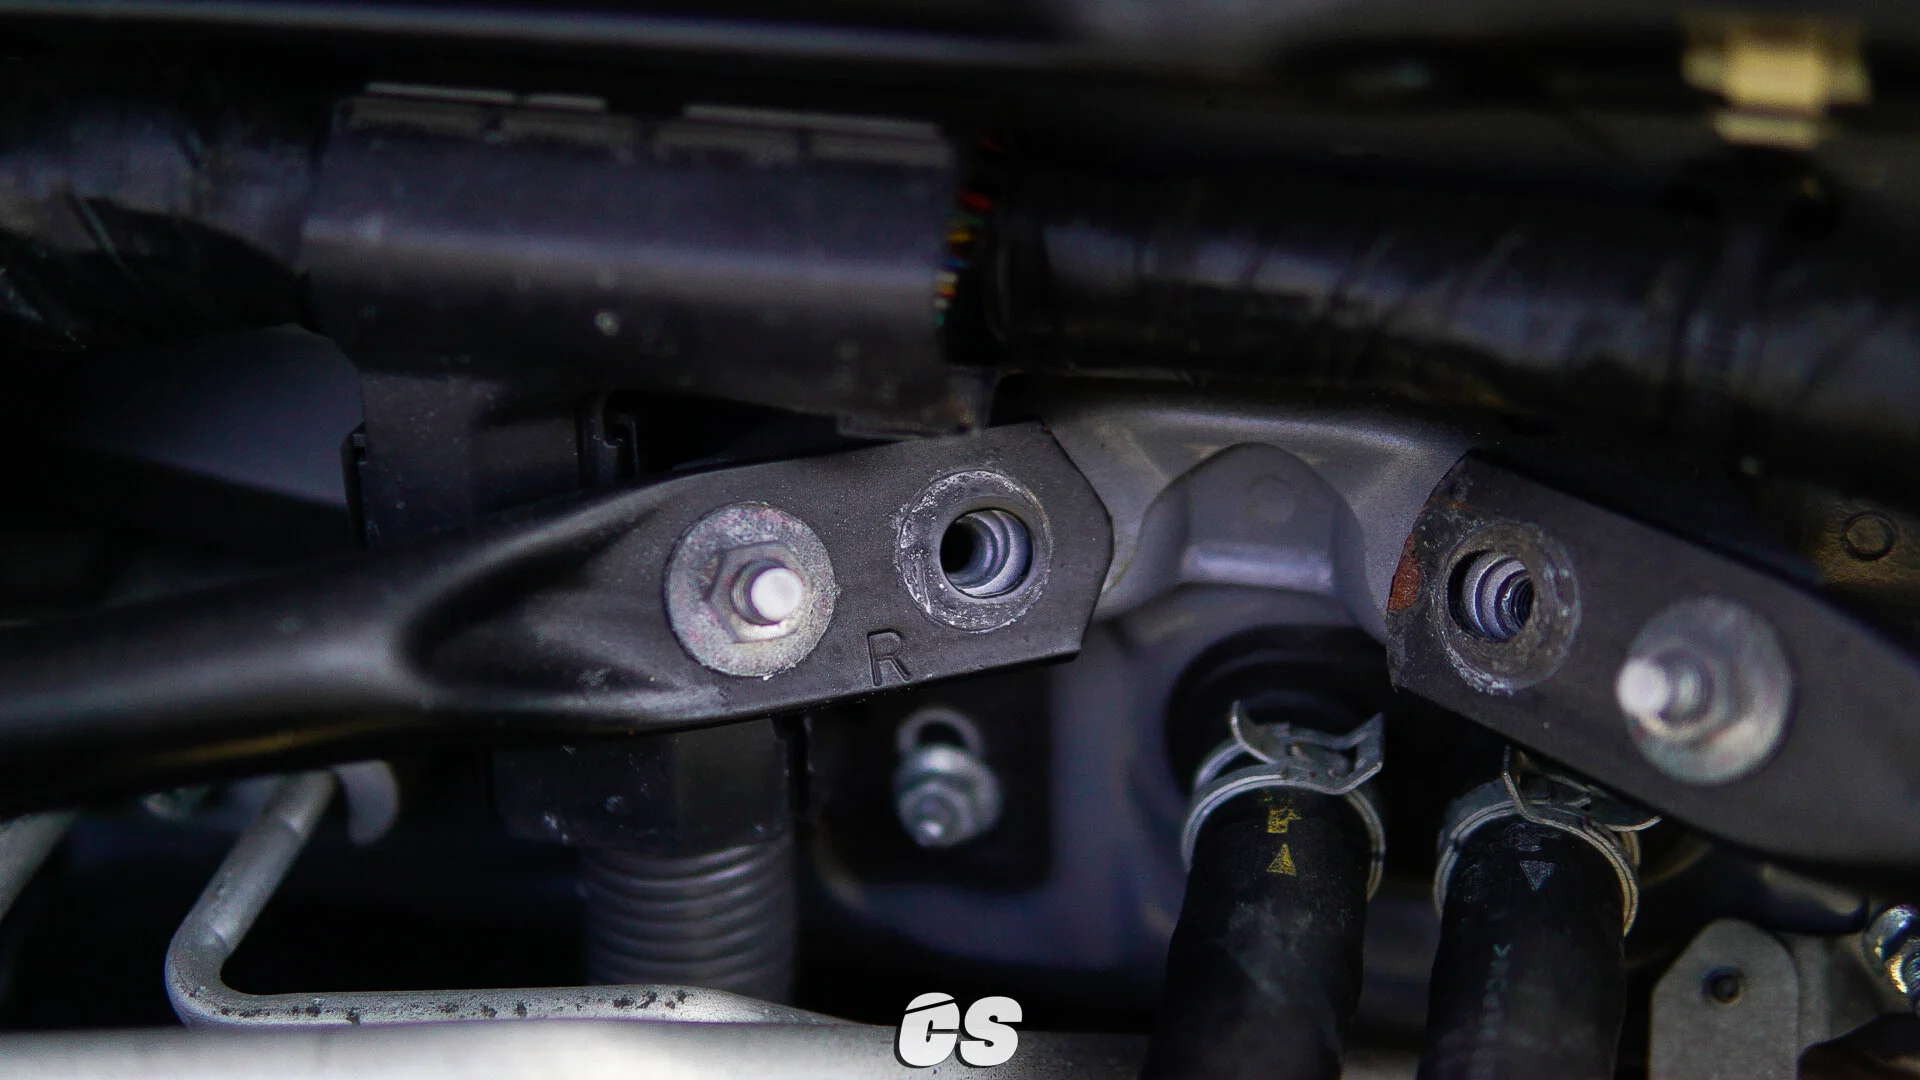
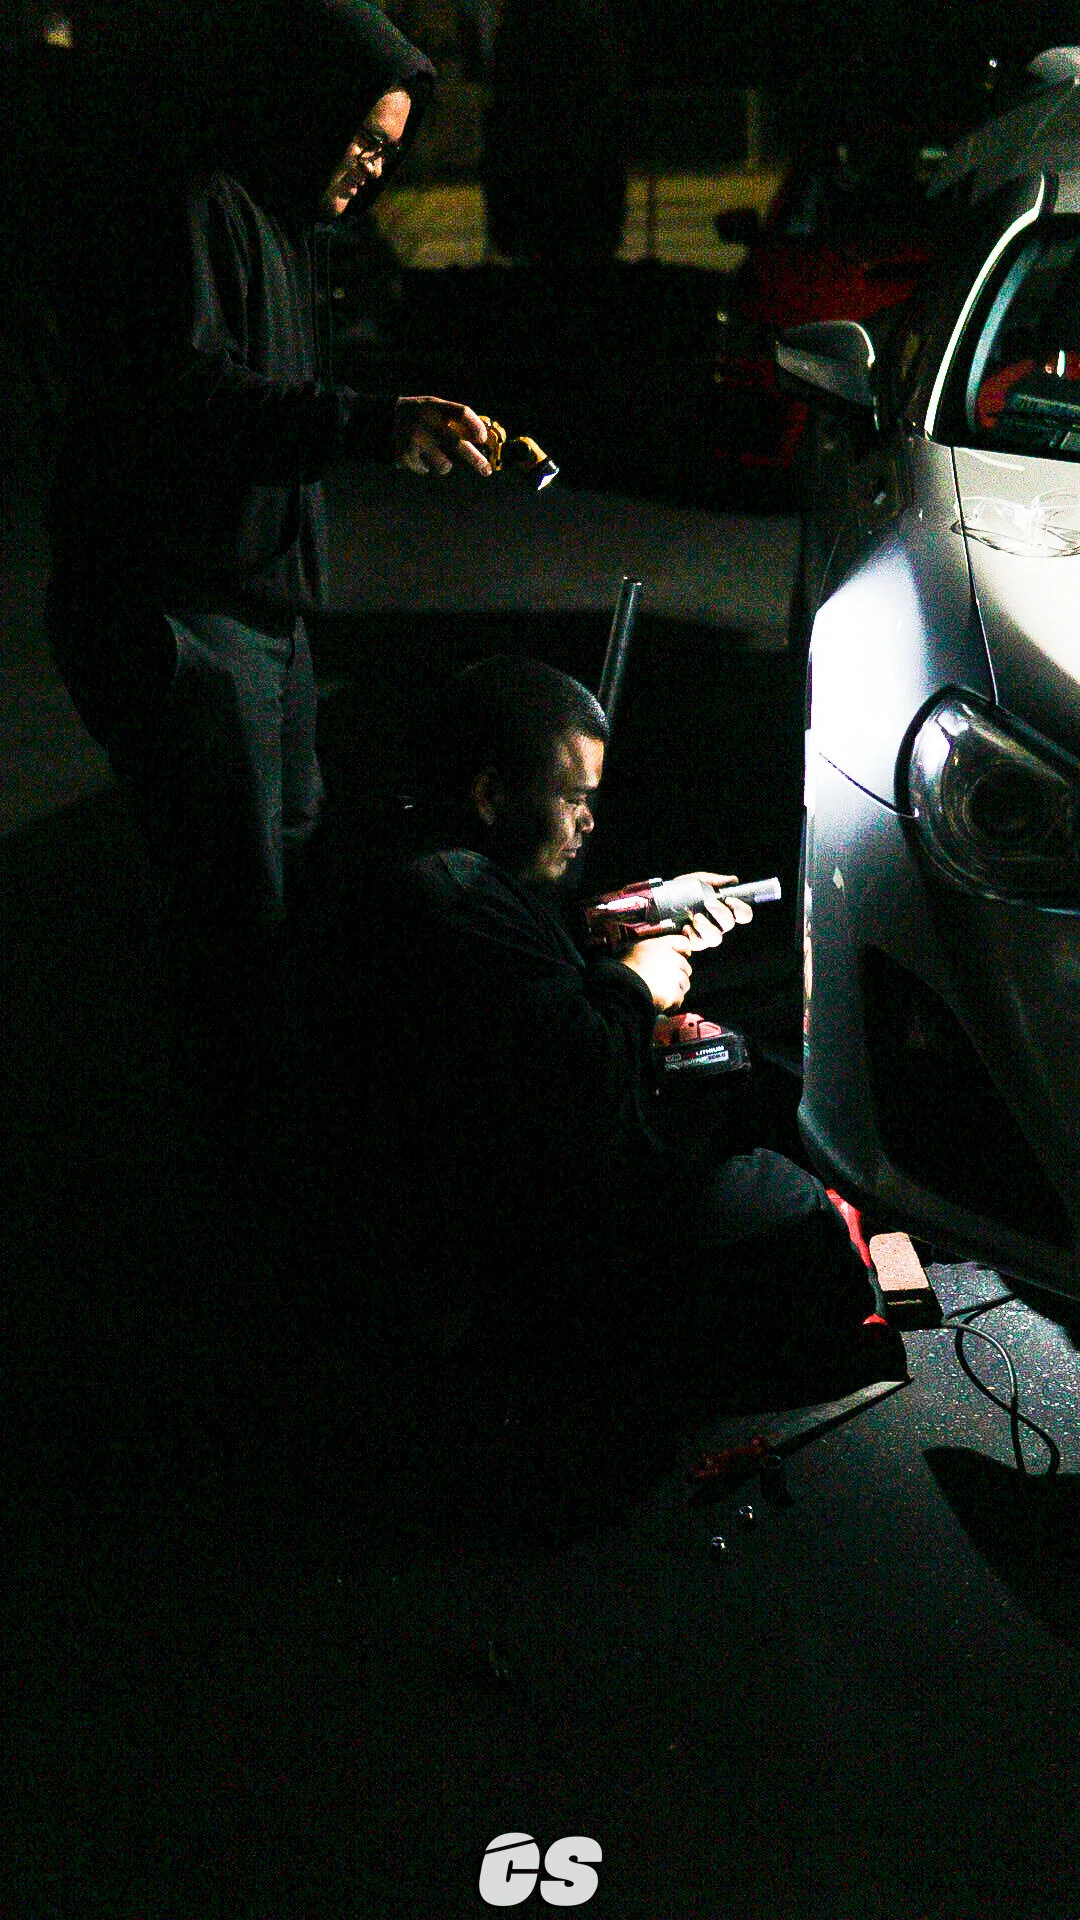
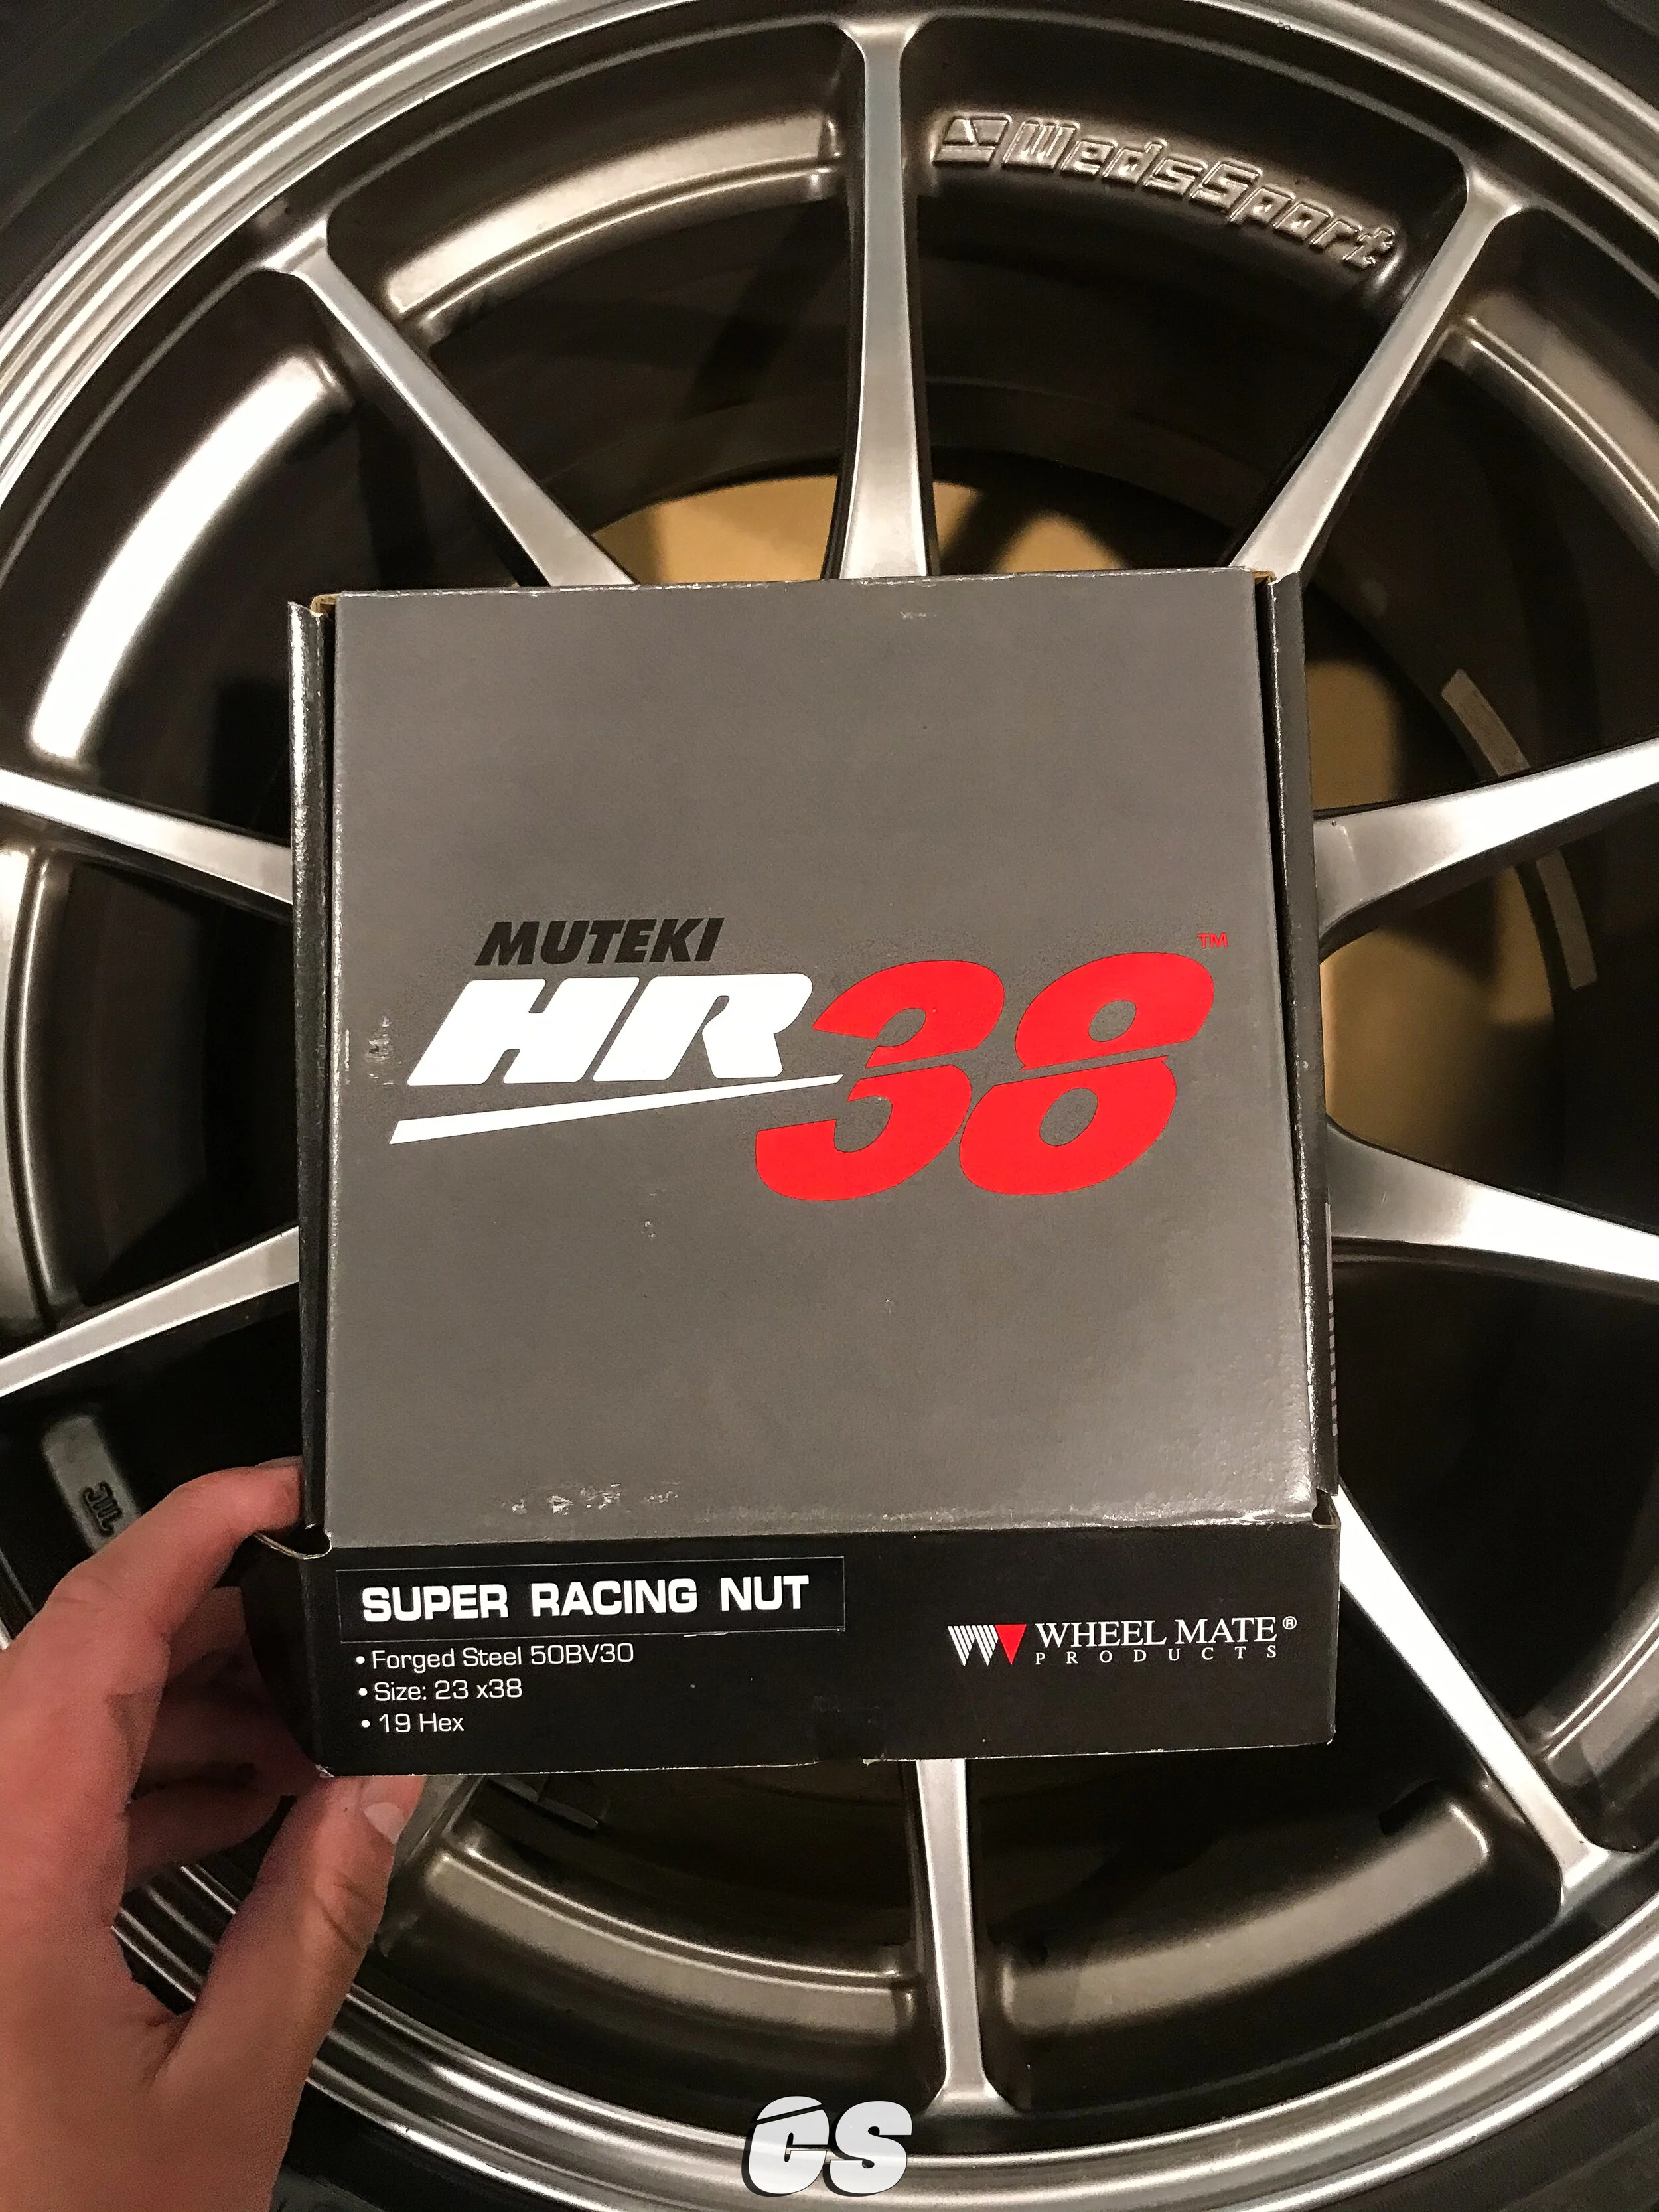
As the sun was setting, I ran into more issues with the car on the front half of the suspension. The factory endlinks were corroded, making it much harder to remove the nut. Thankfully, I was rescued by long time friends Davy Tham, Goeun To, and Nathan Thepbanthao. The endlinks were one of two minor issues we ran into that night. In addition to that, the factory studs were too long to accept the adapters. To alleviate the issue, we trimmed the studs until they fit over the wheels like a glove. It may sound a little sketchy, but it all worked in the end.

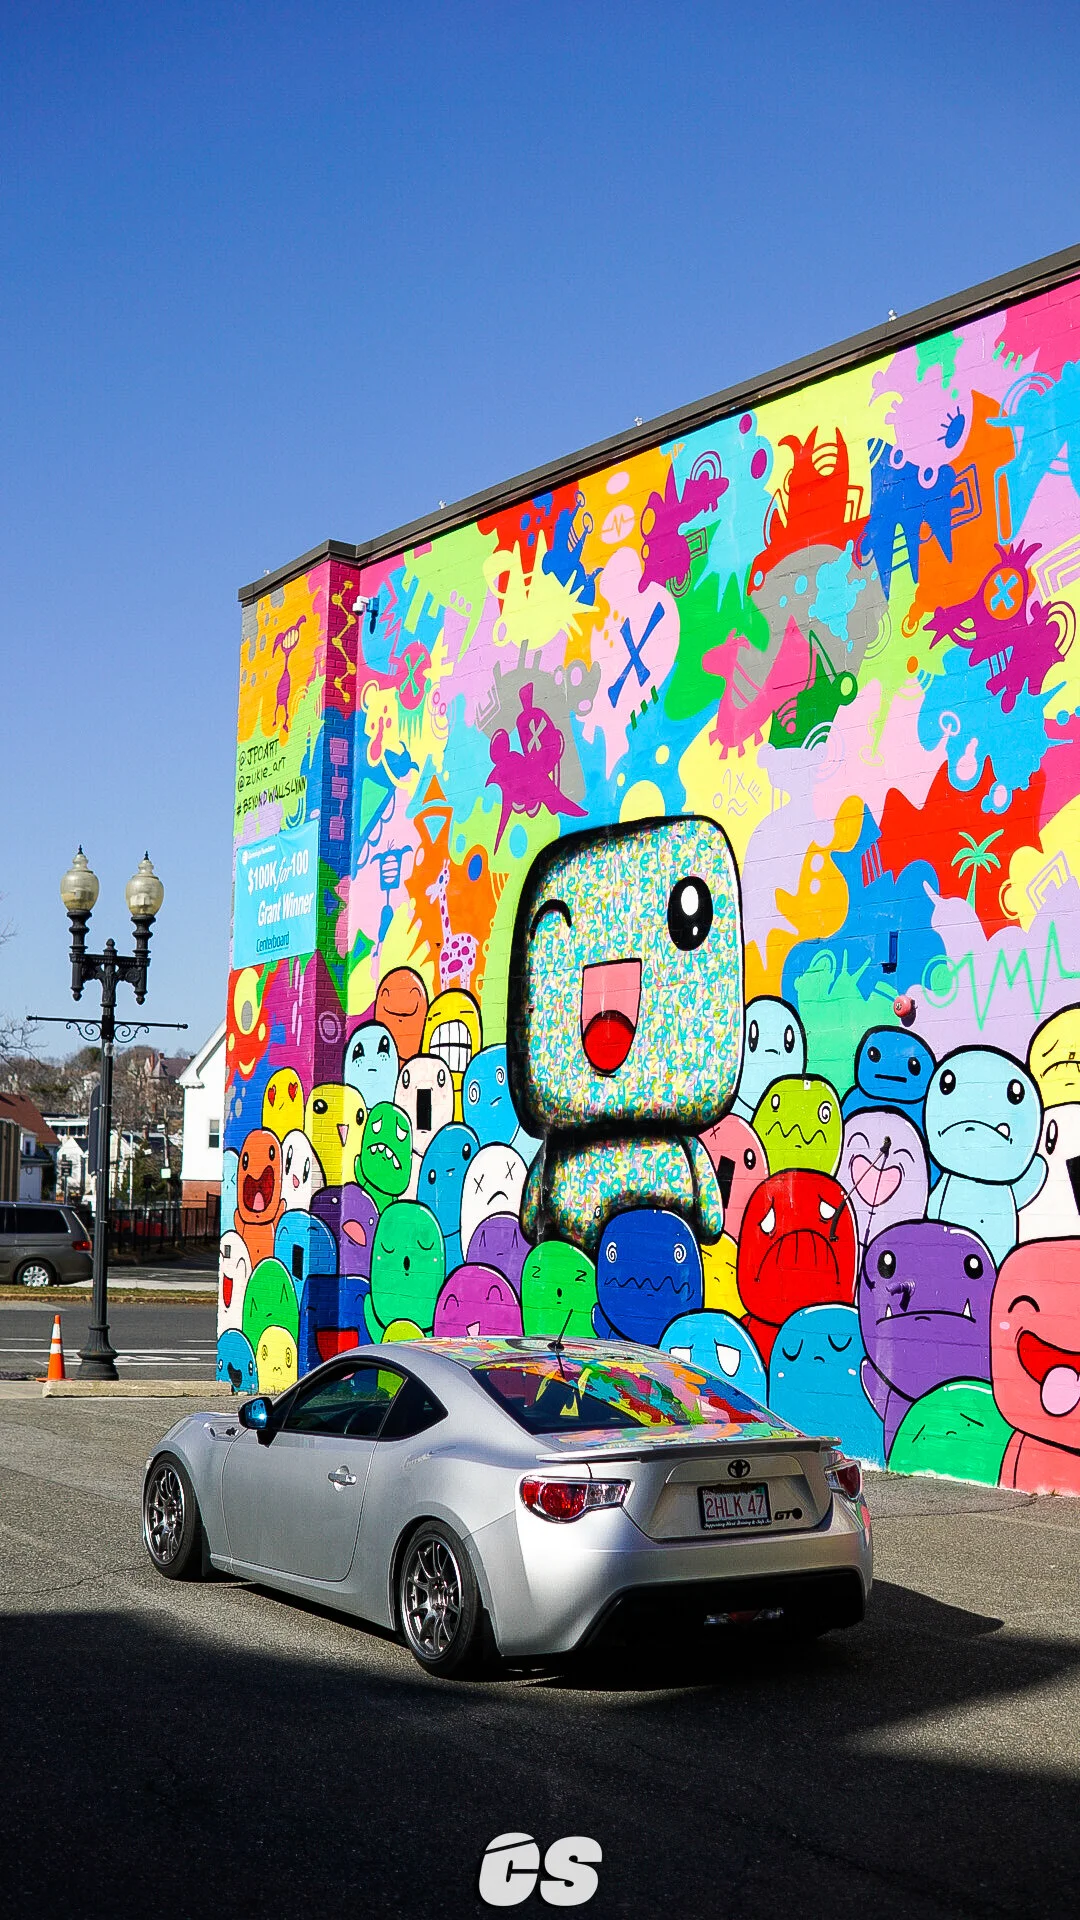
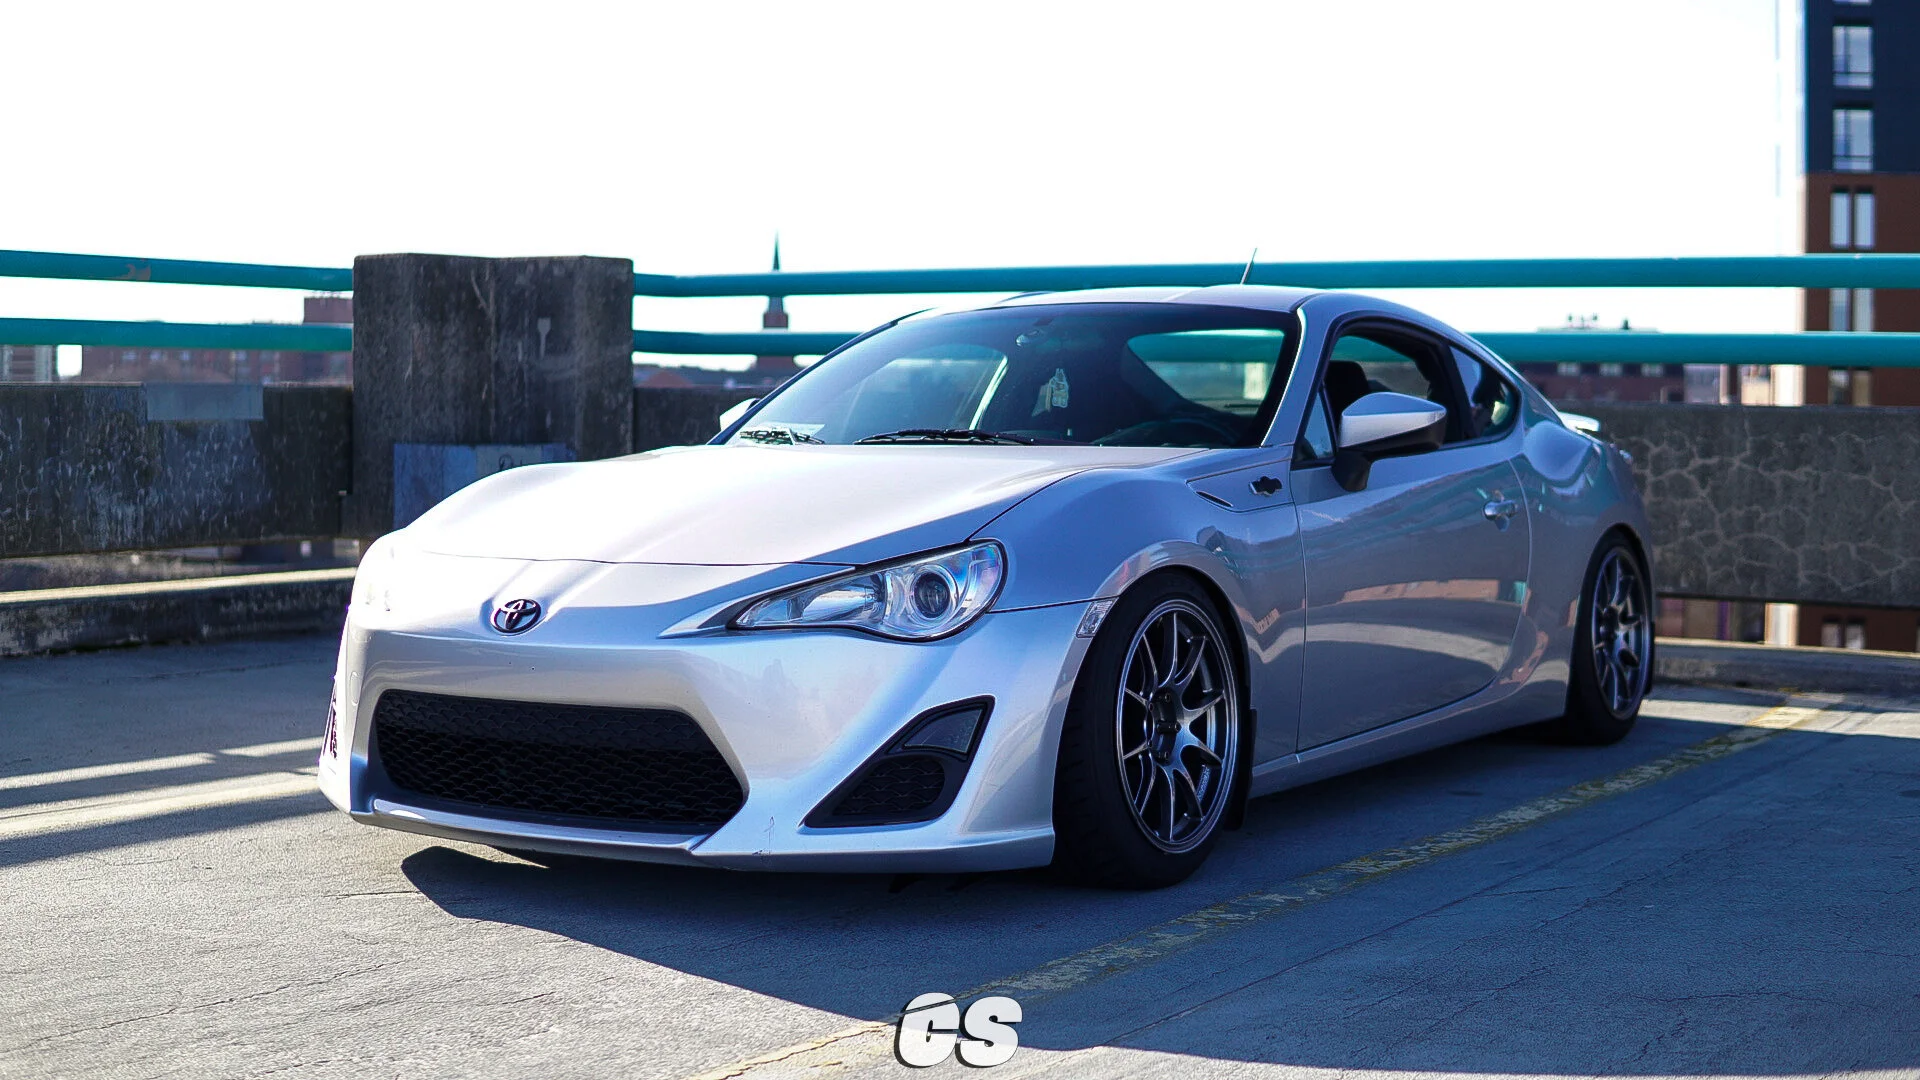
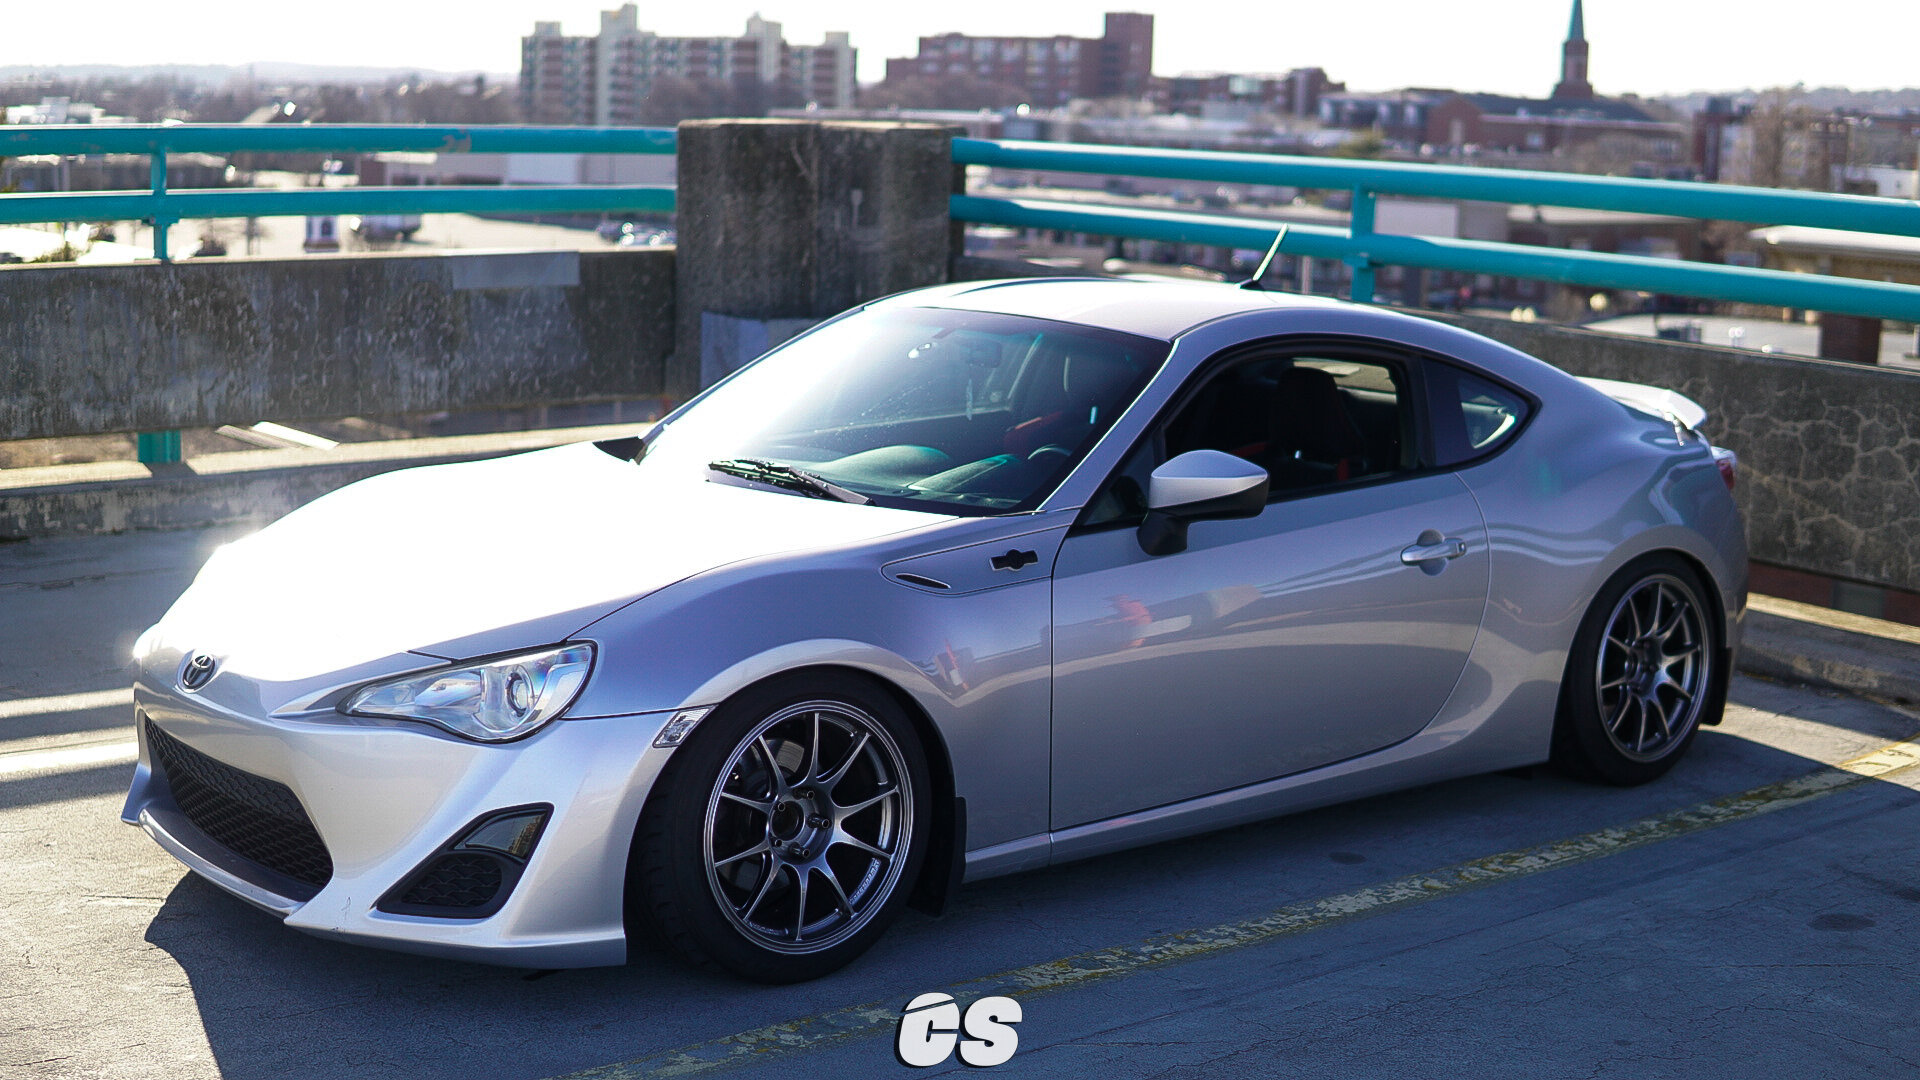
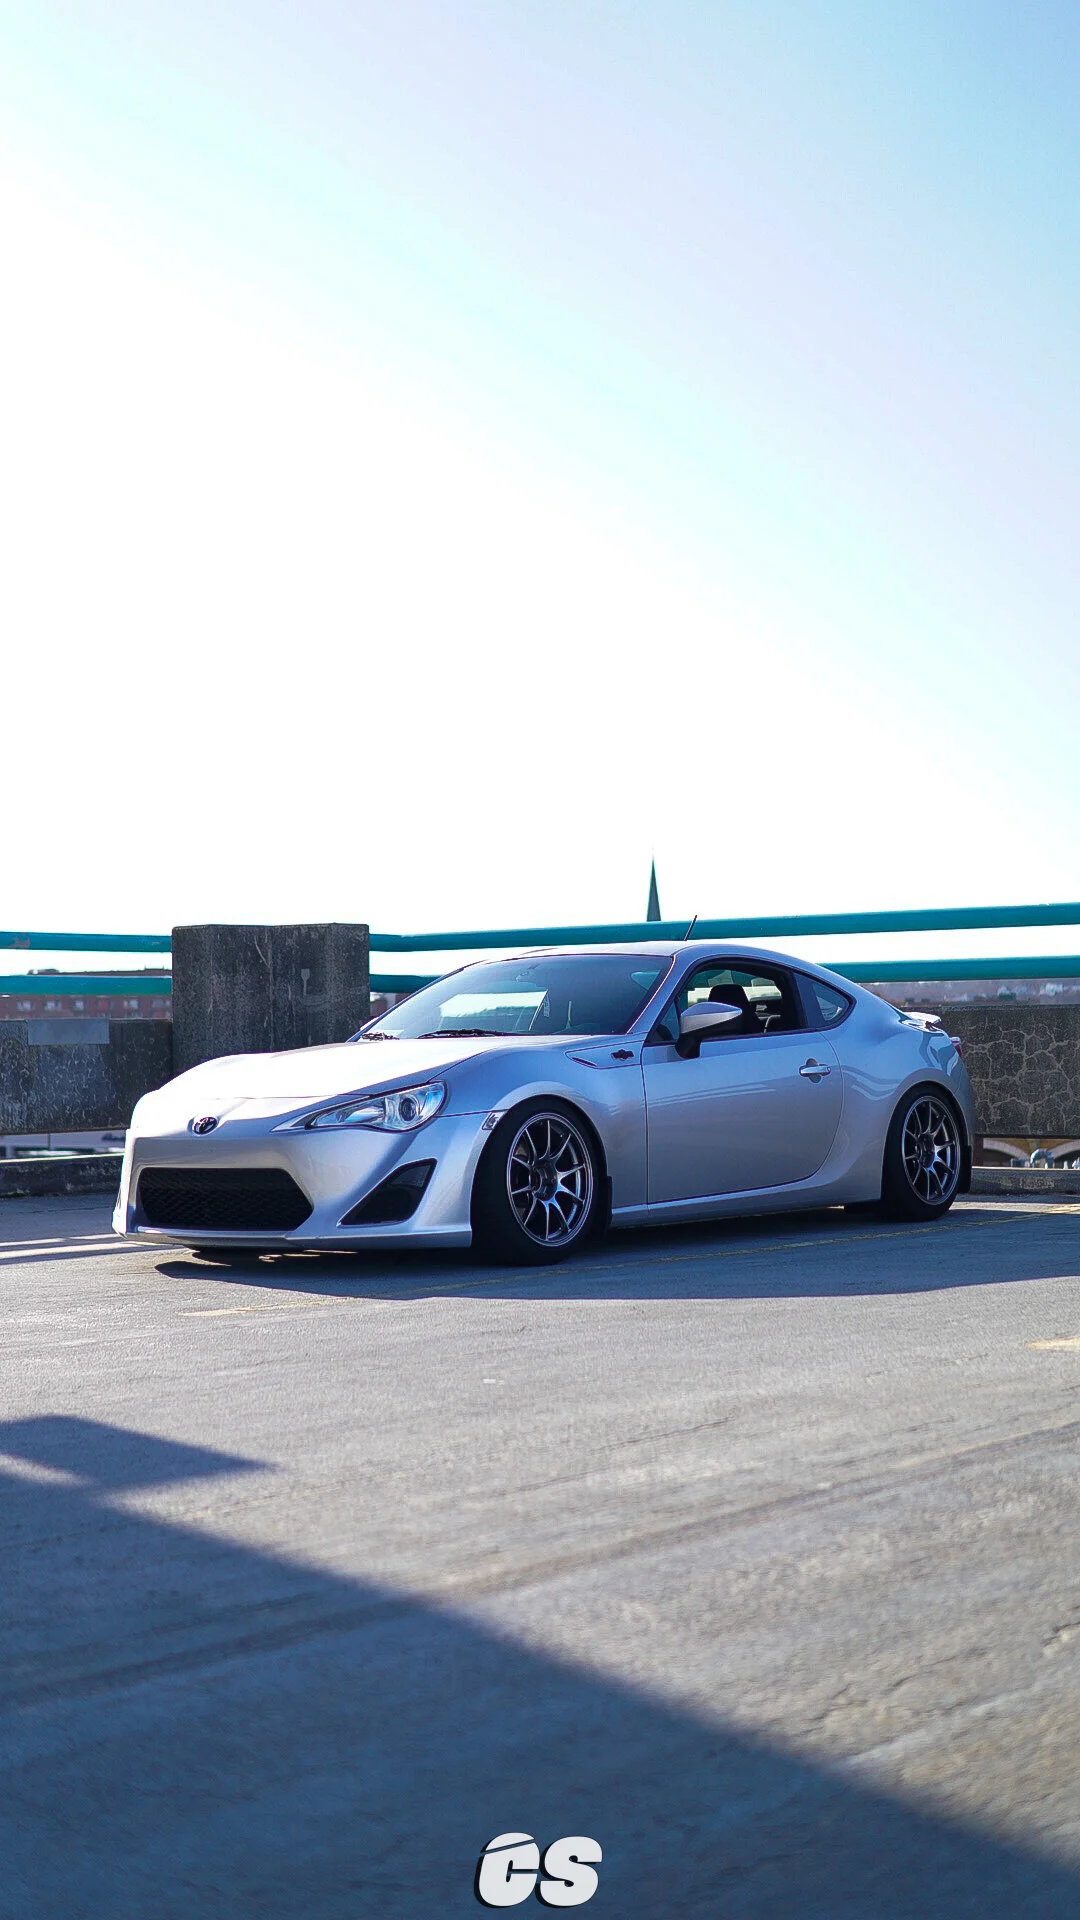
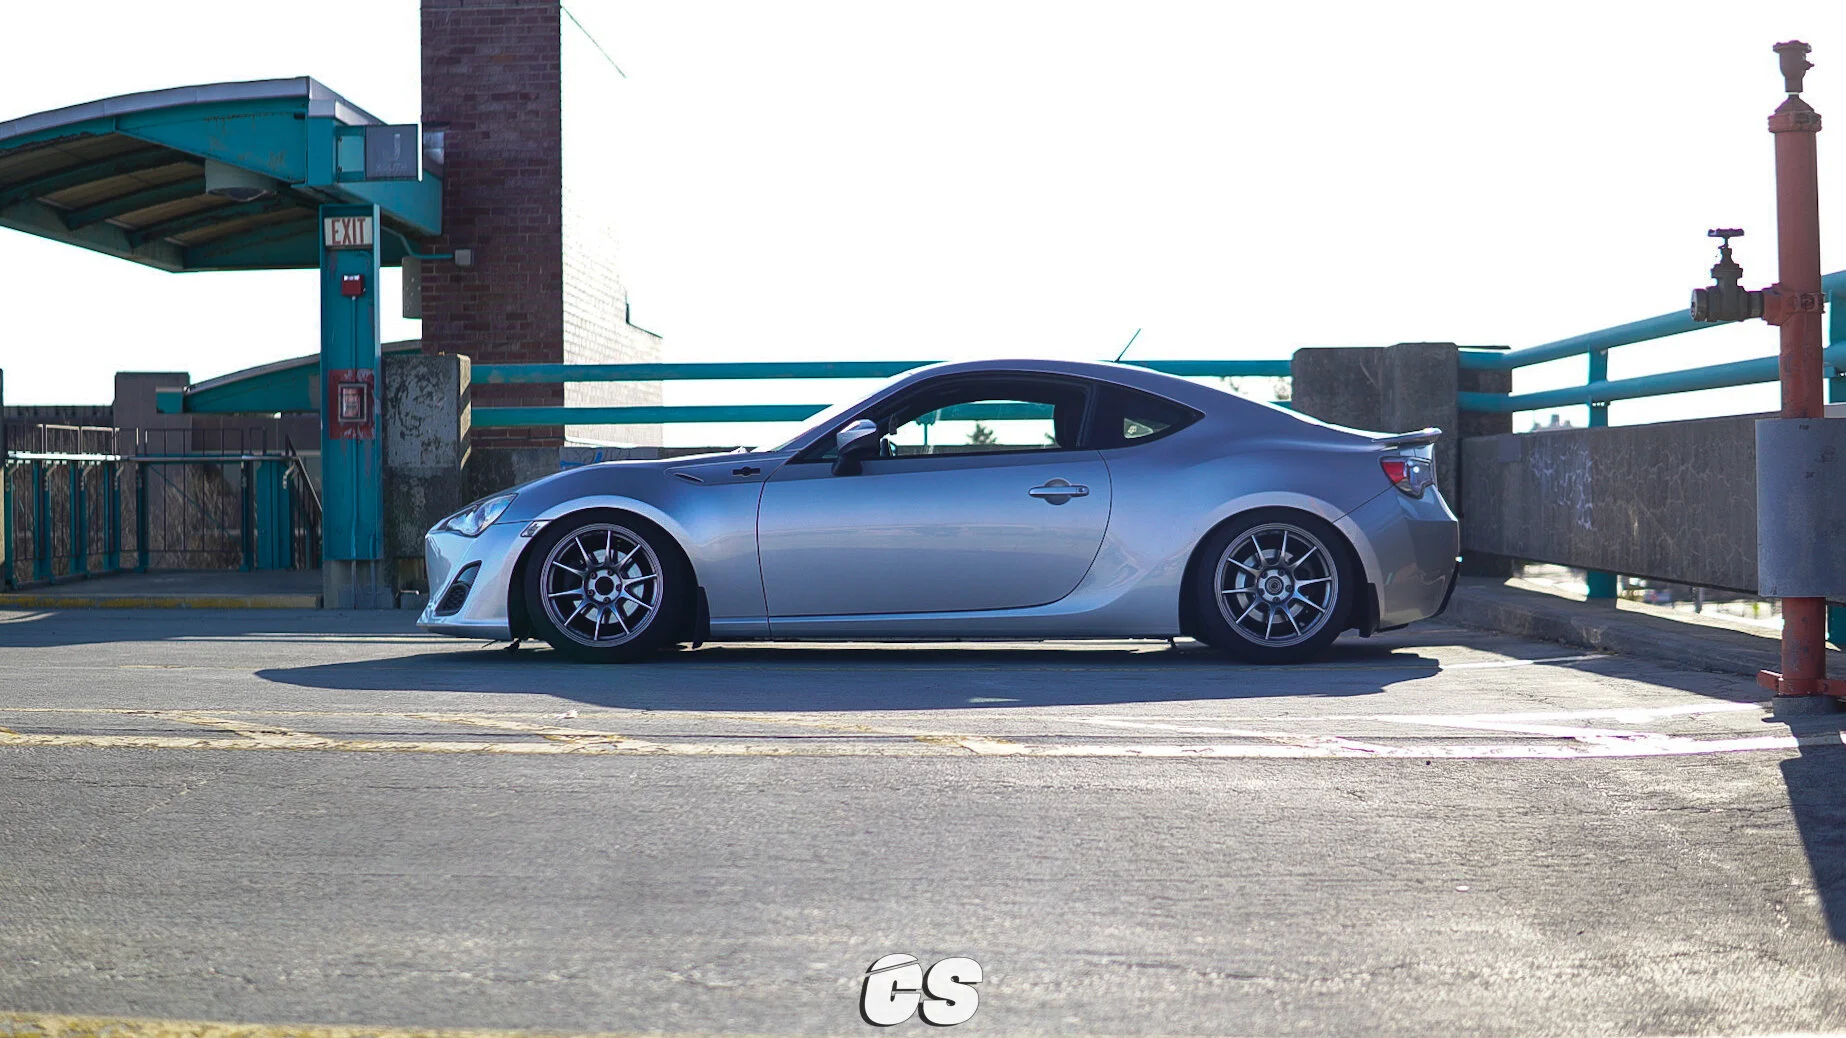
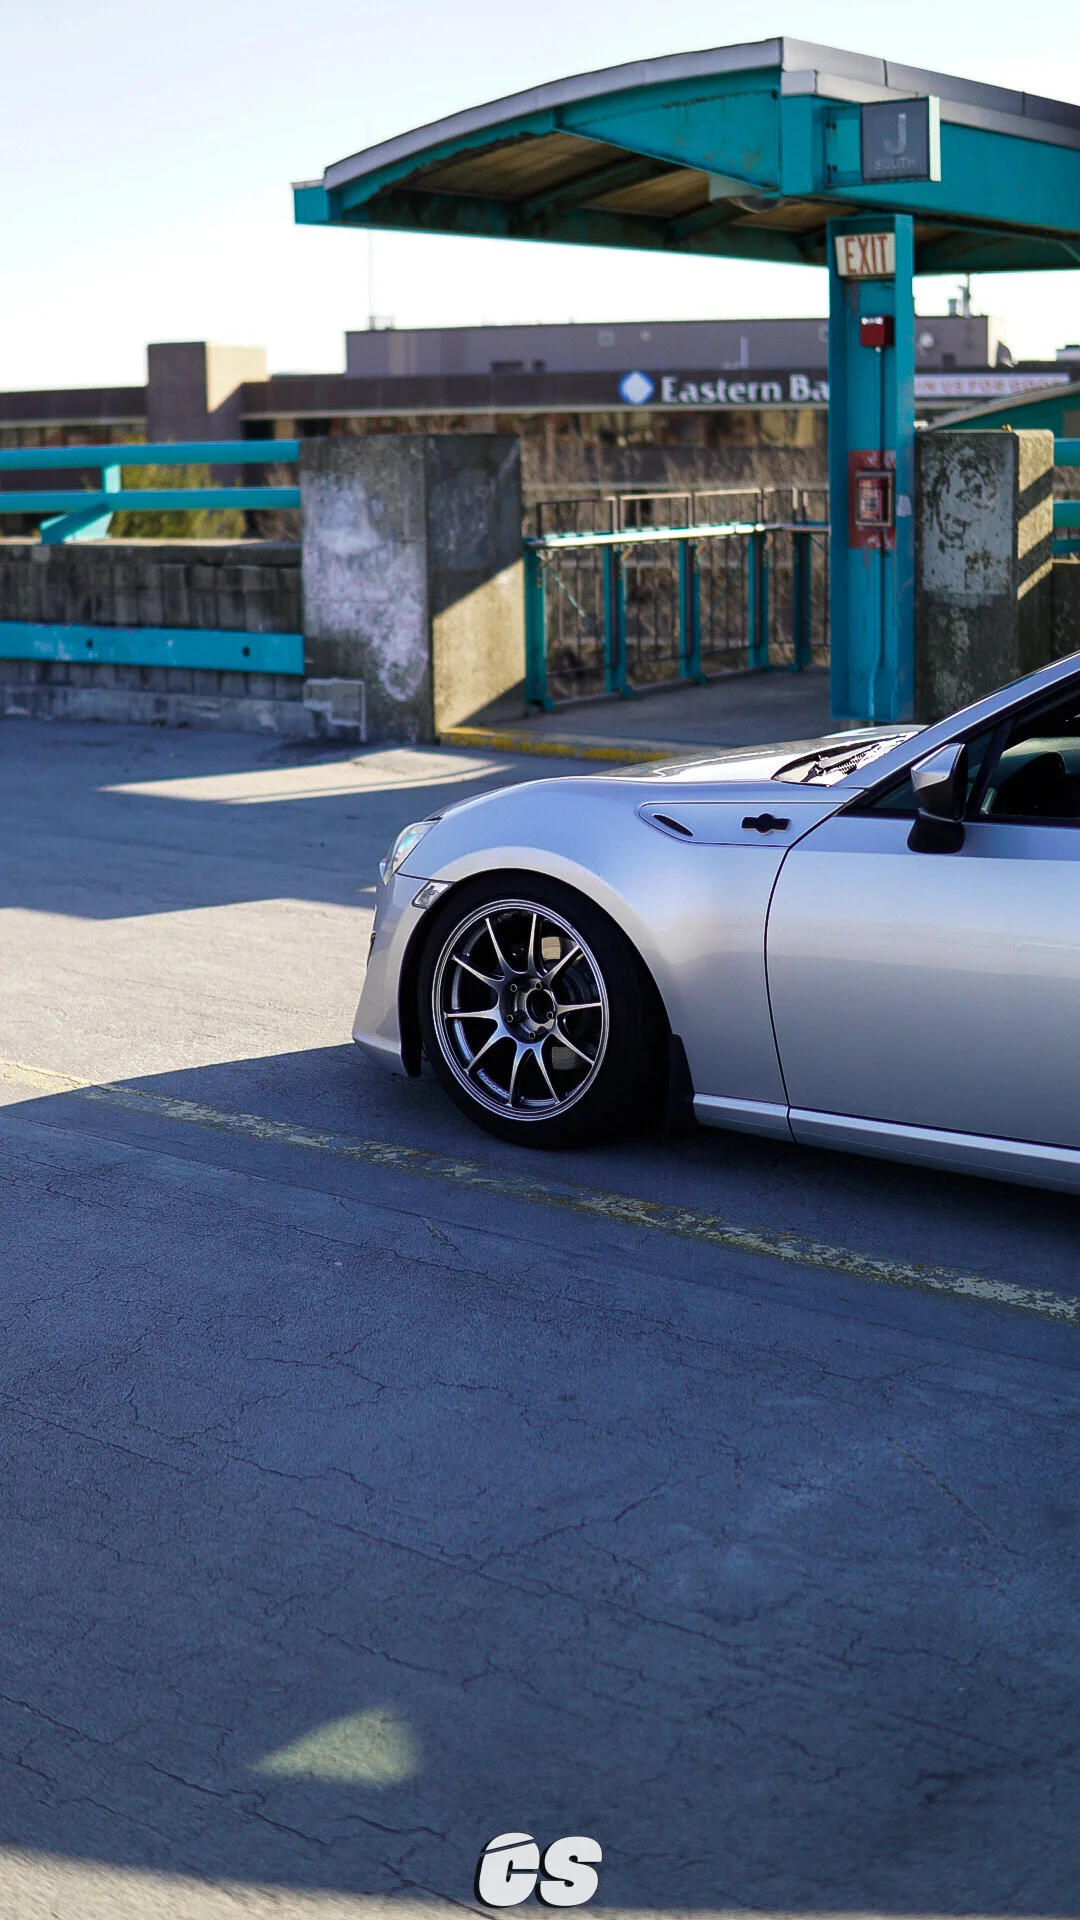
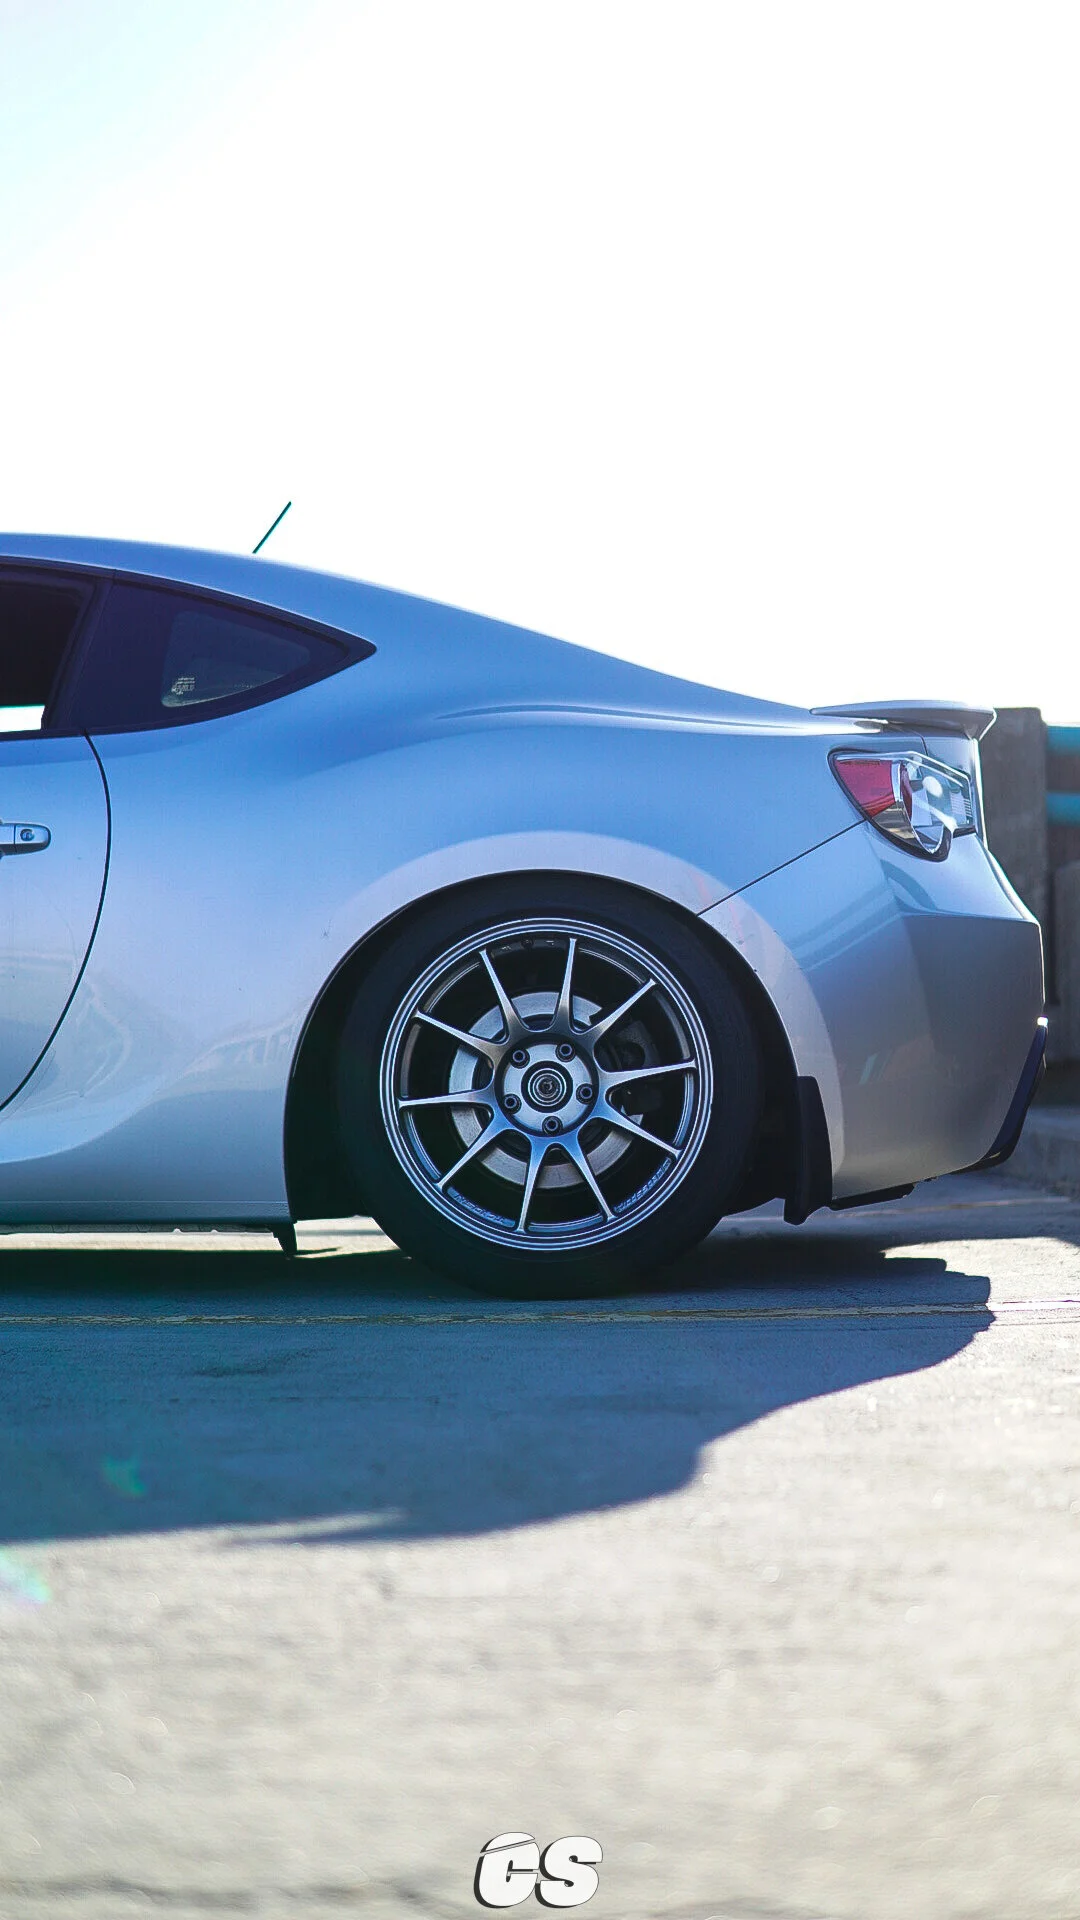
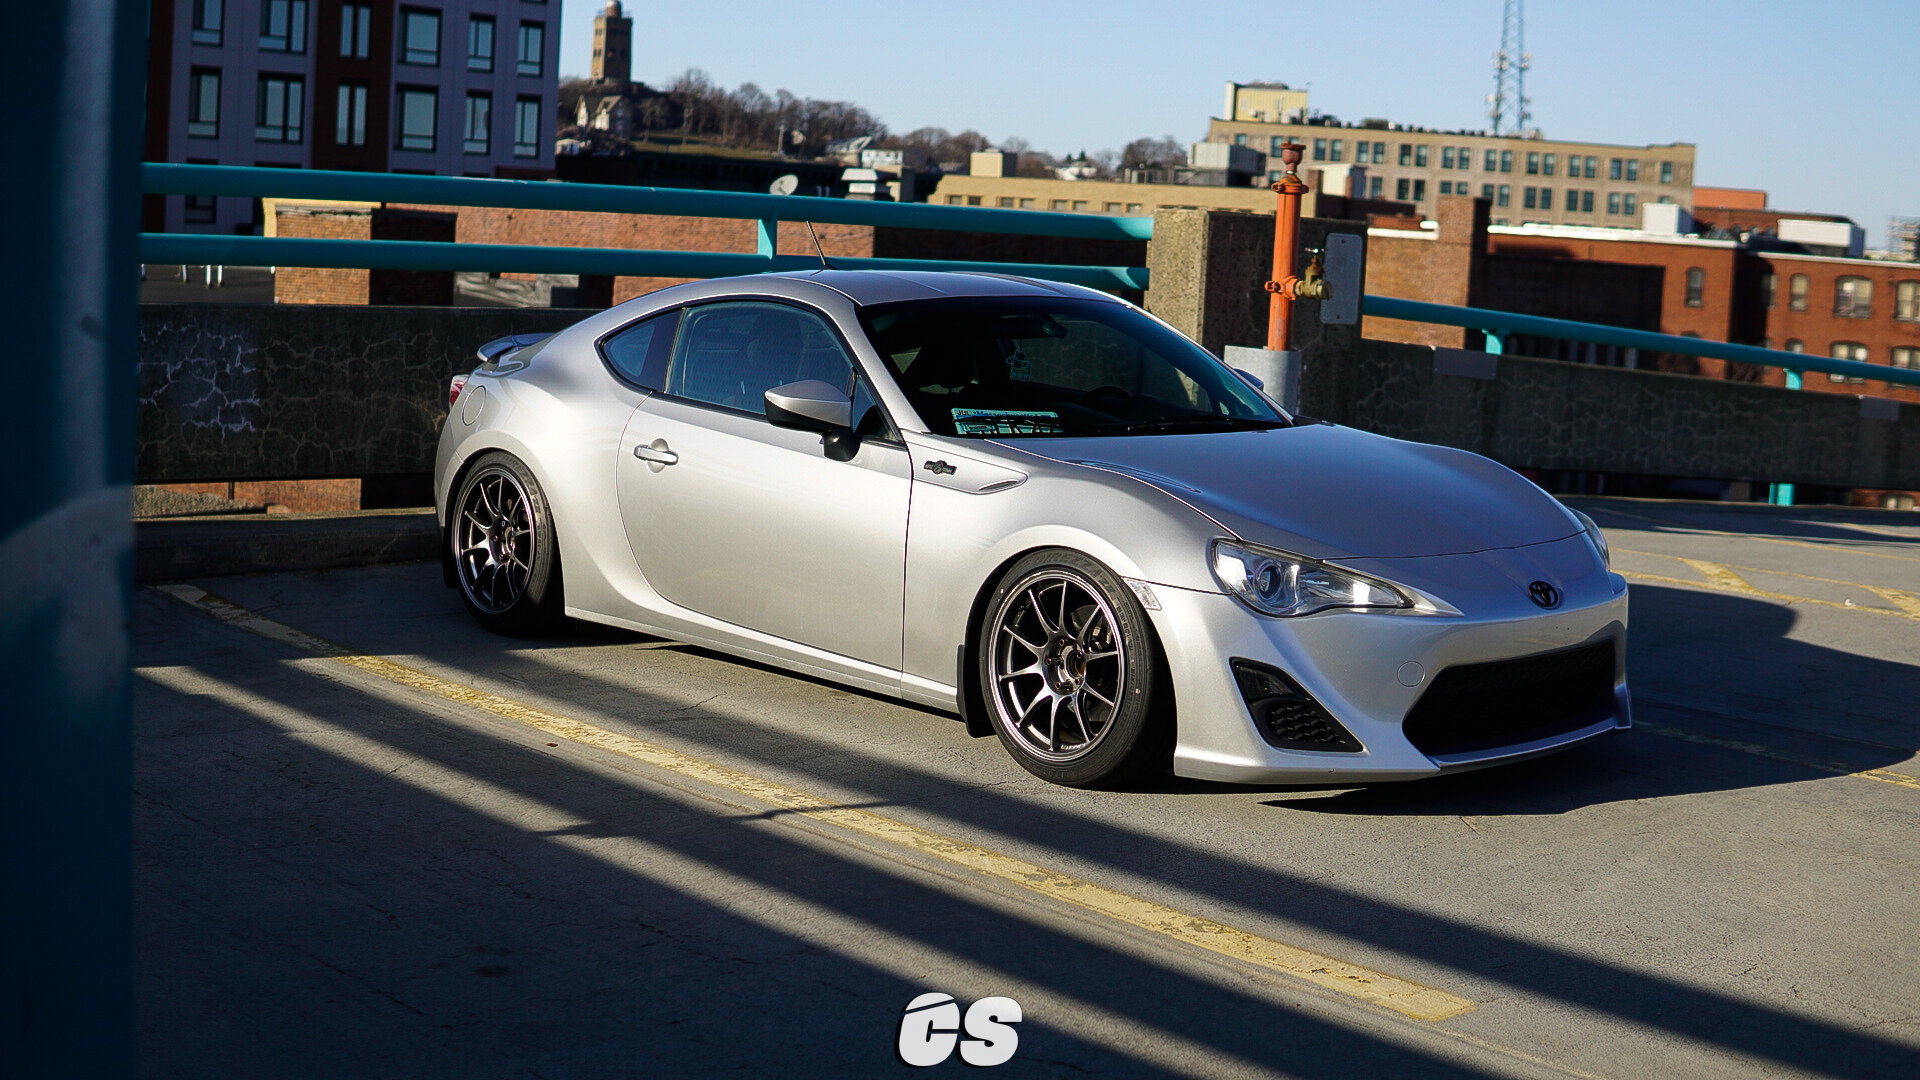
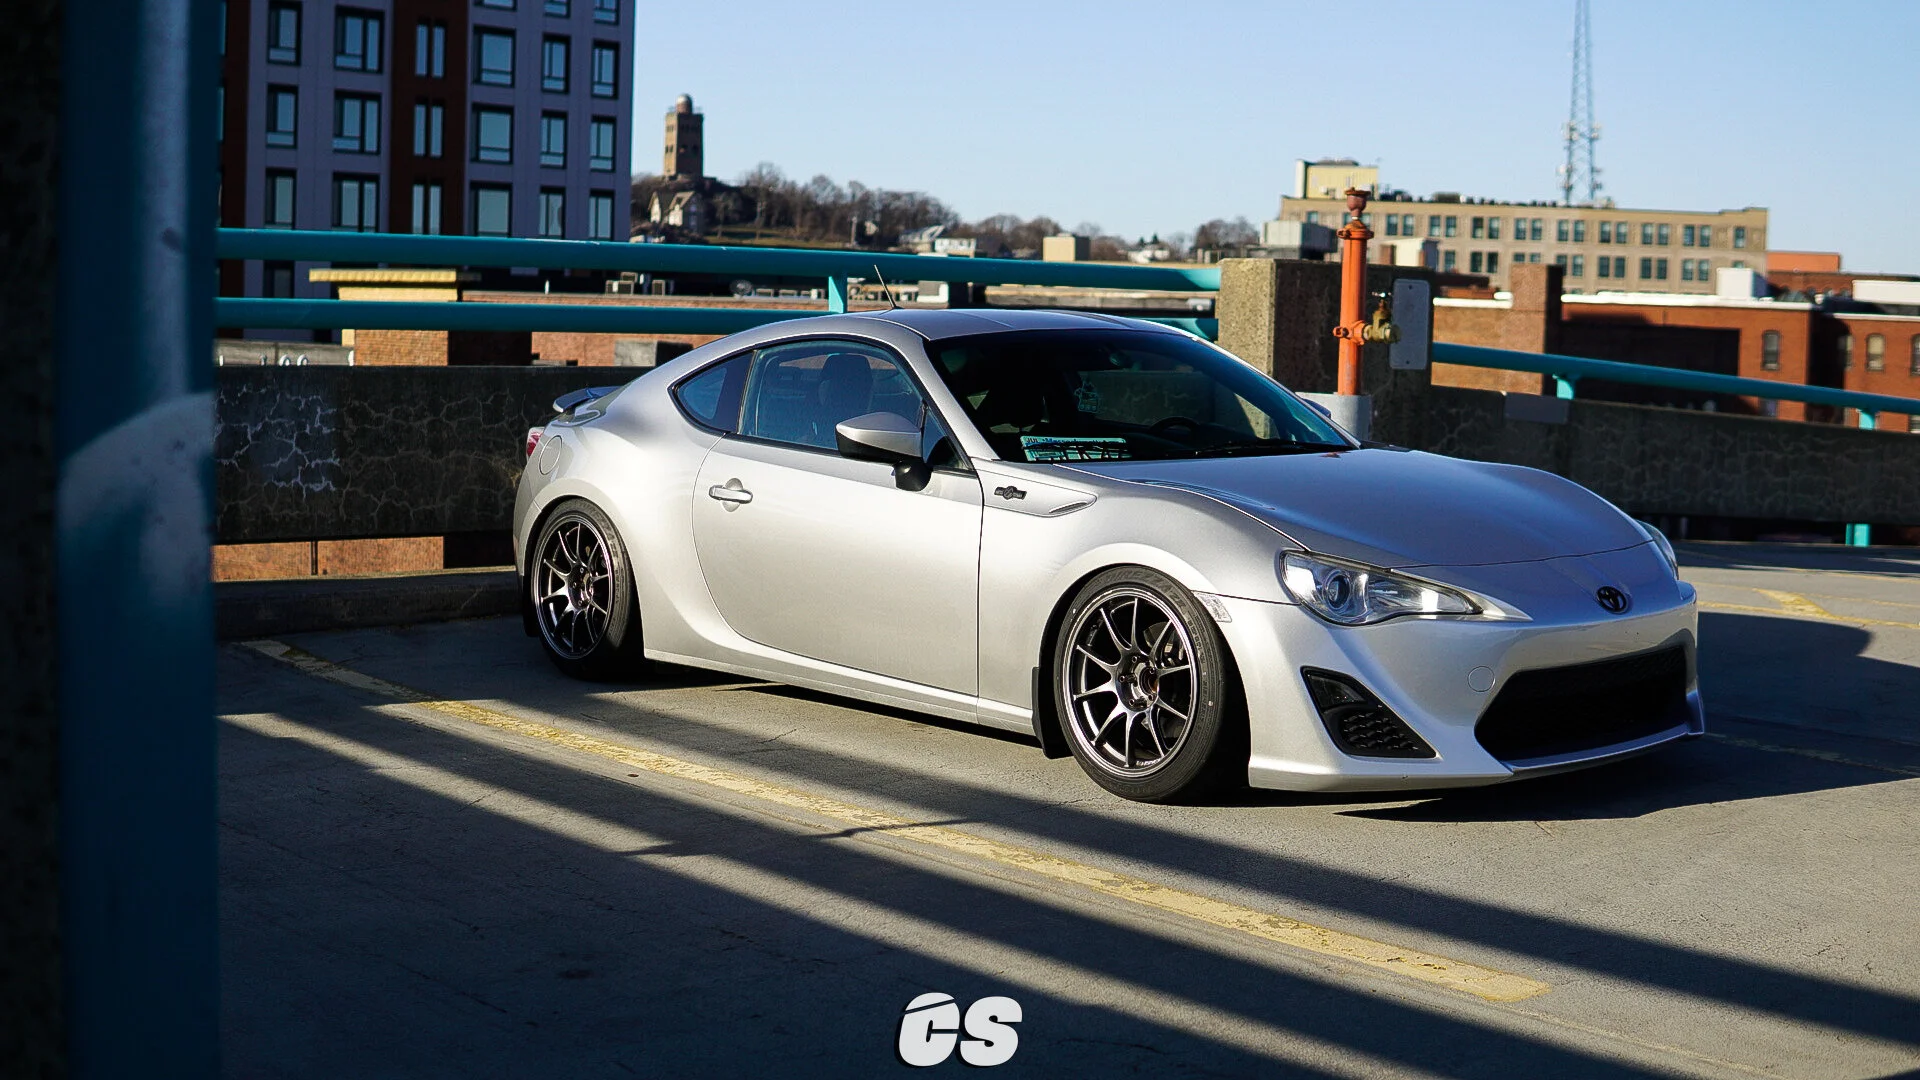
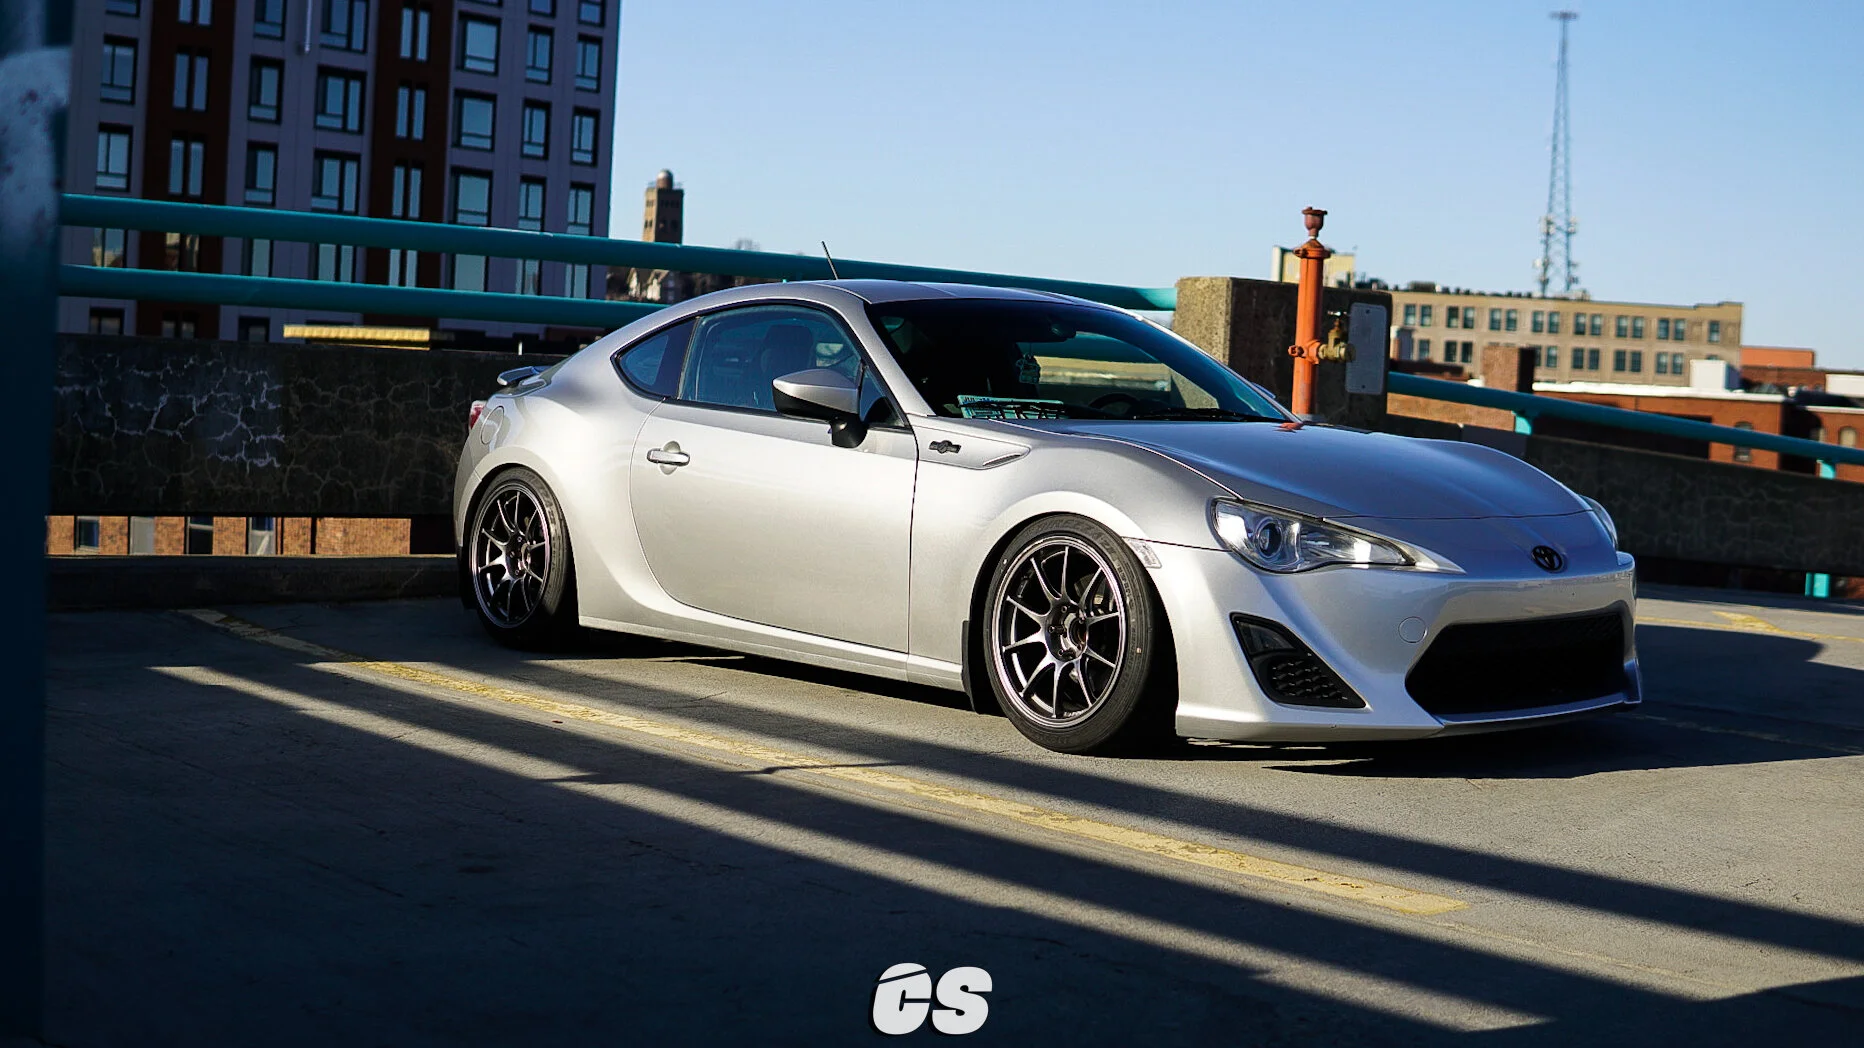
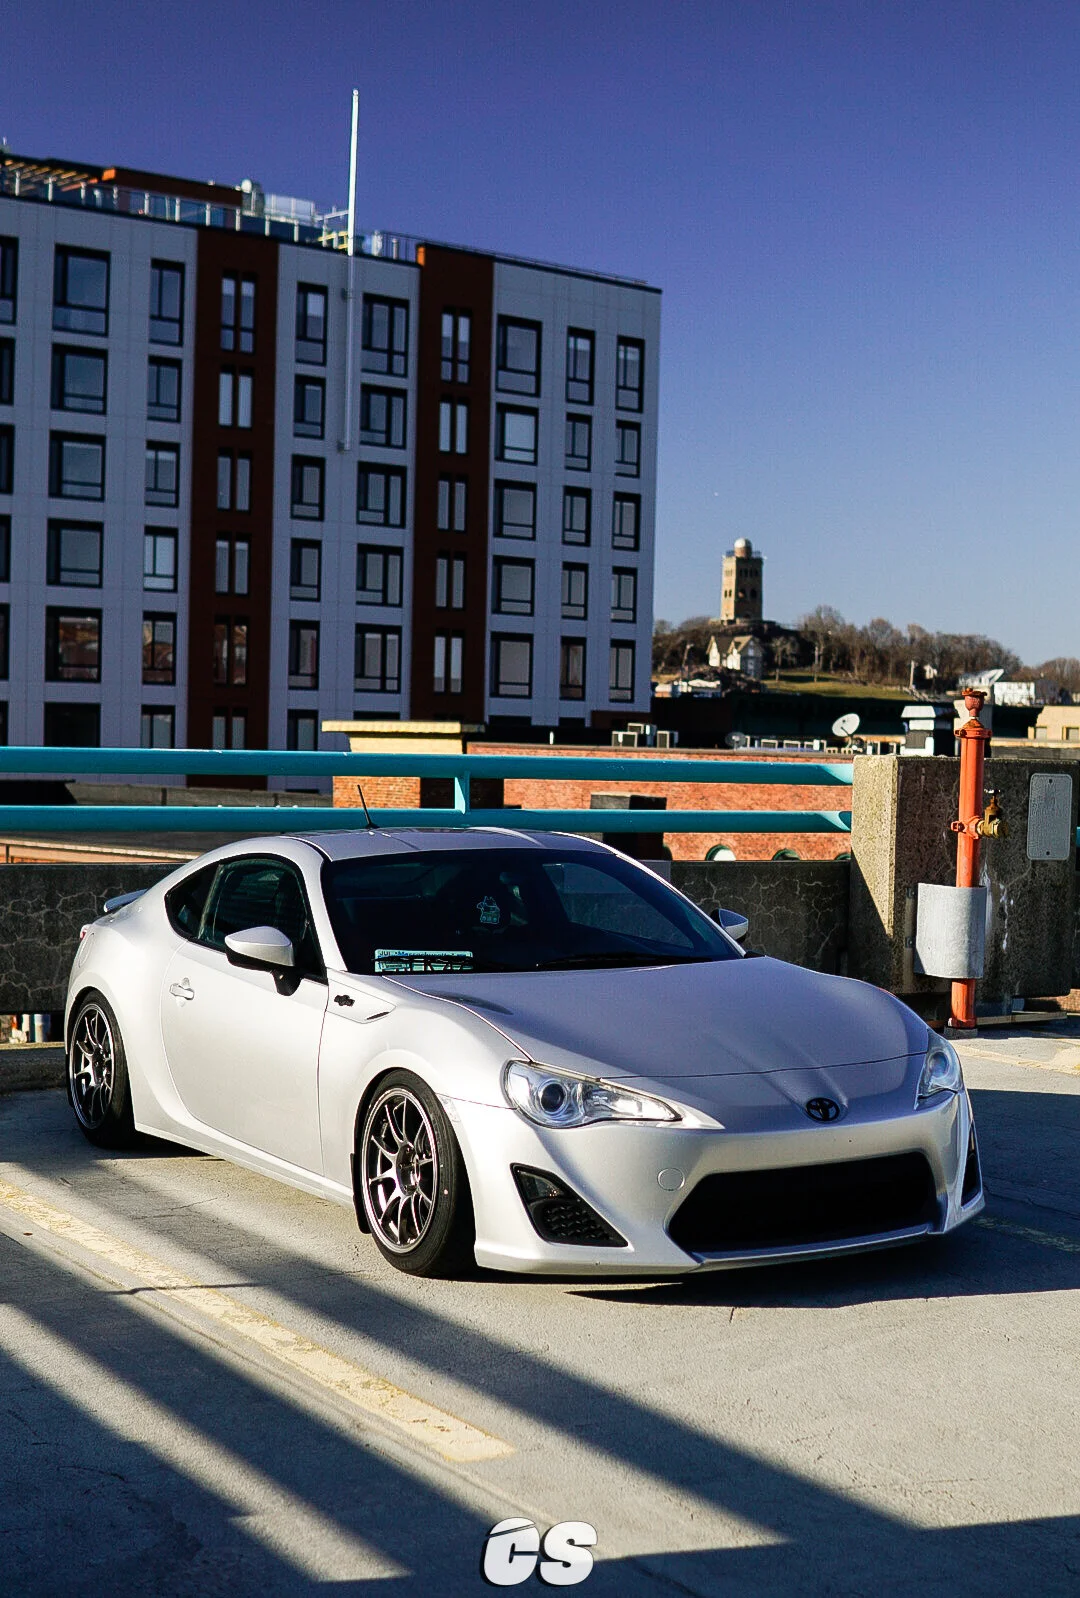
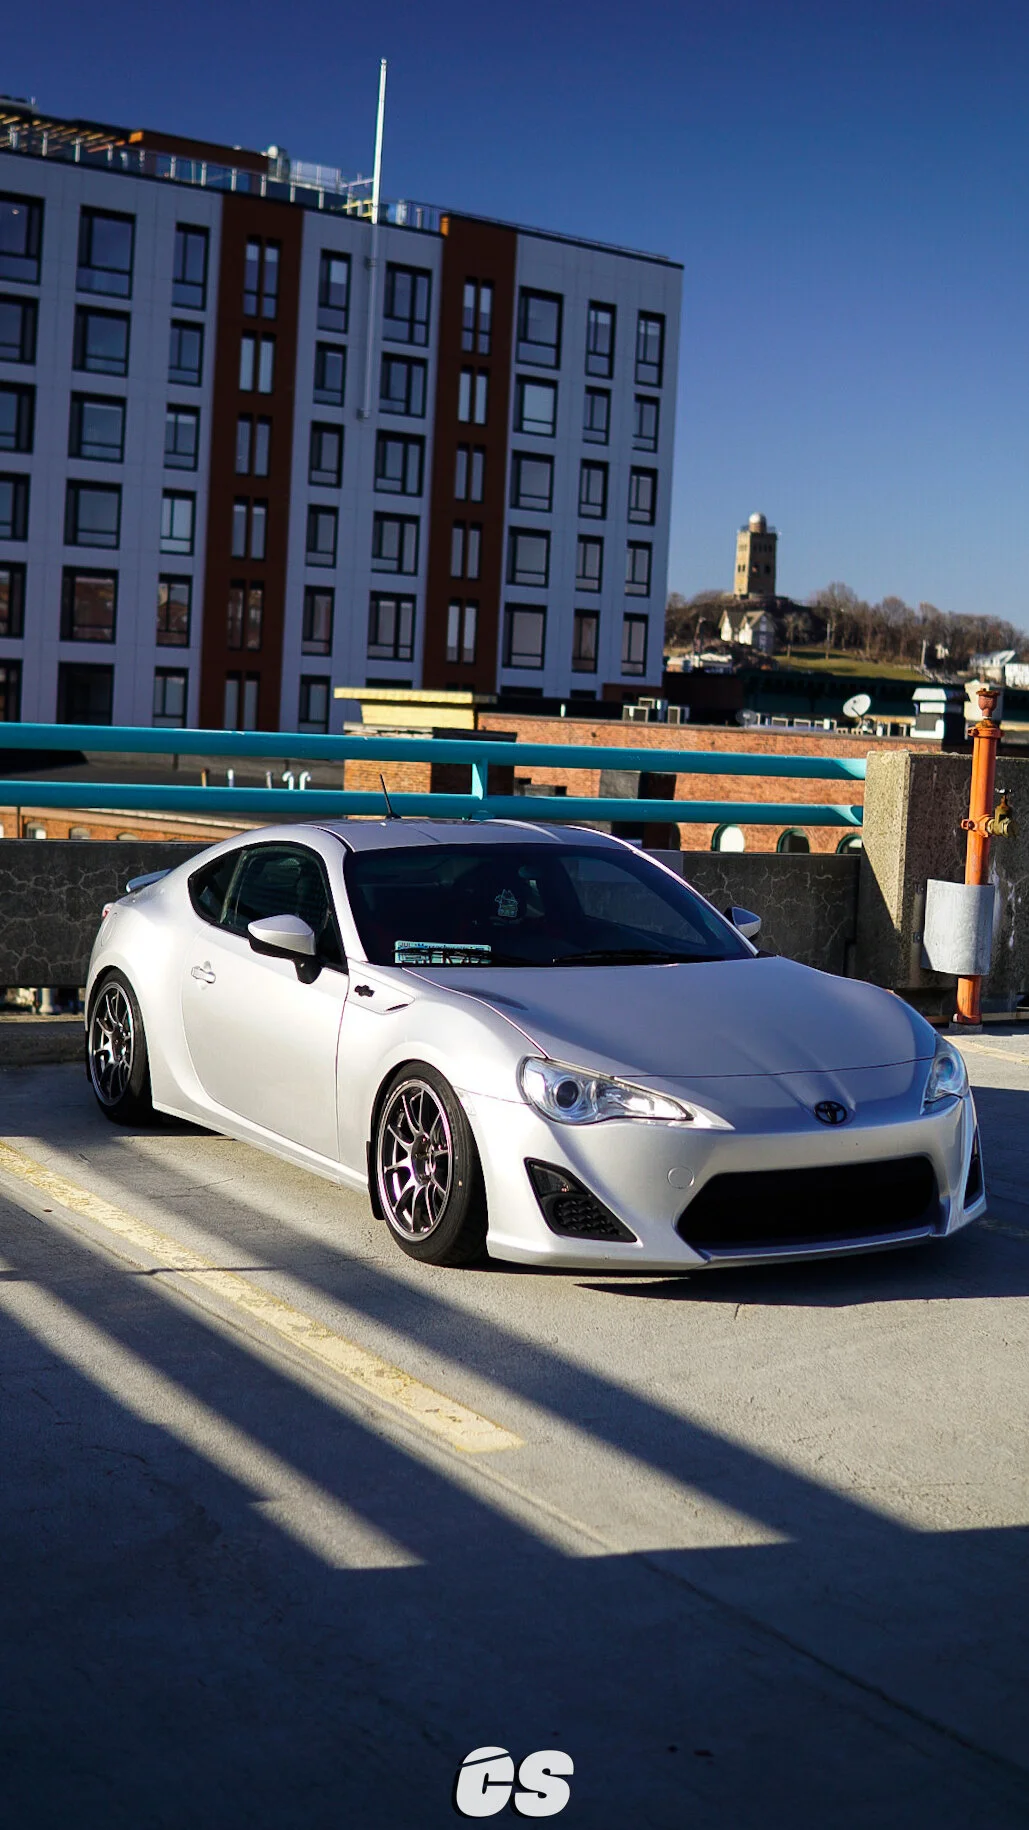
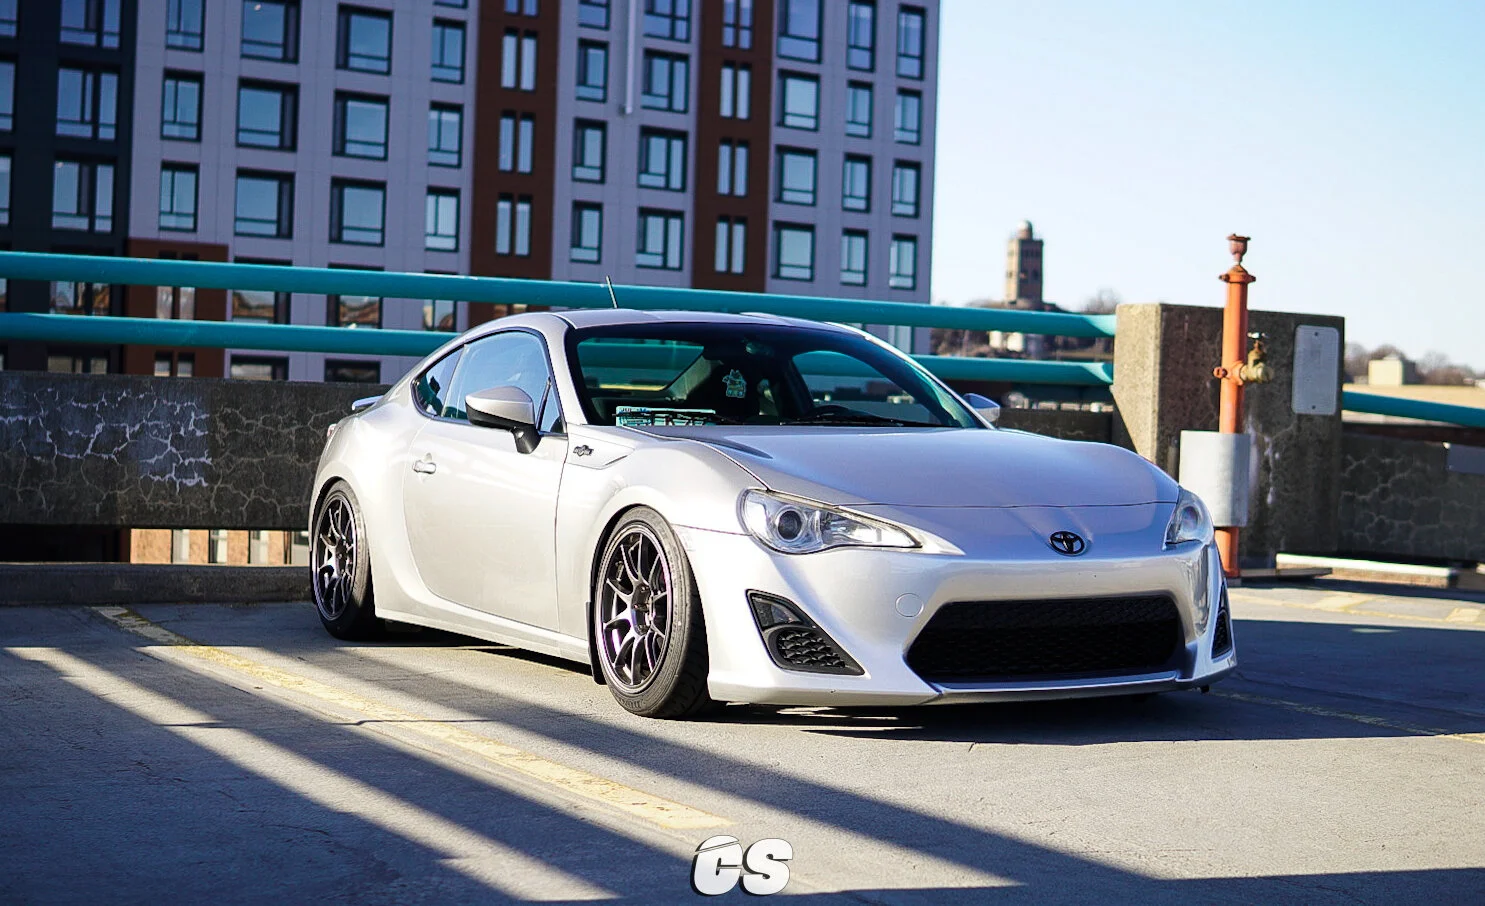
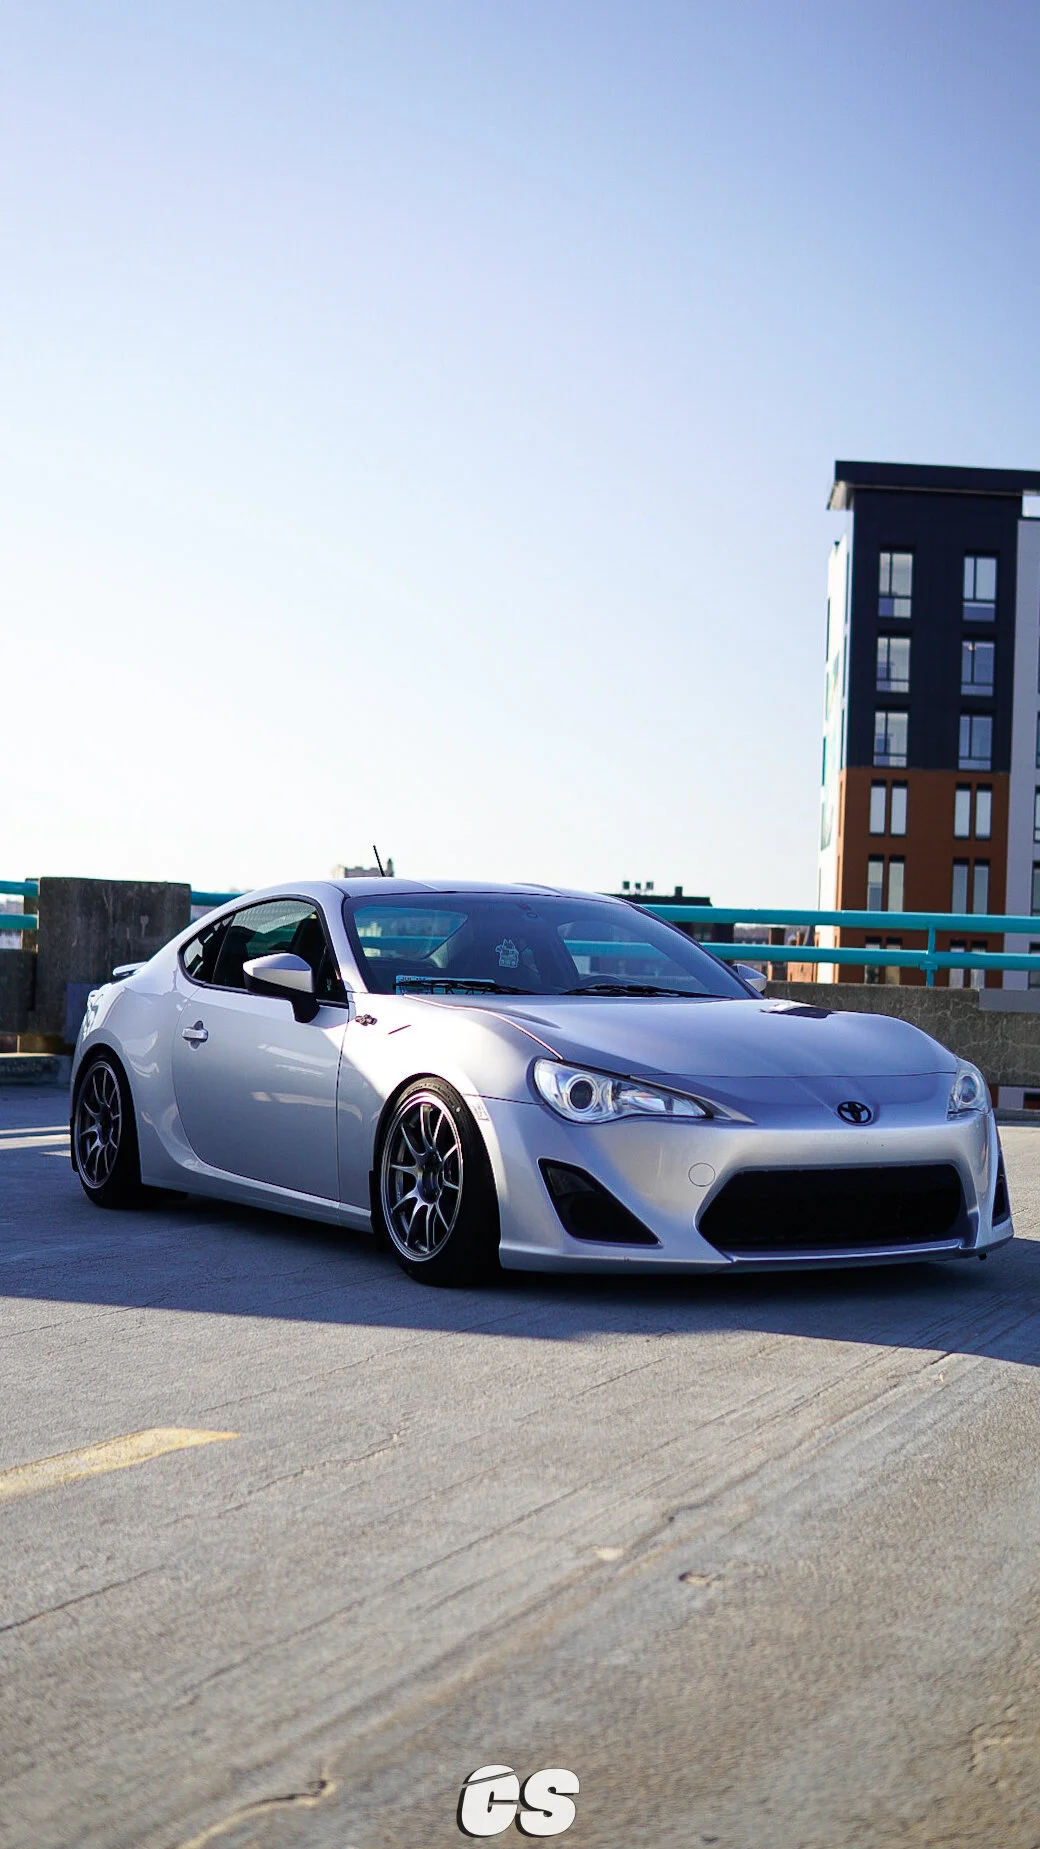
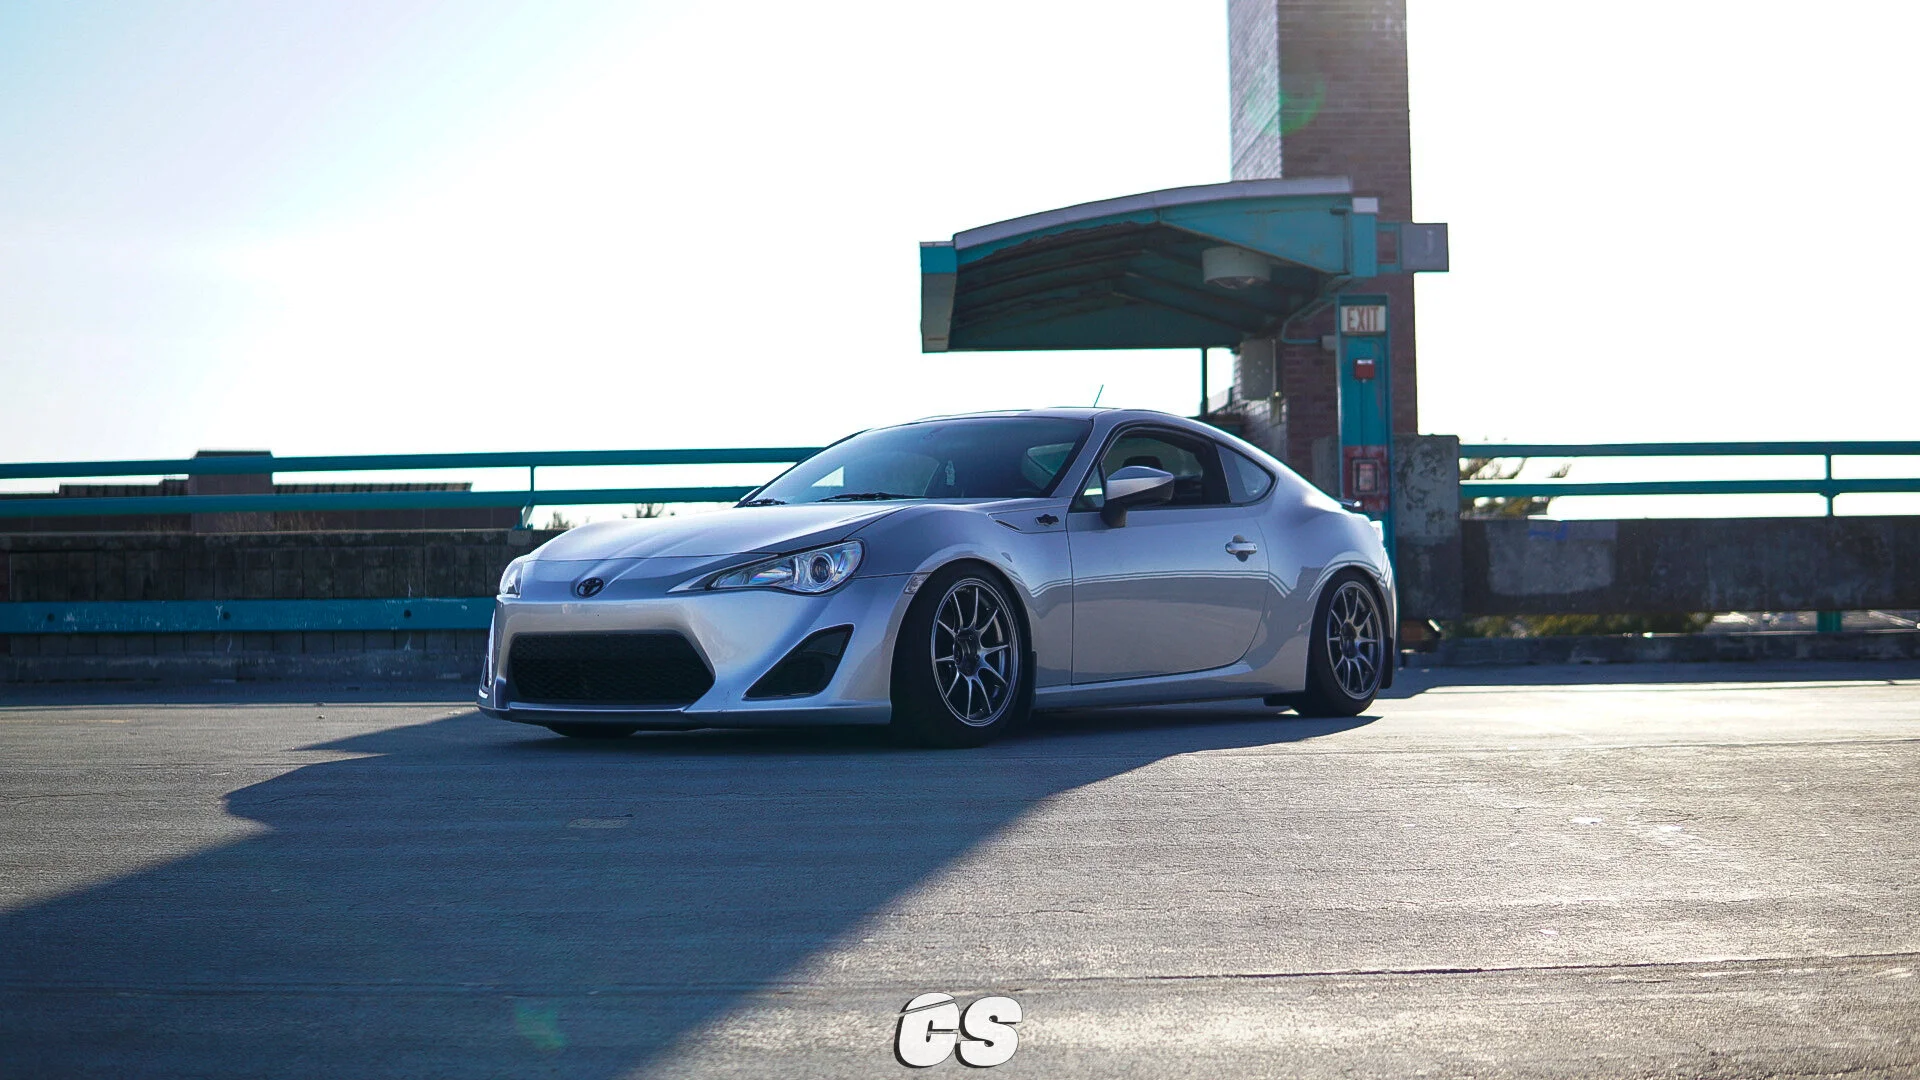
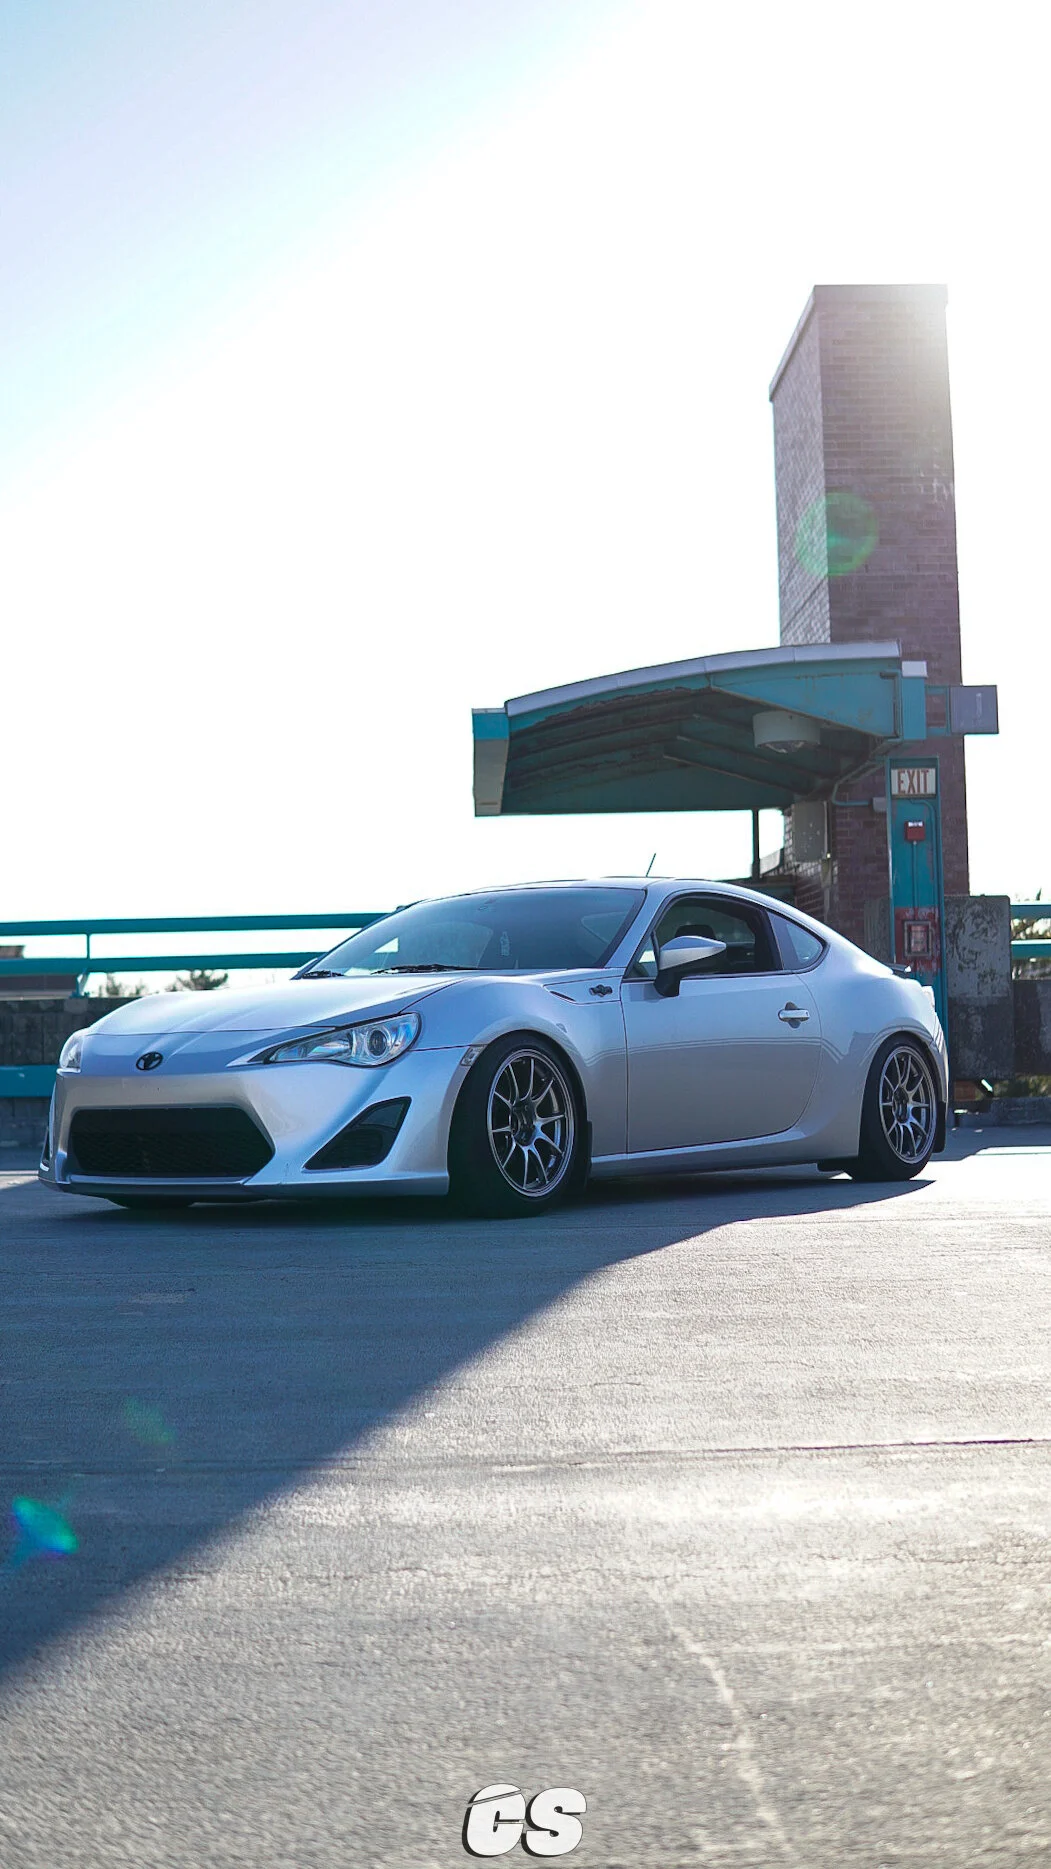
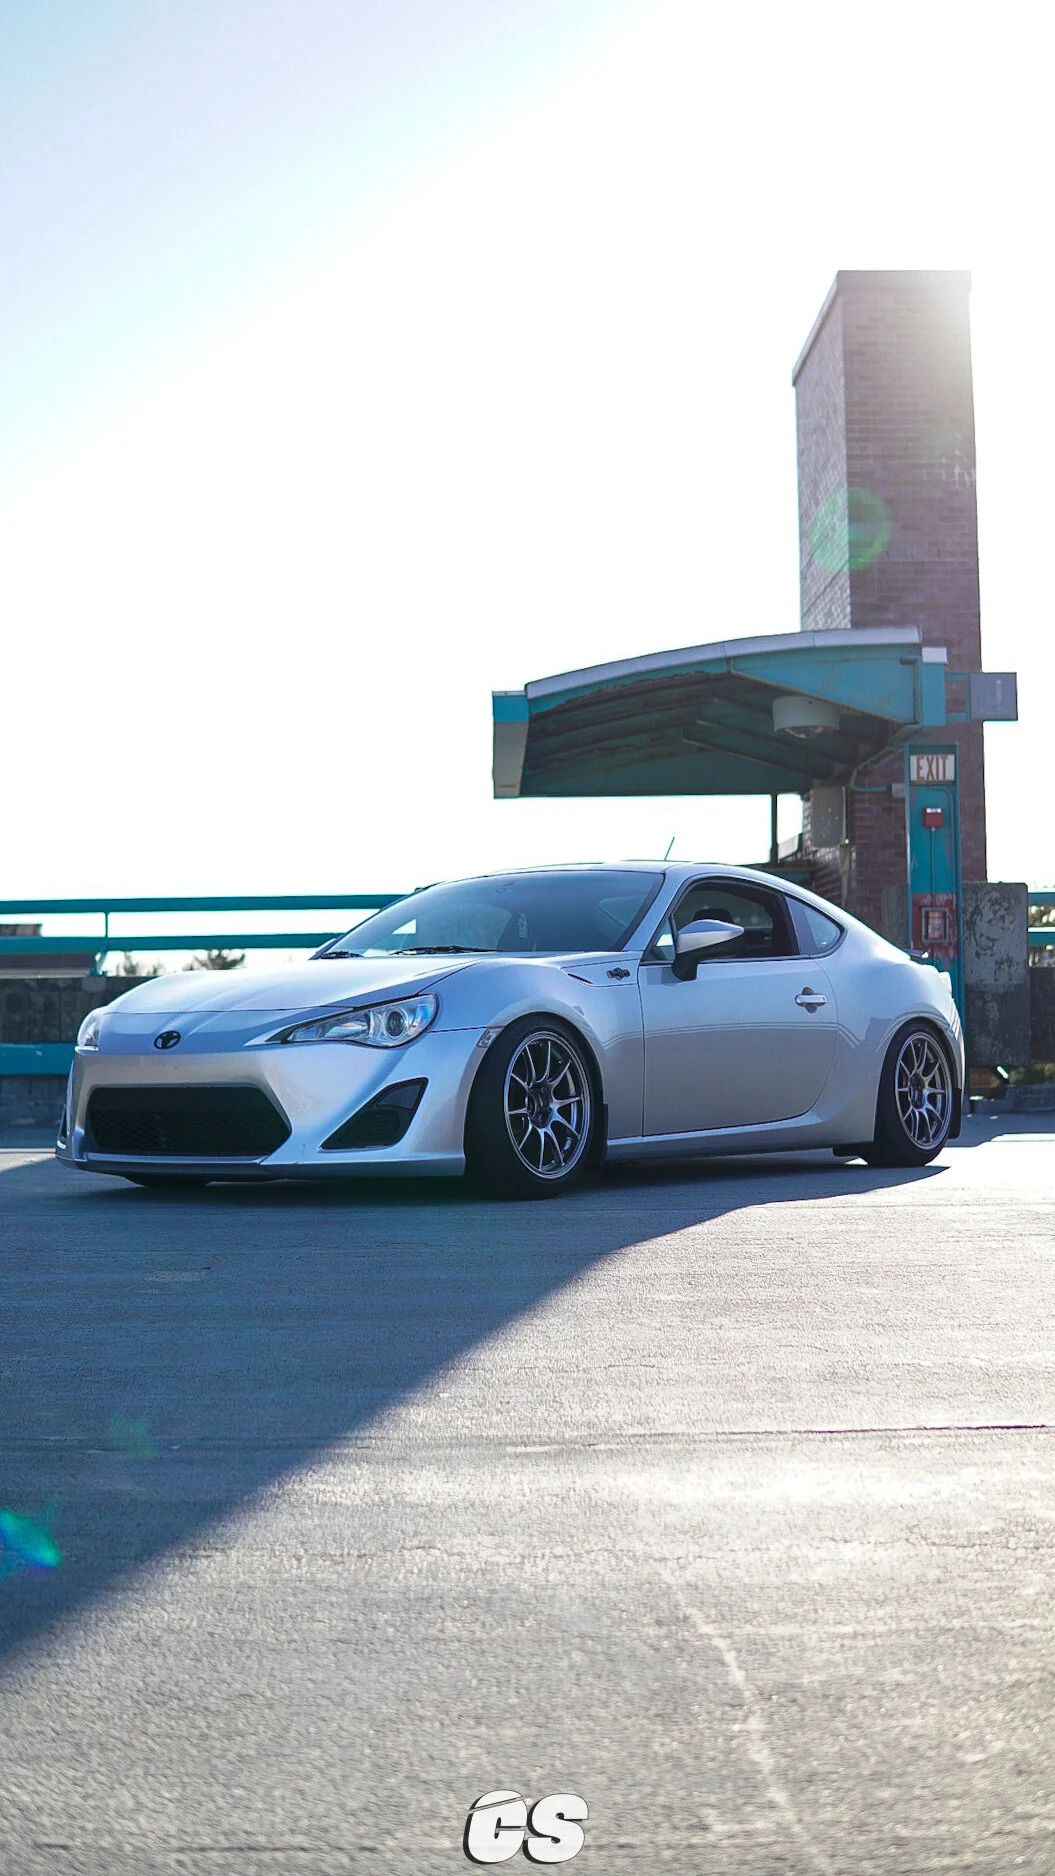
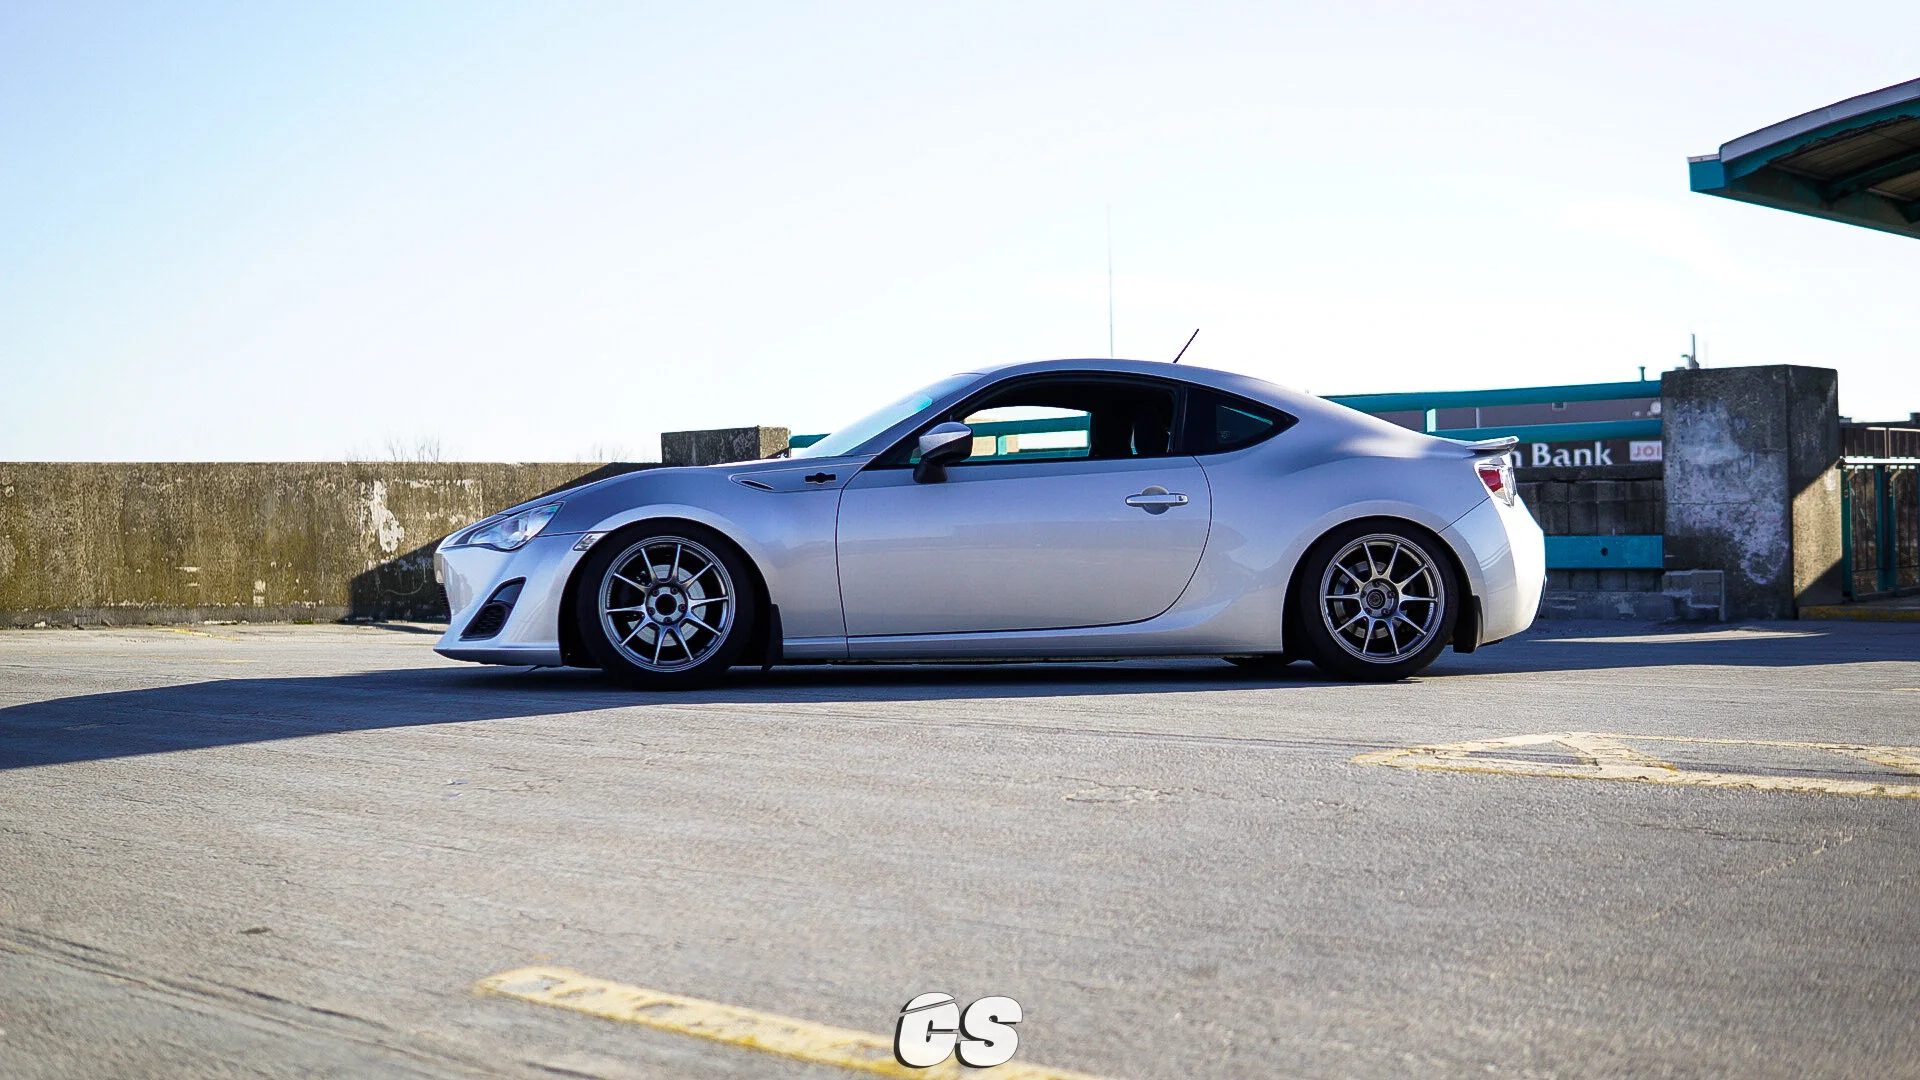
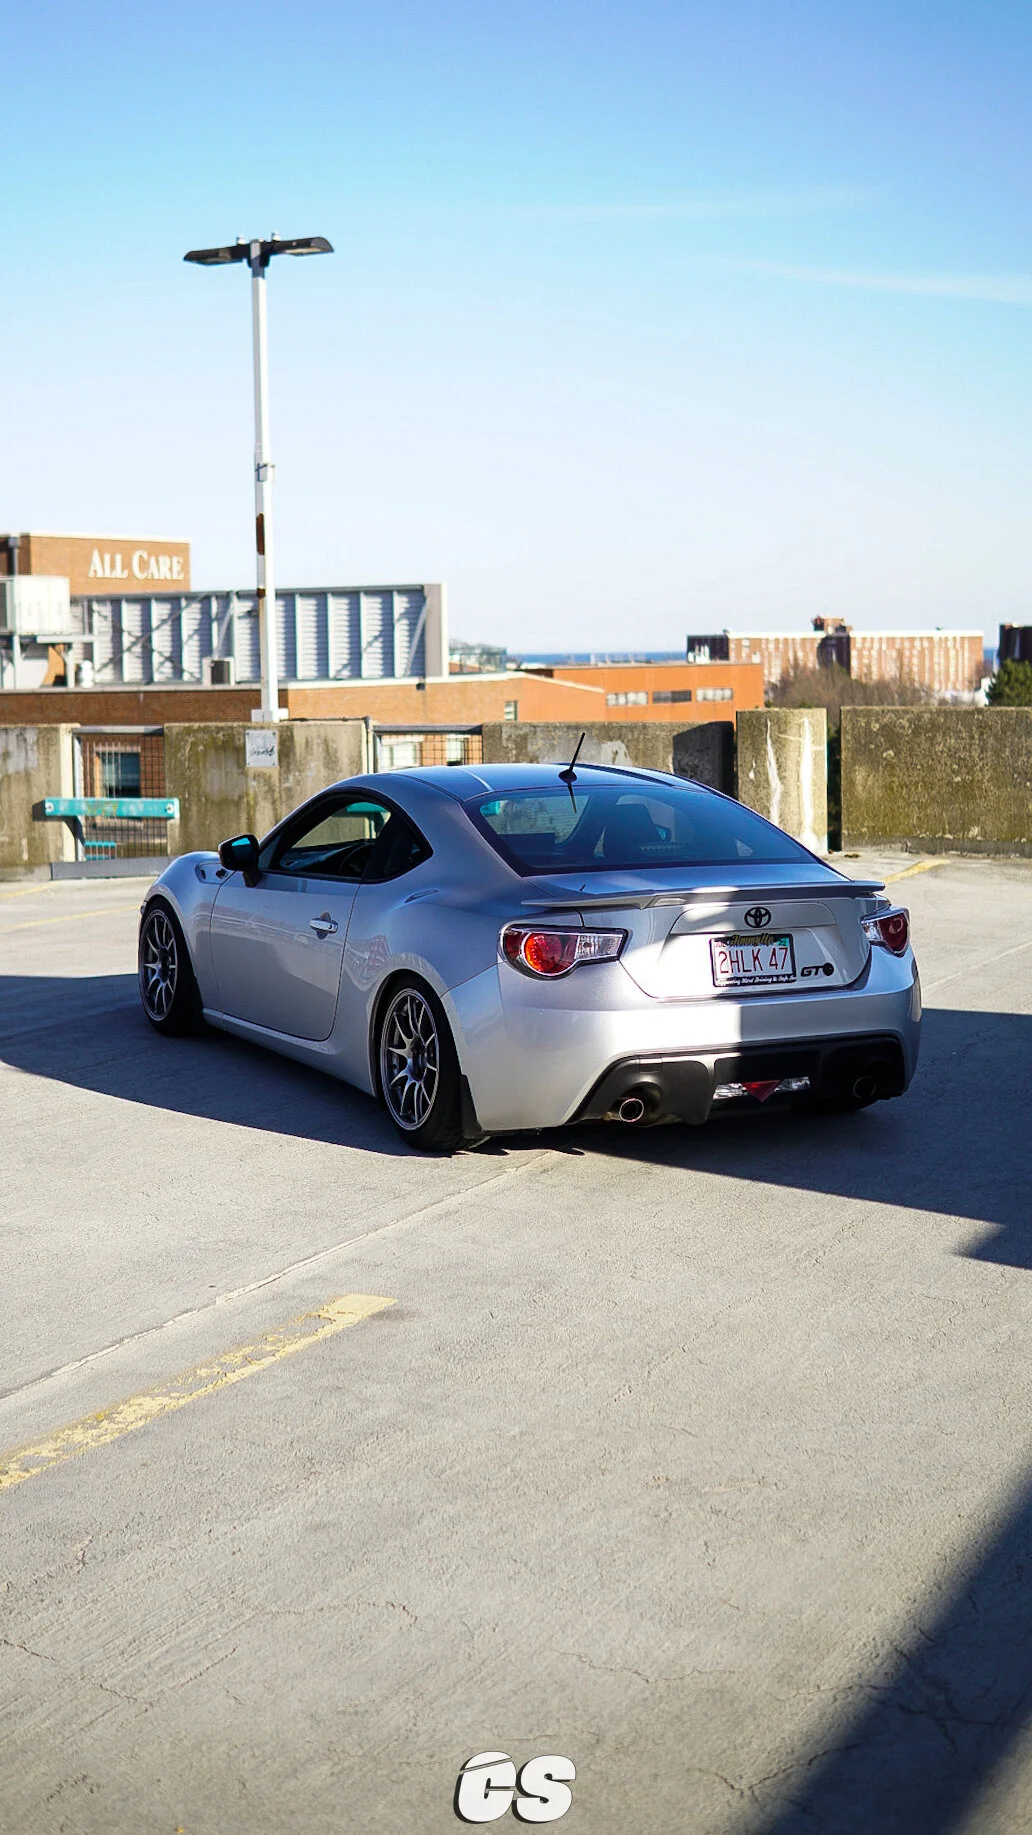
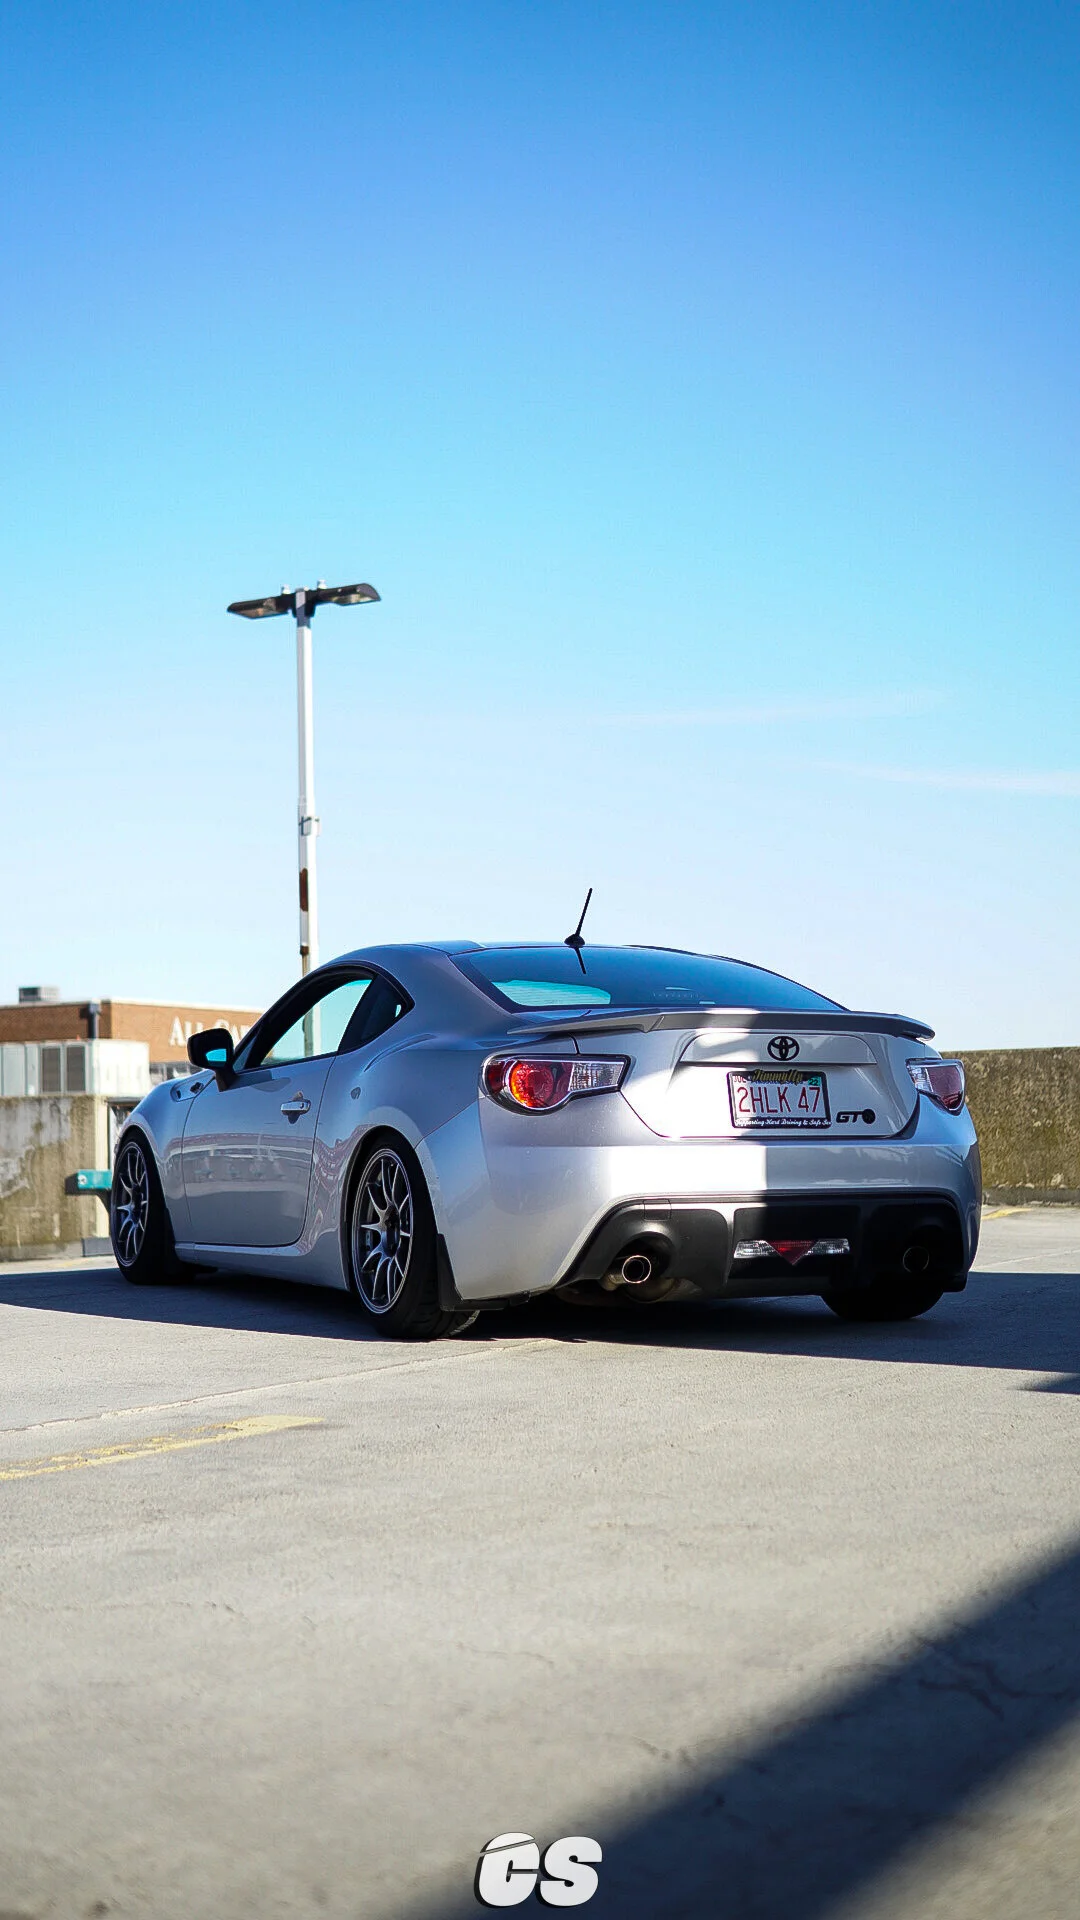
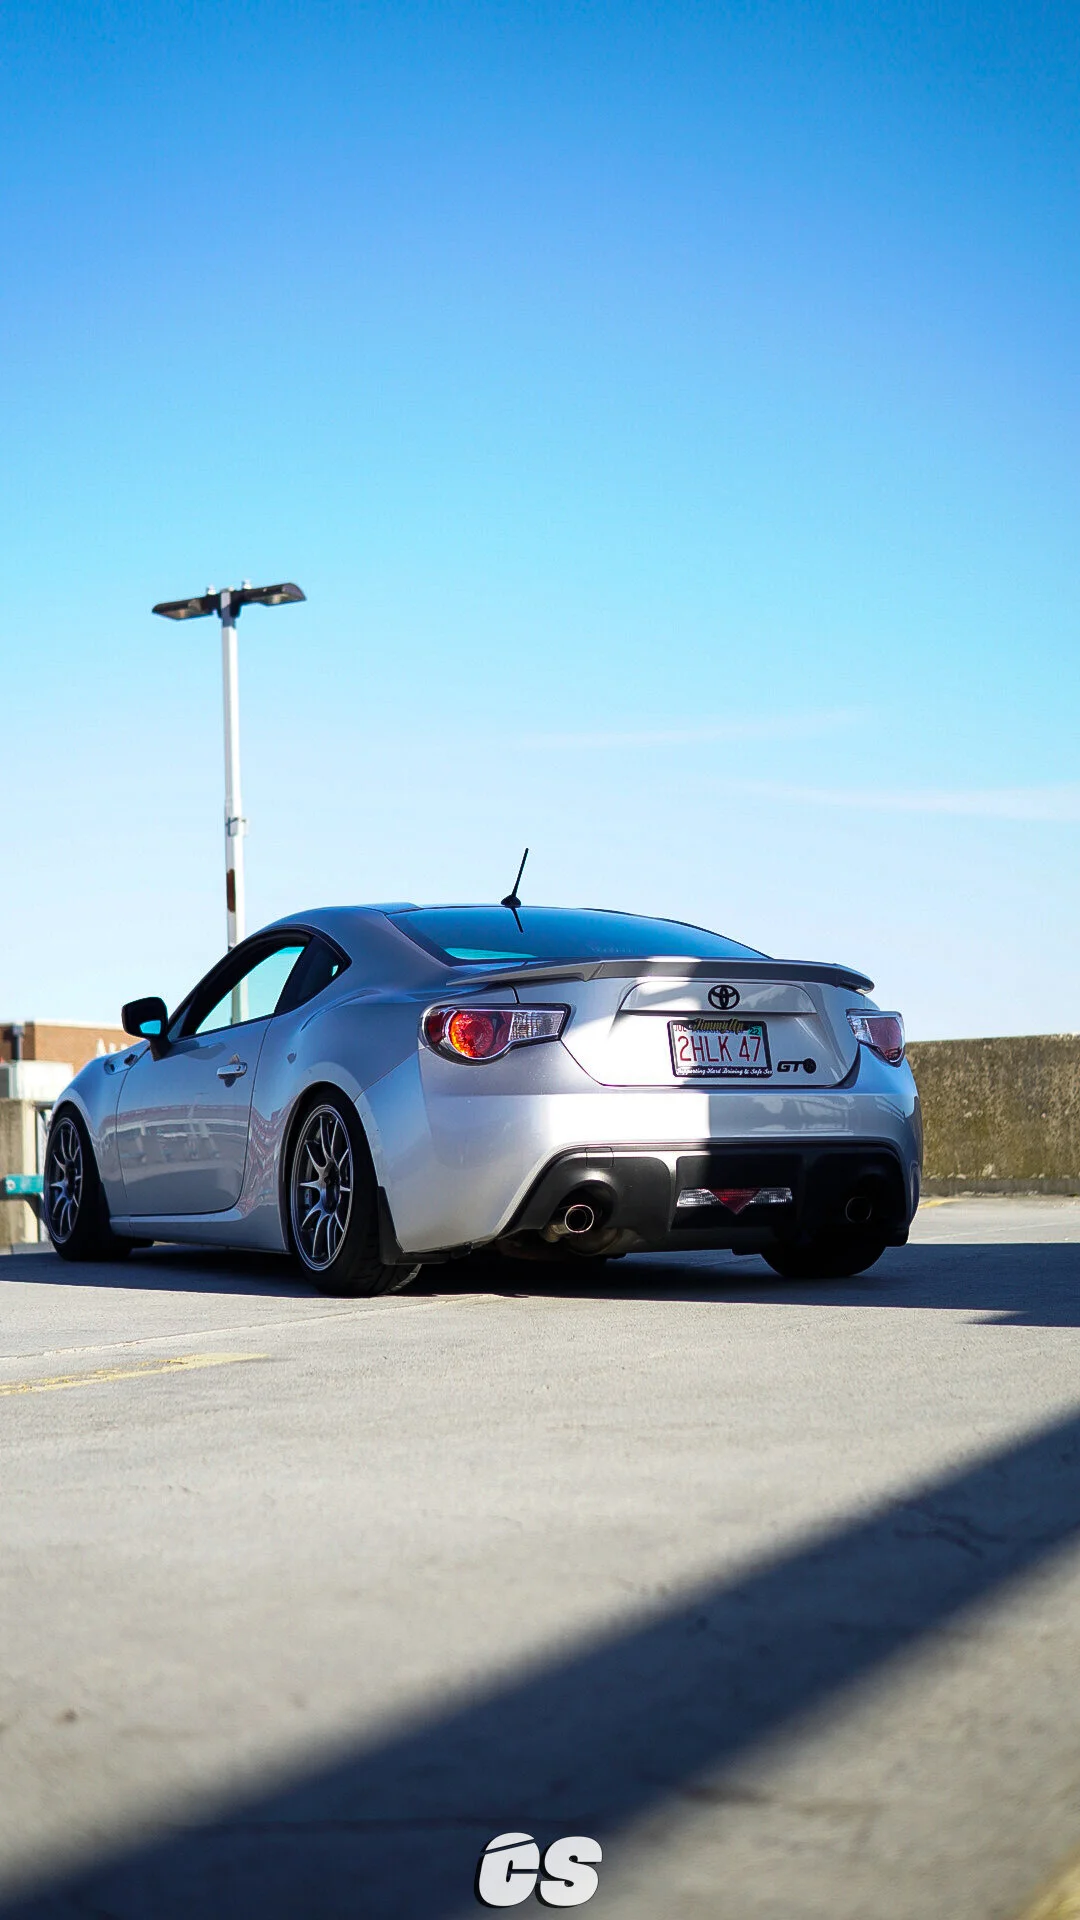
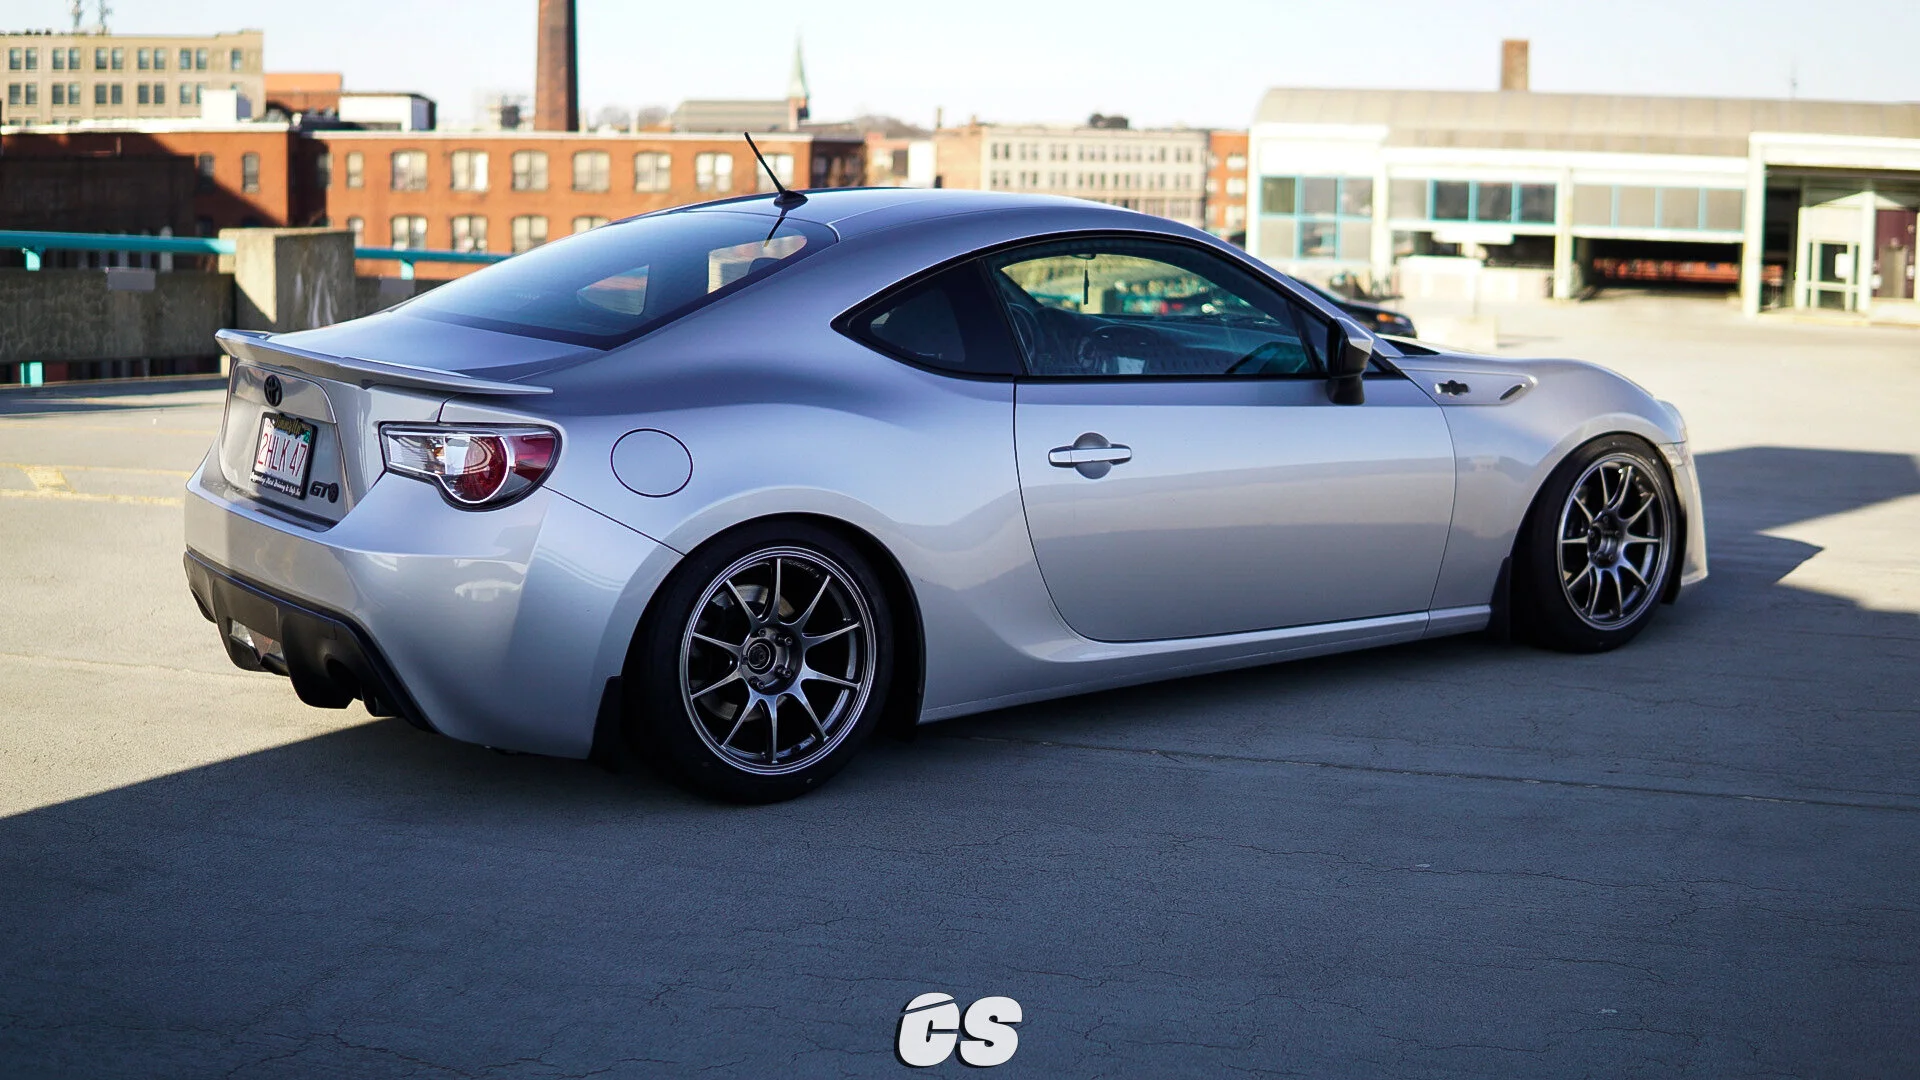
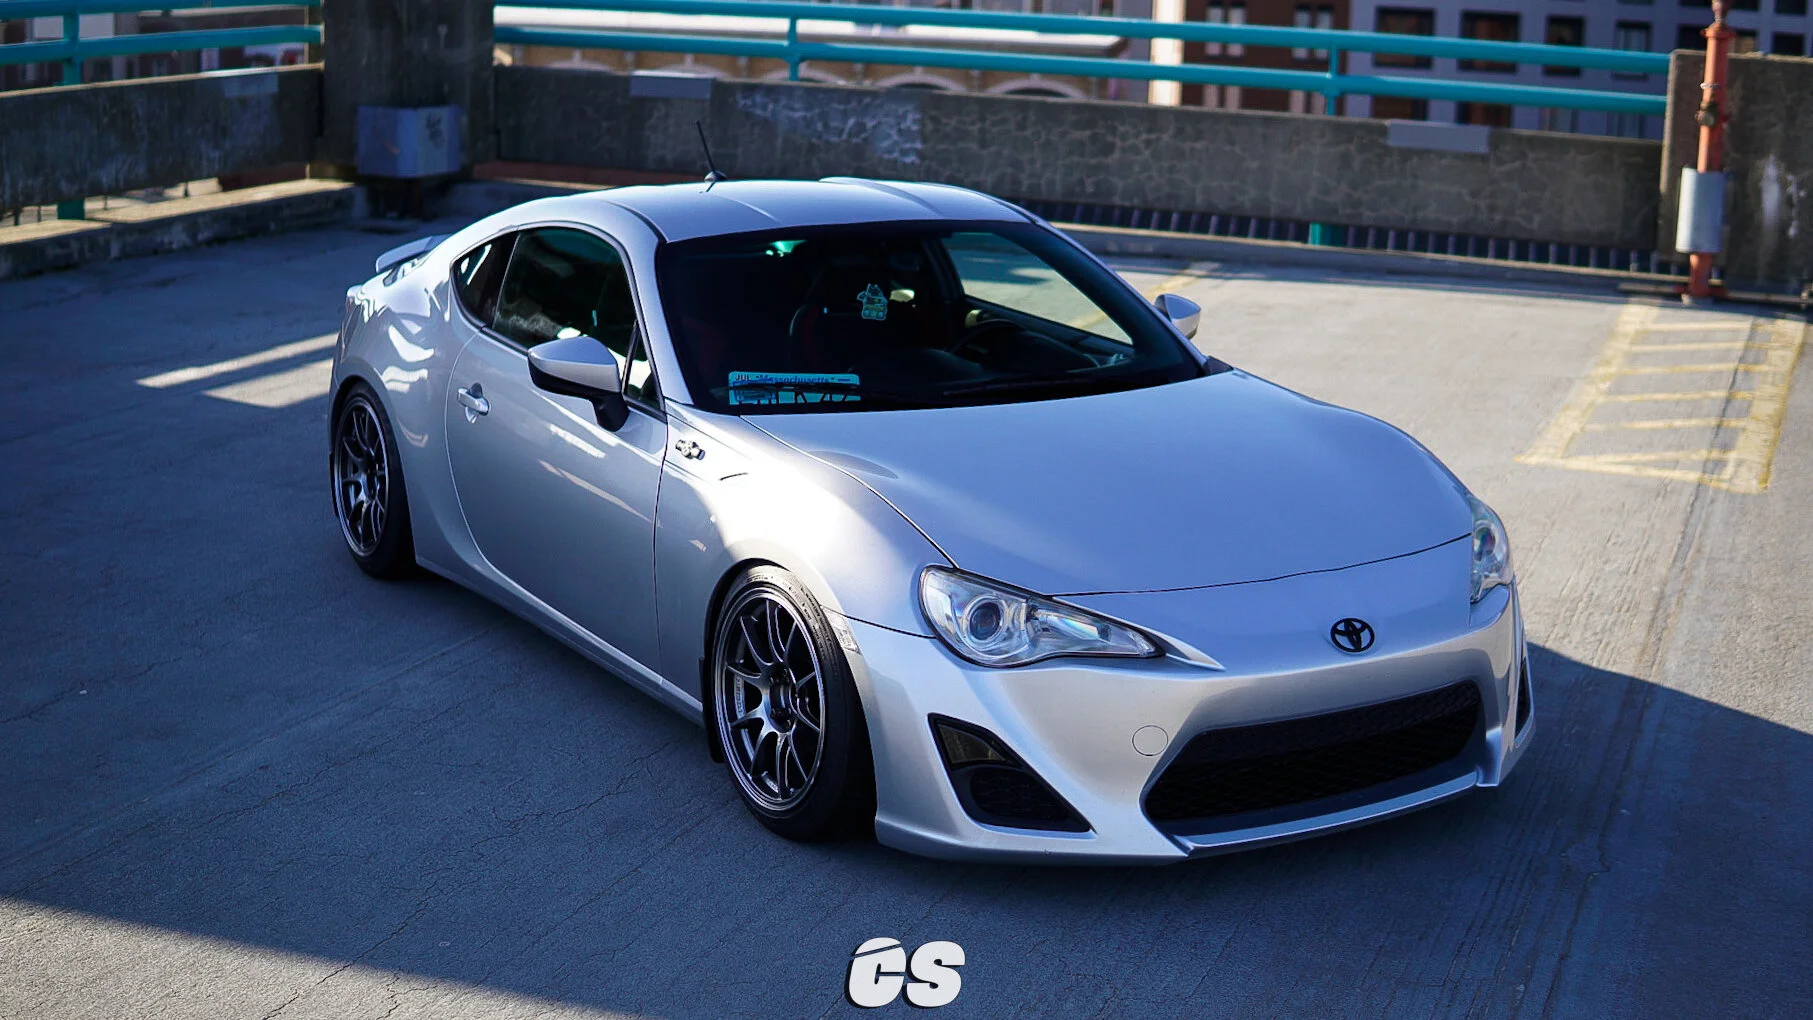
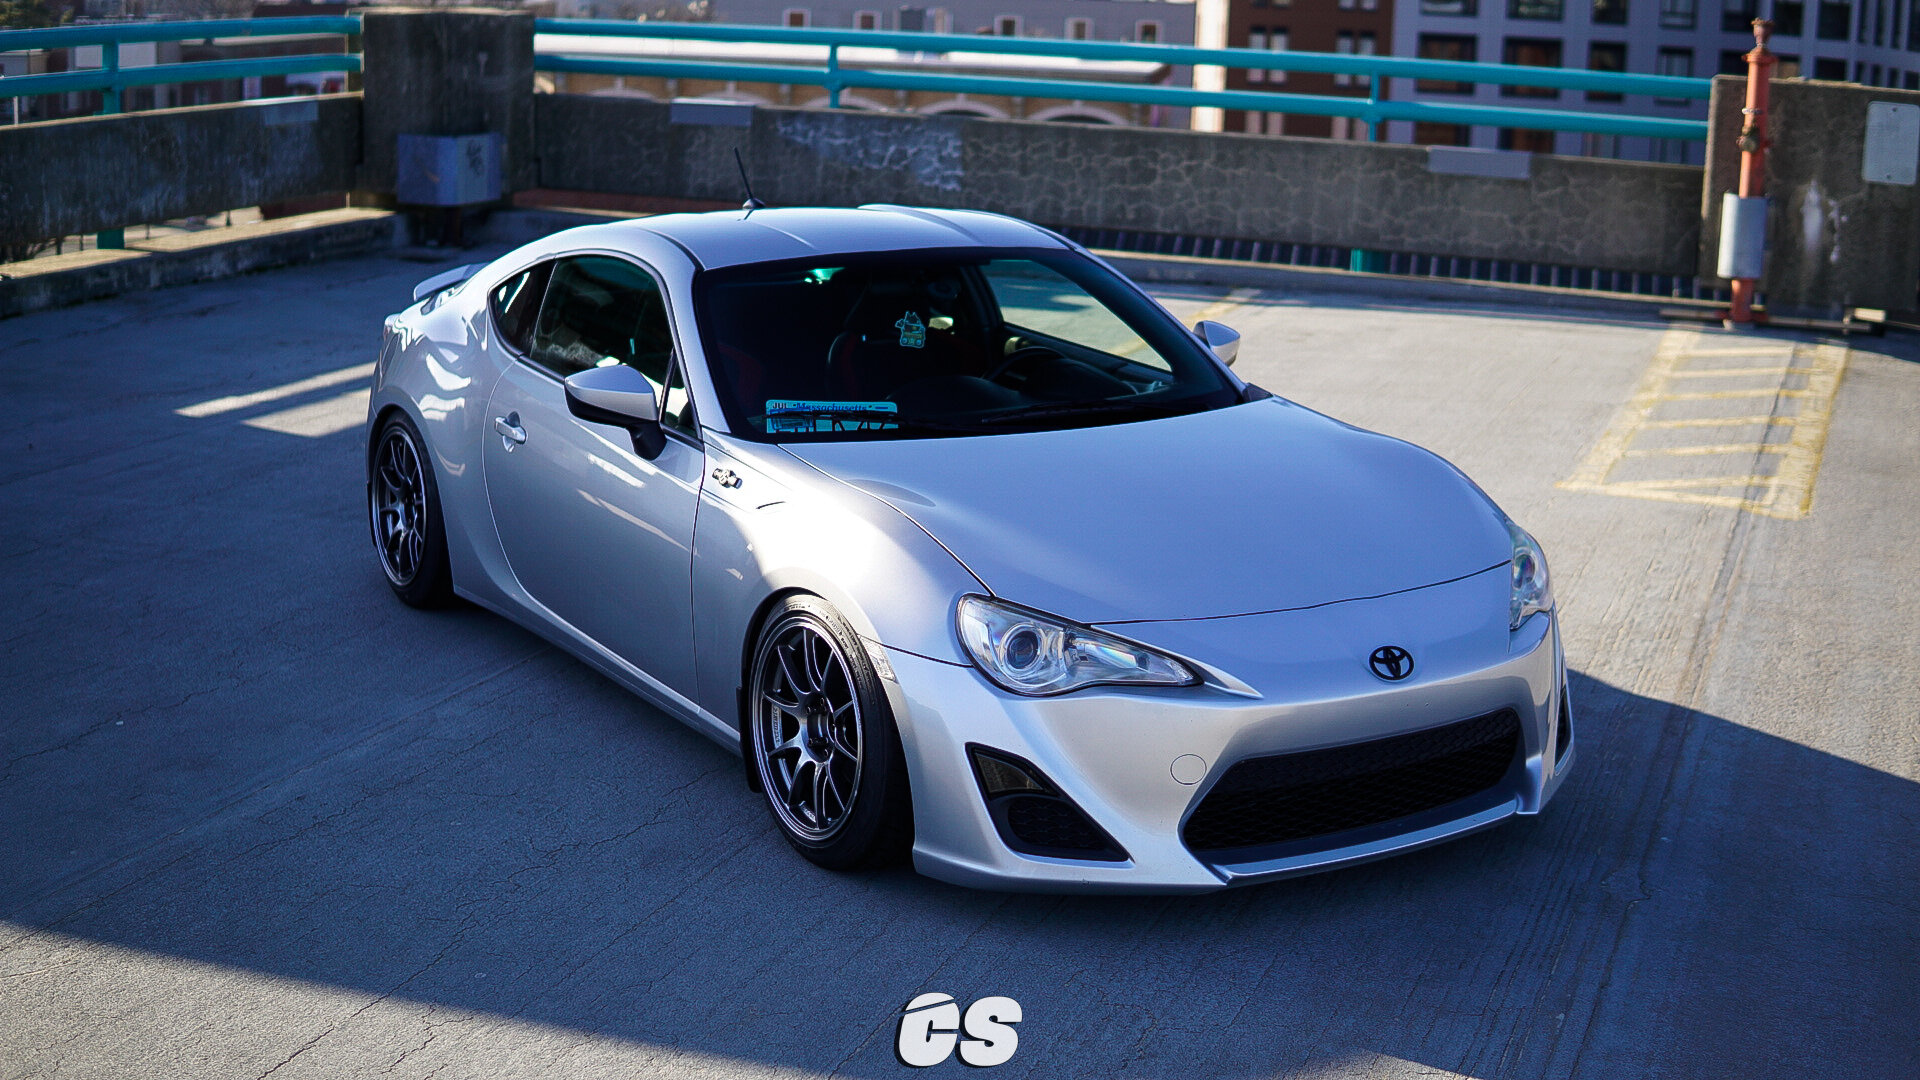
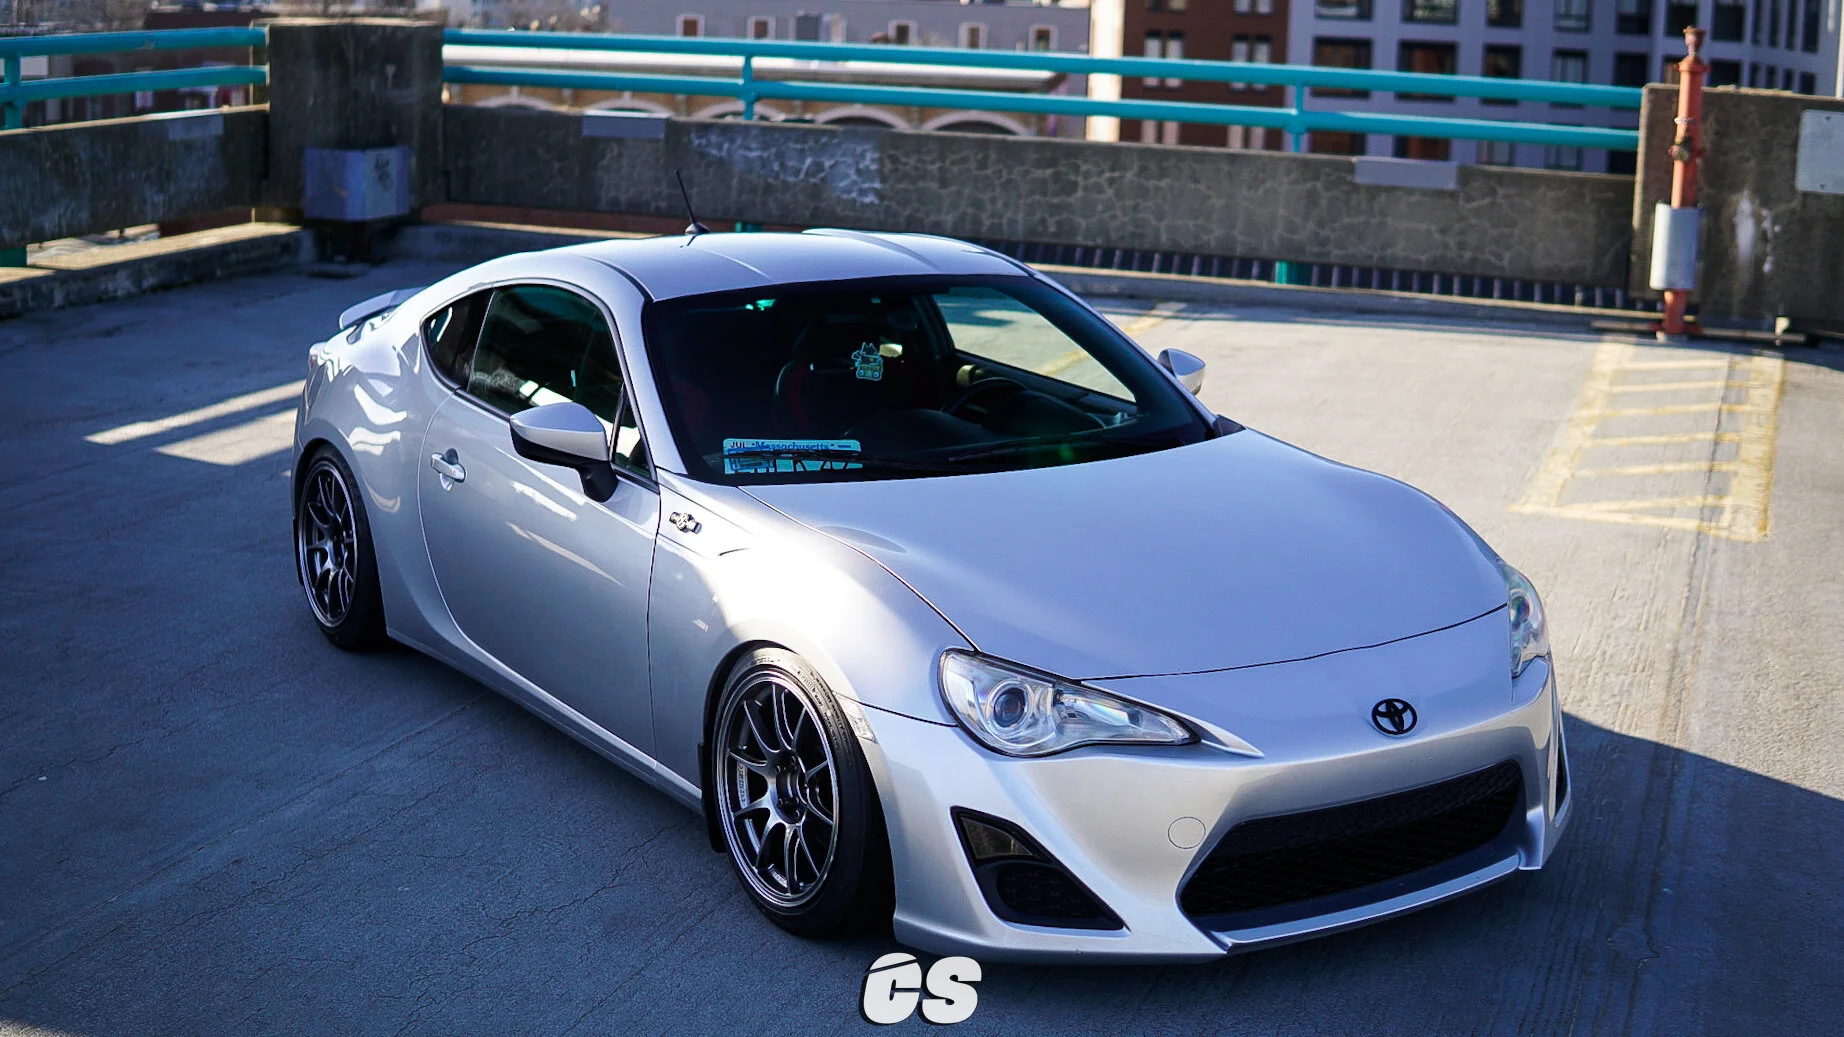
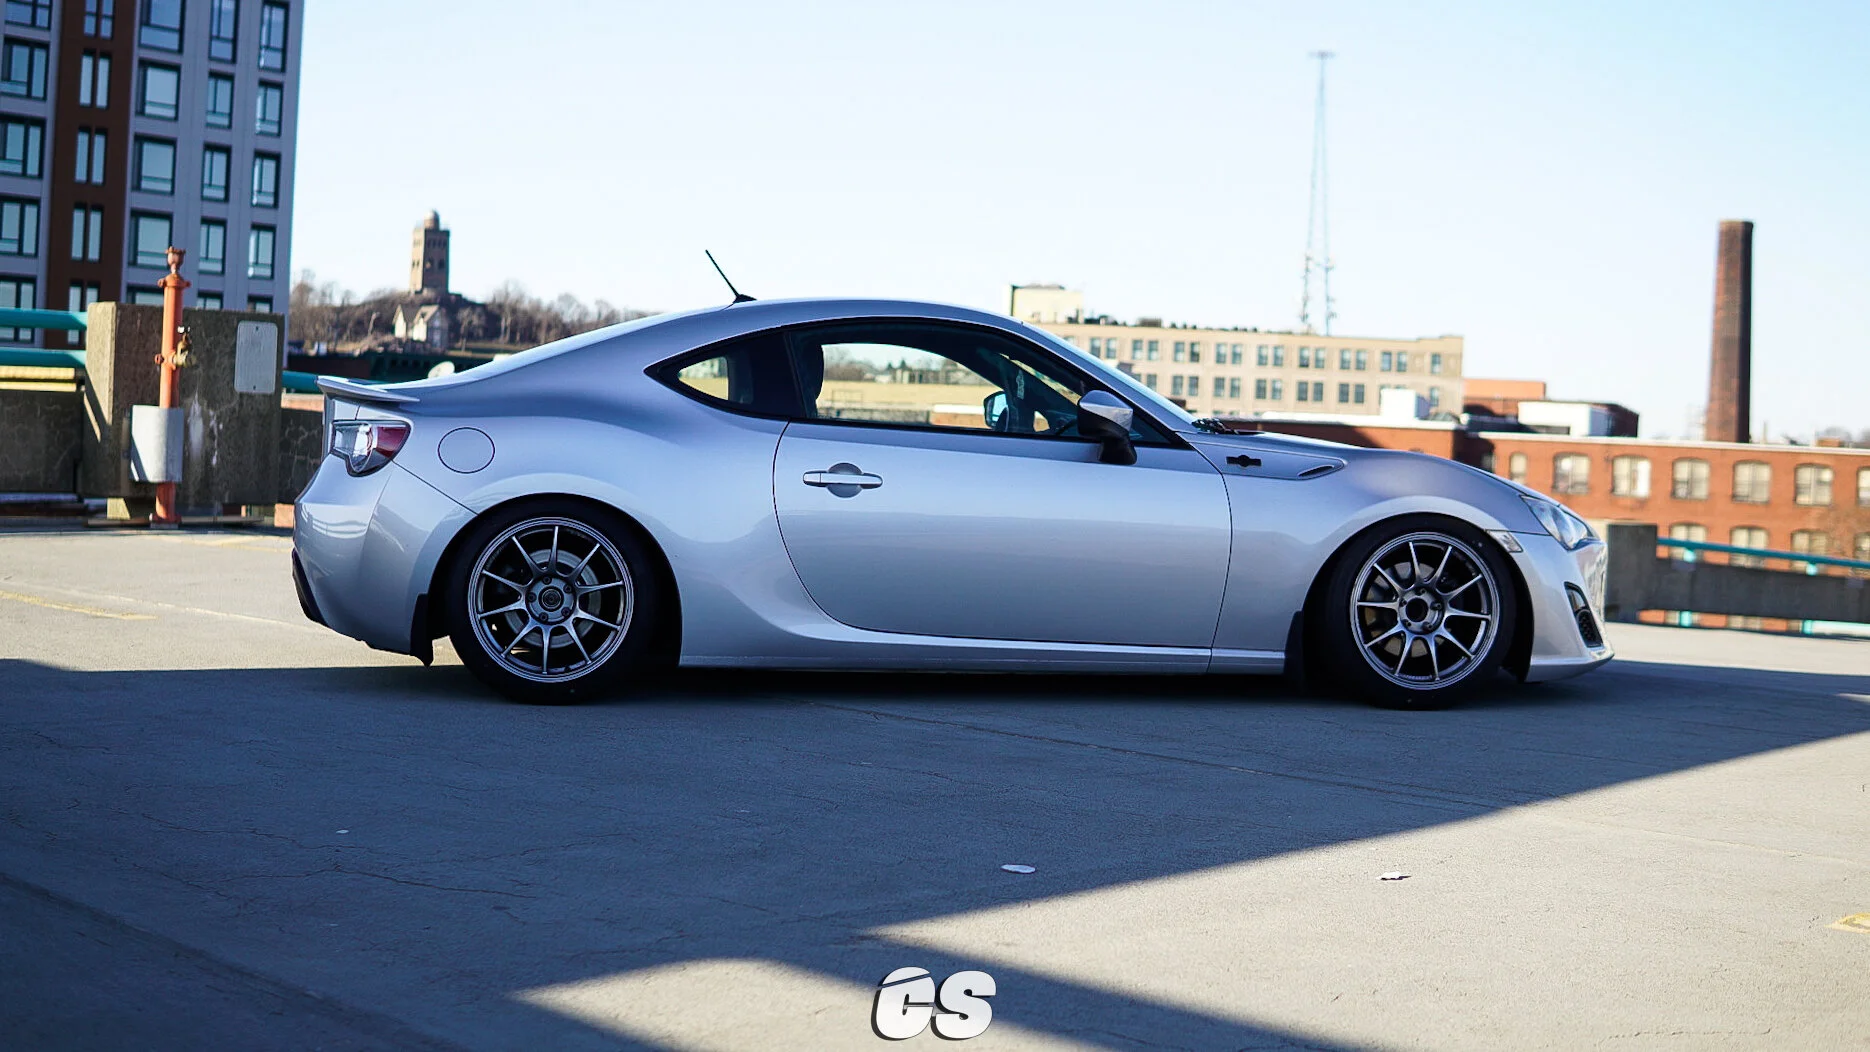
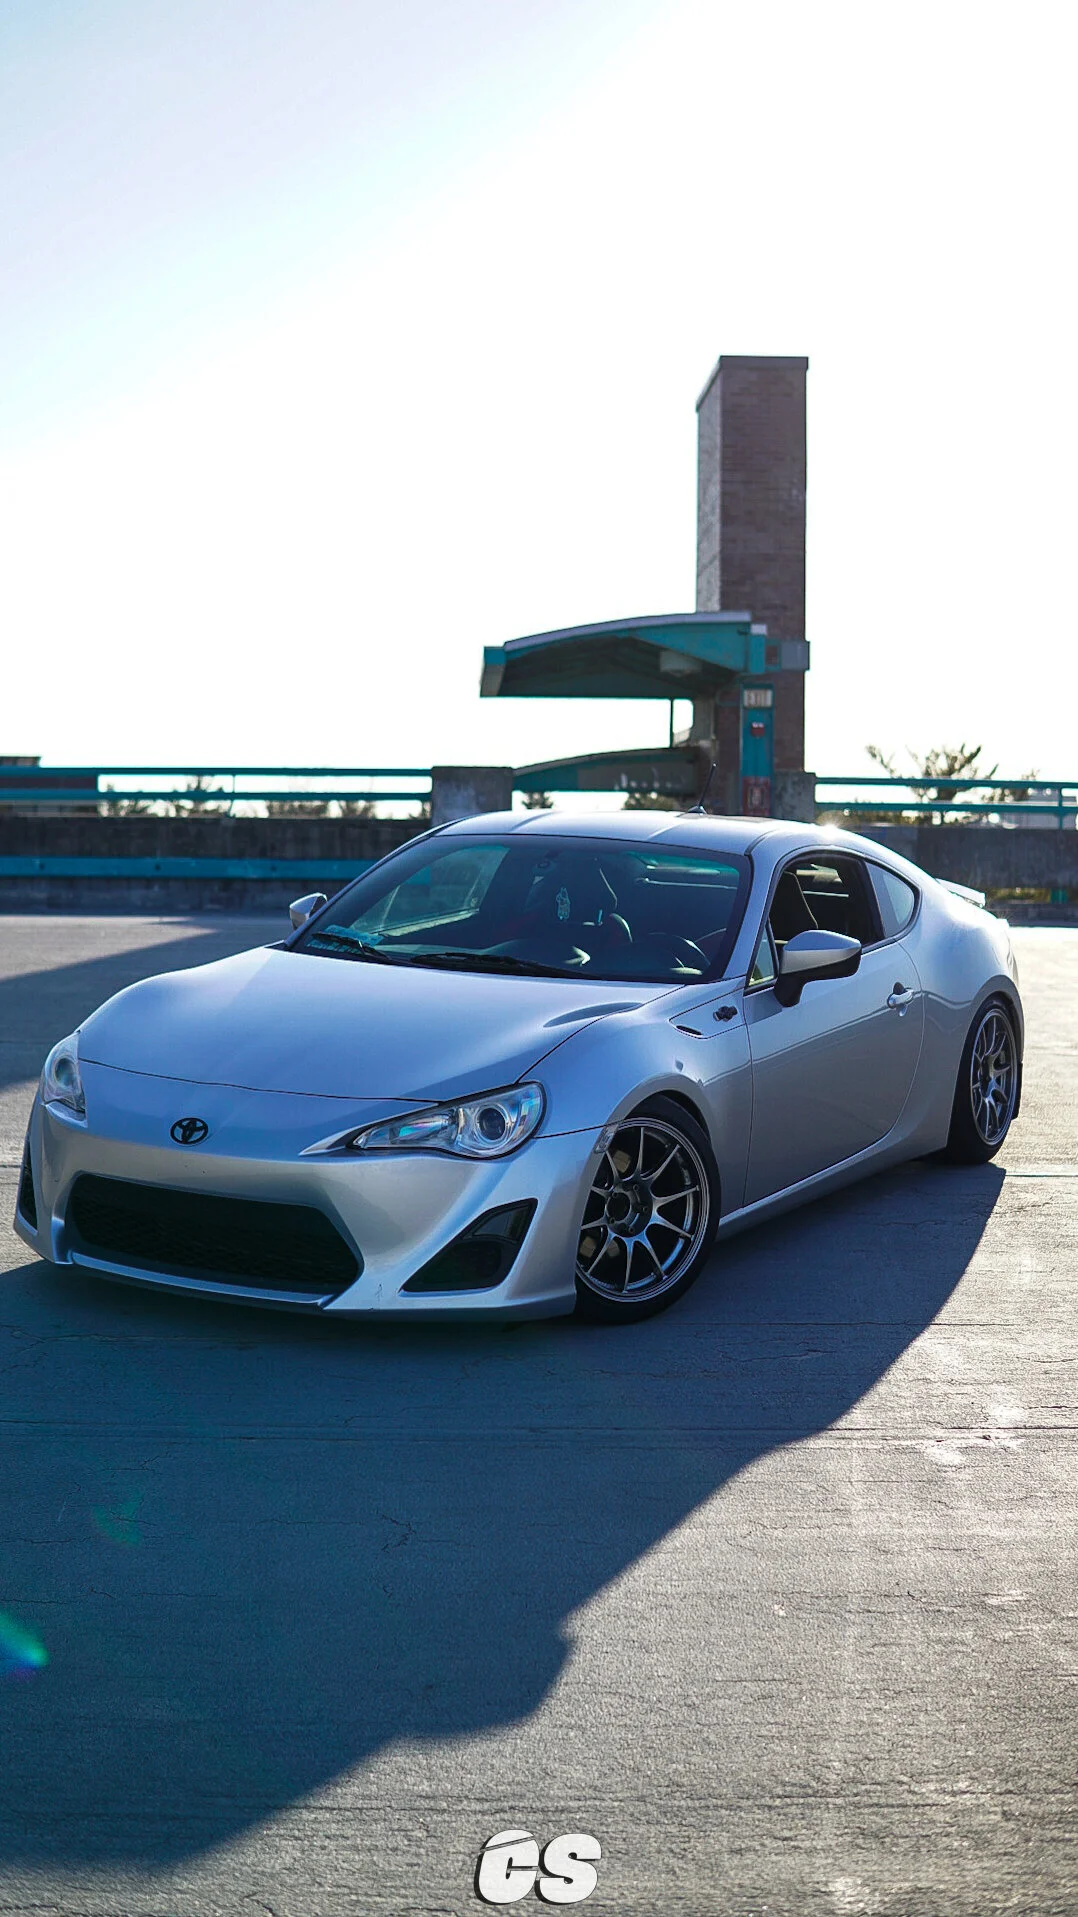
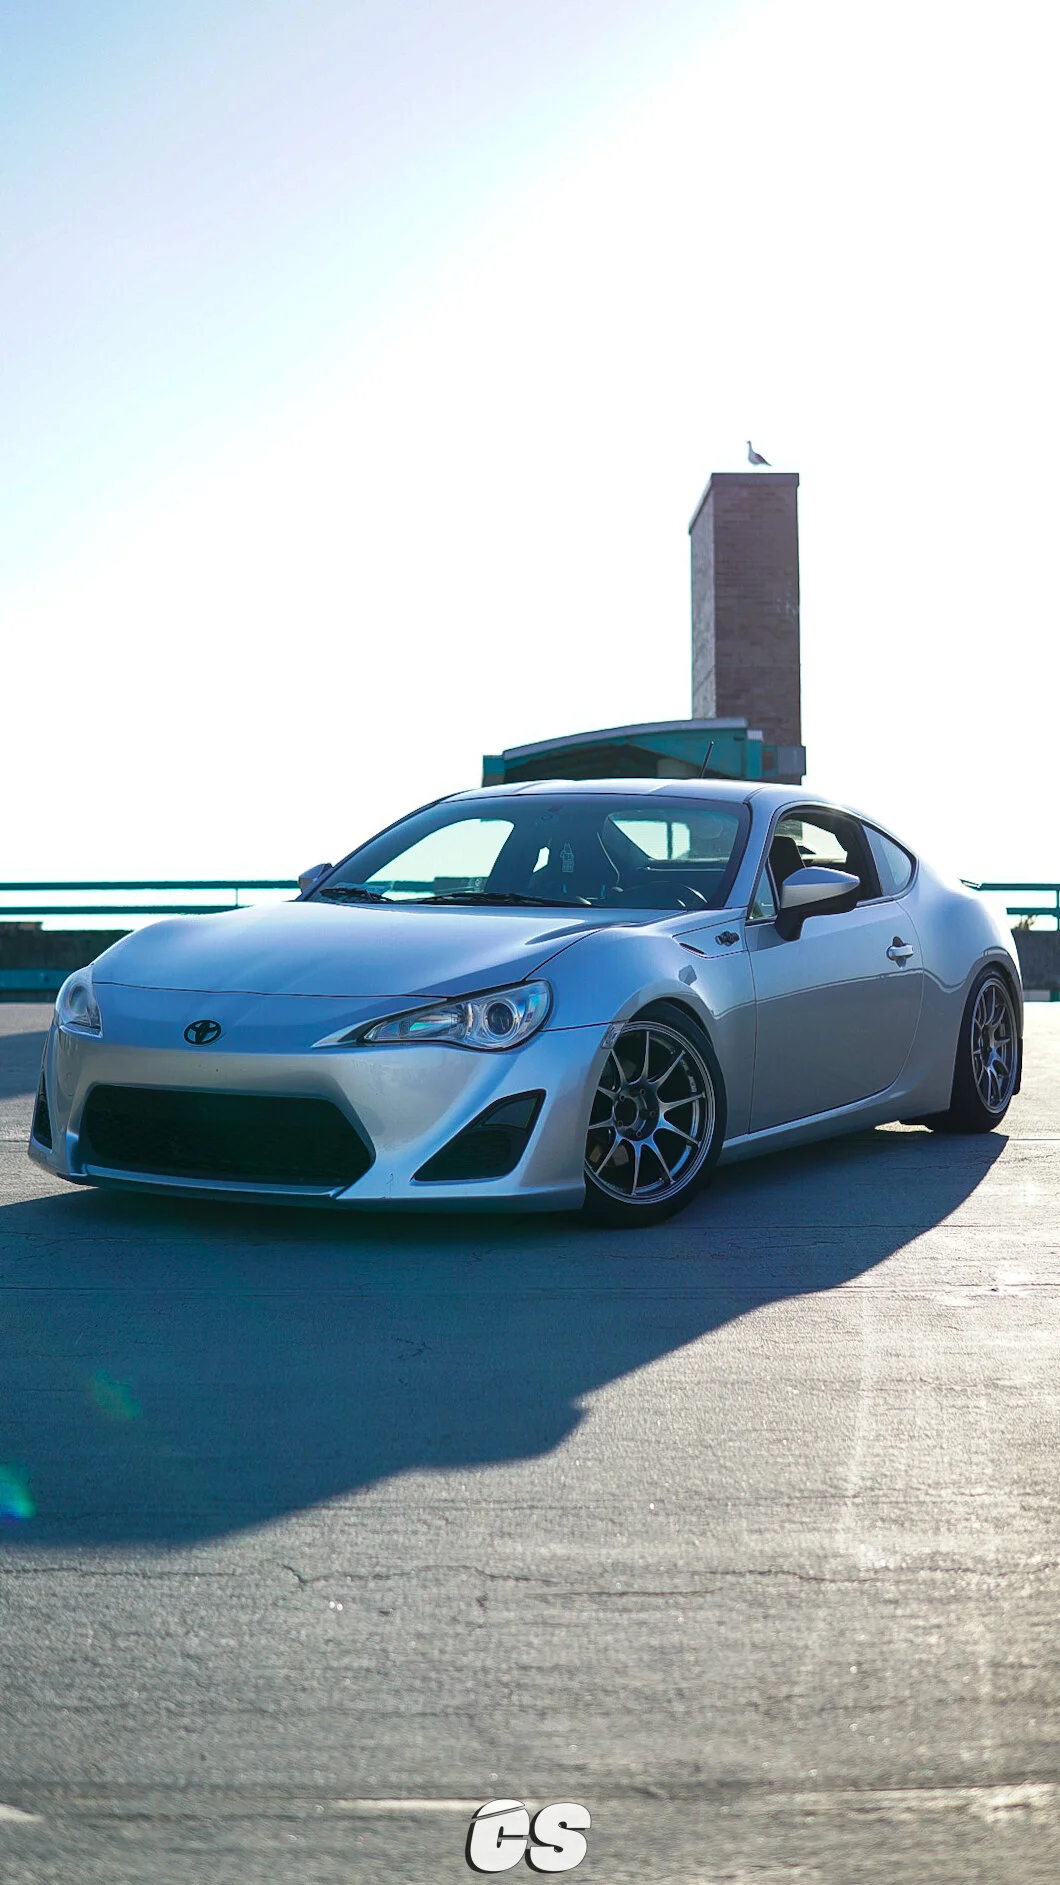
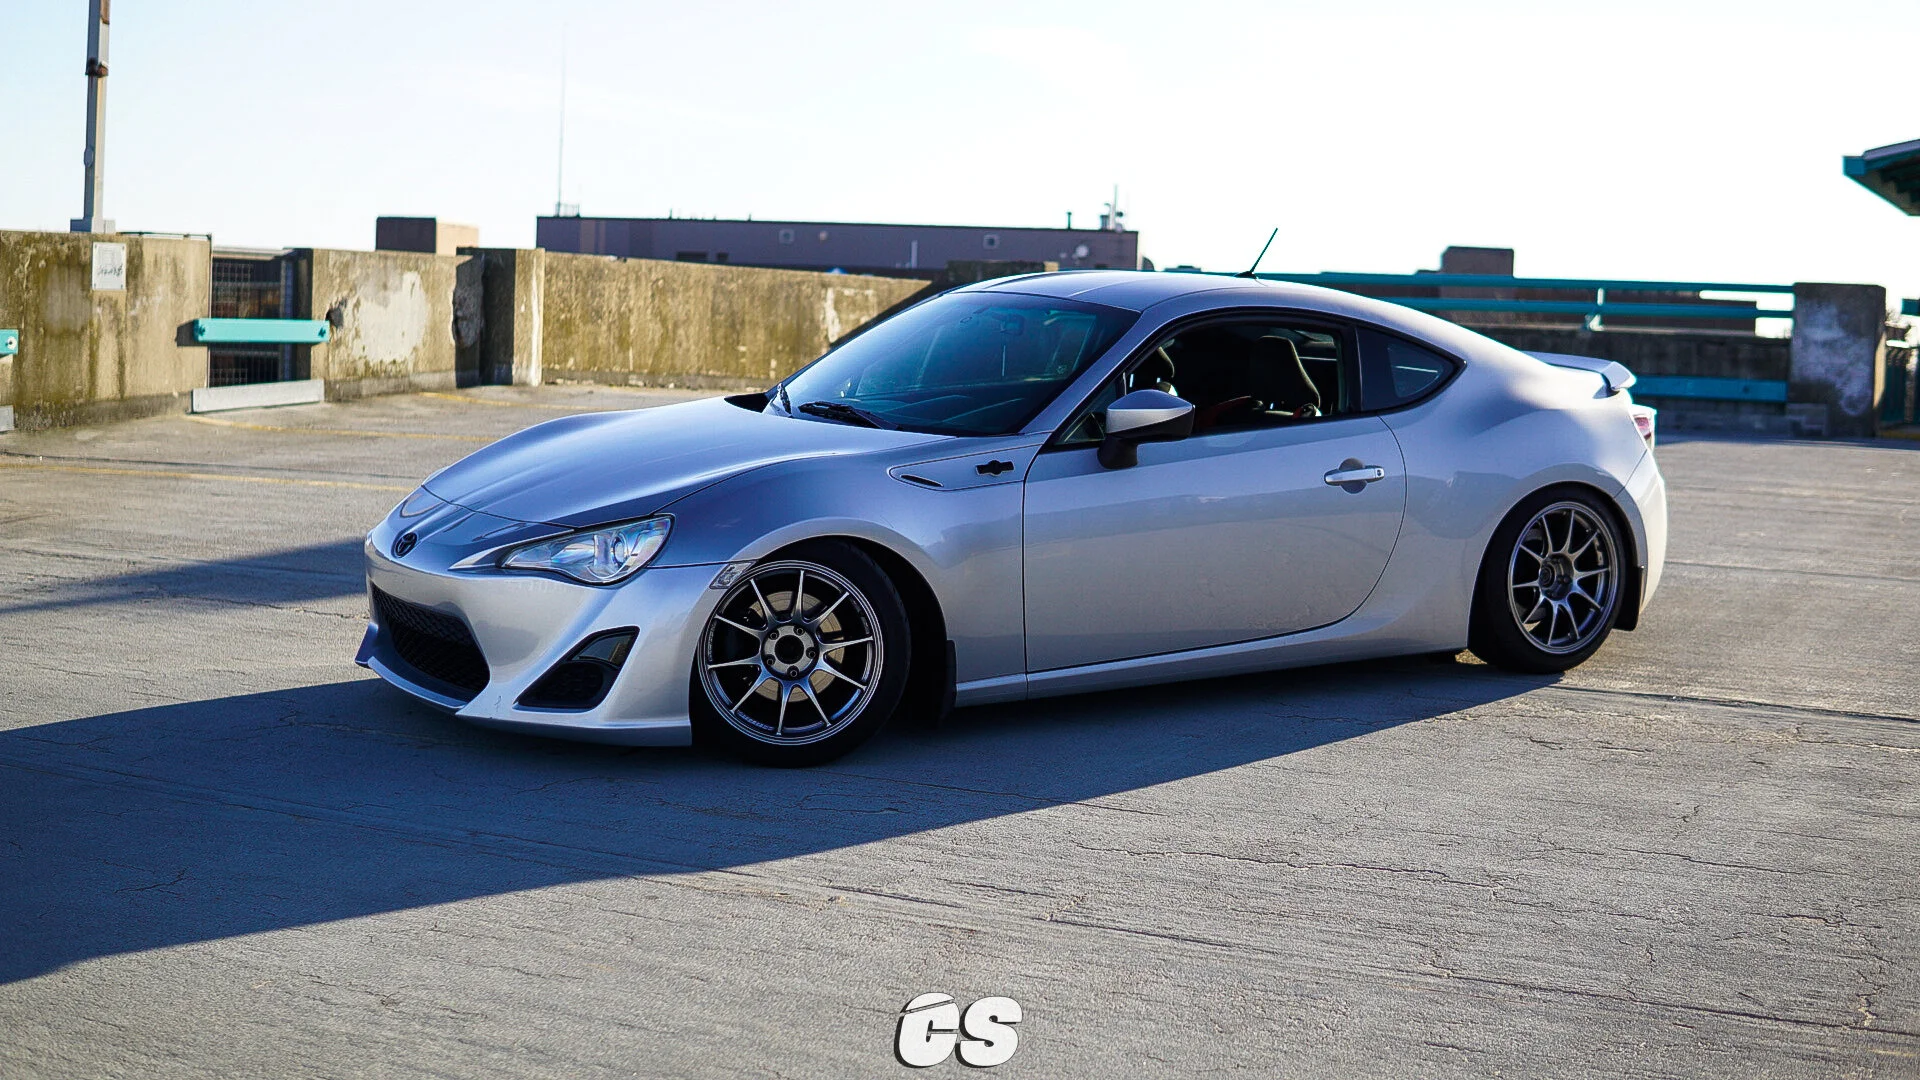
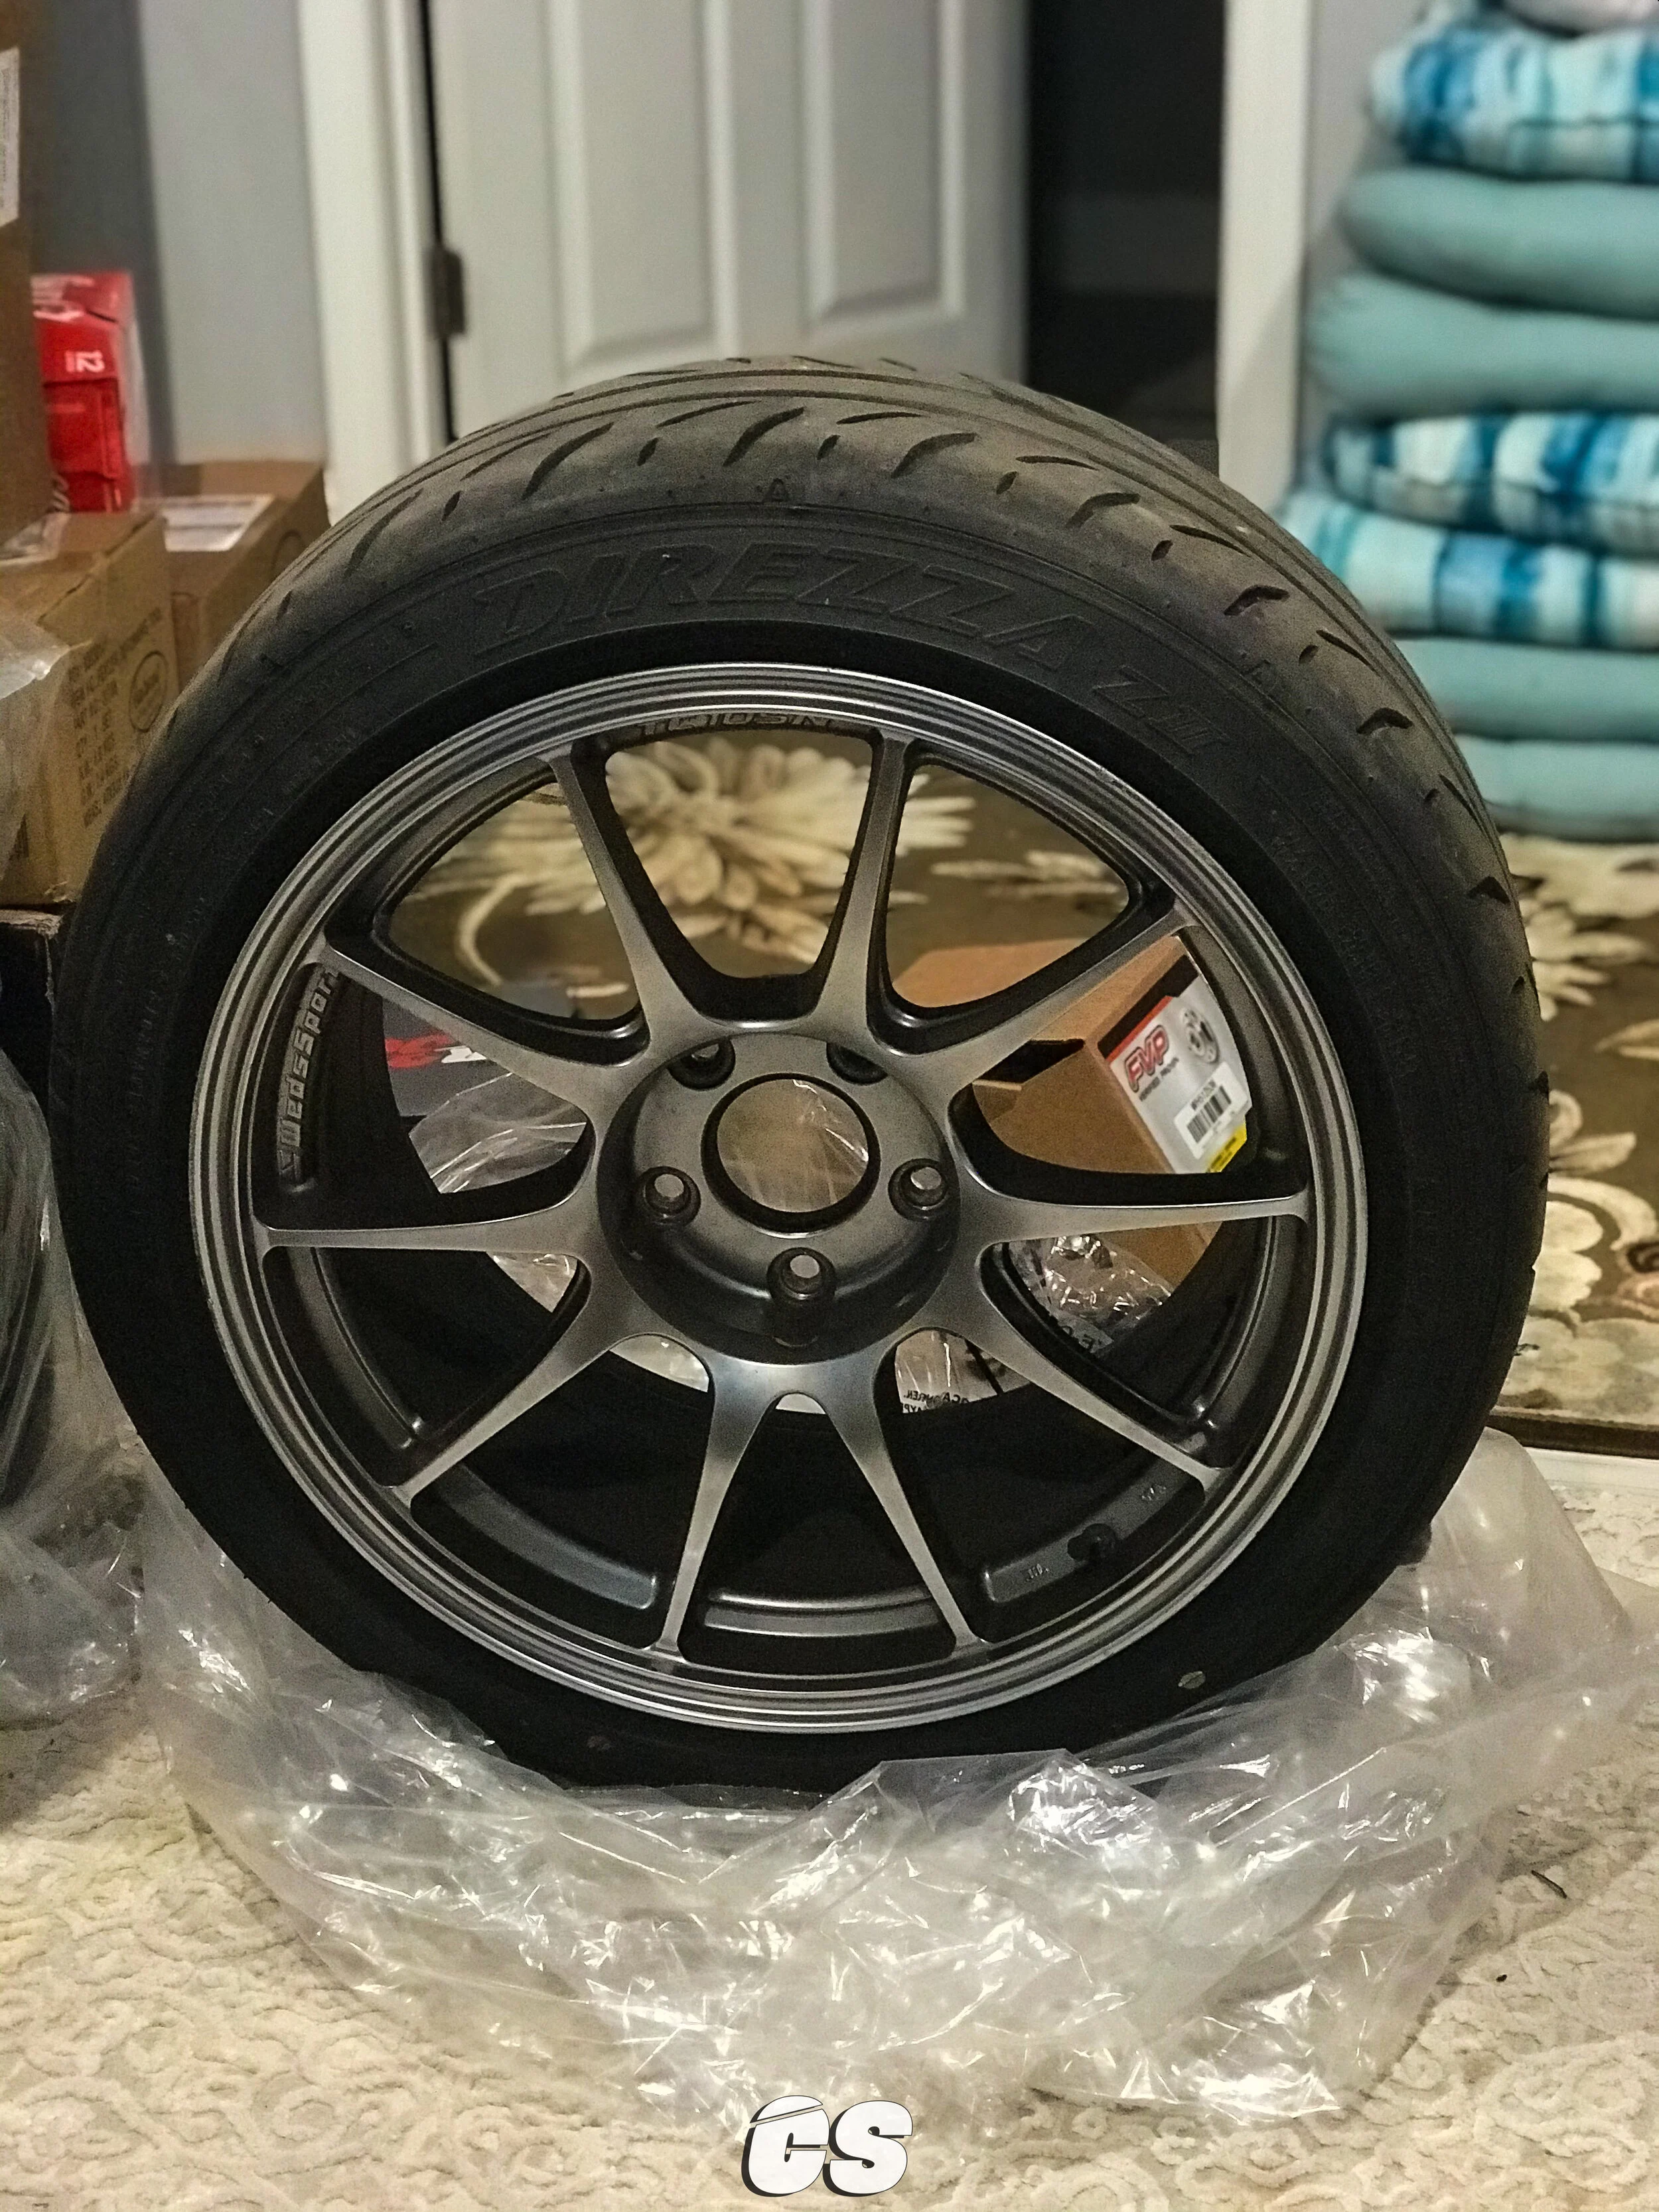
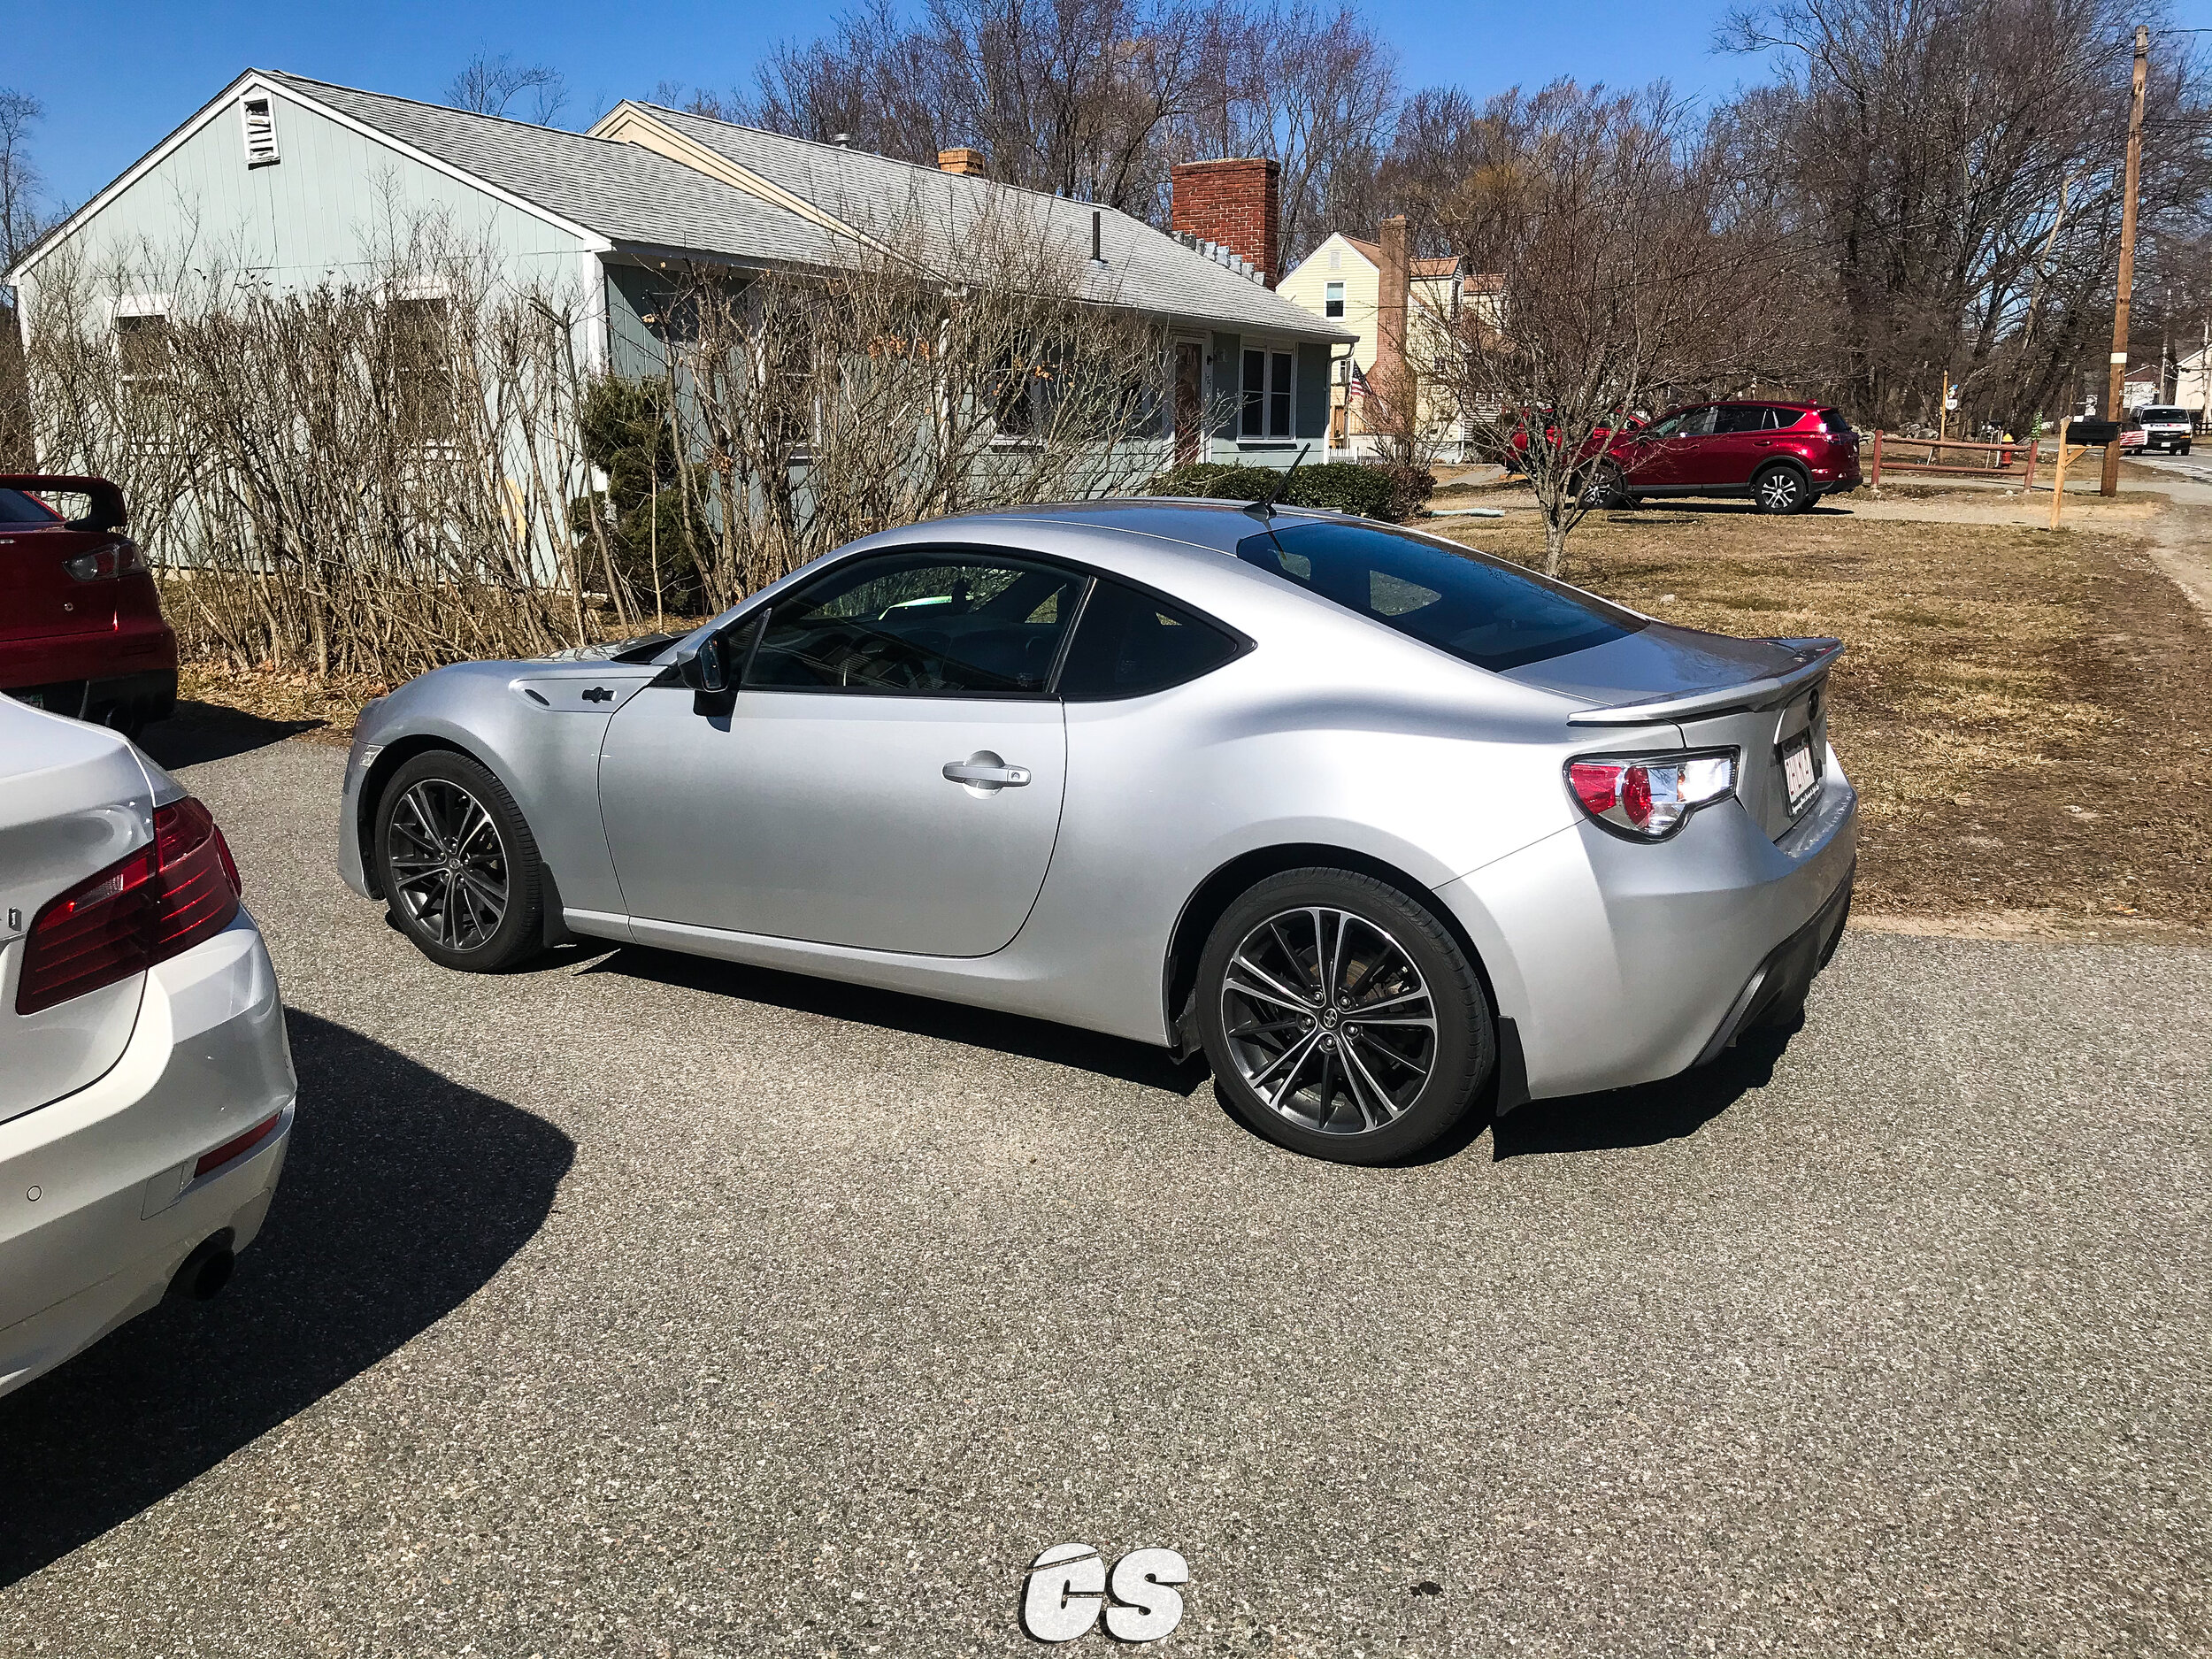
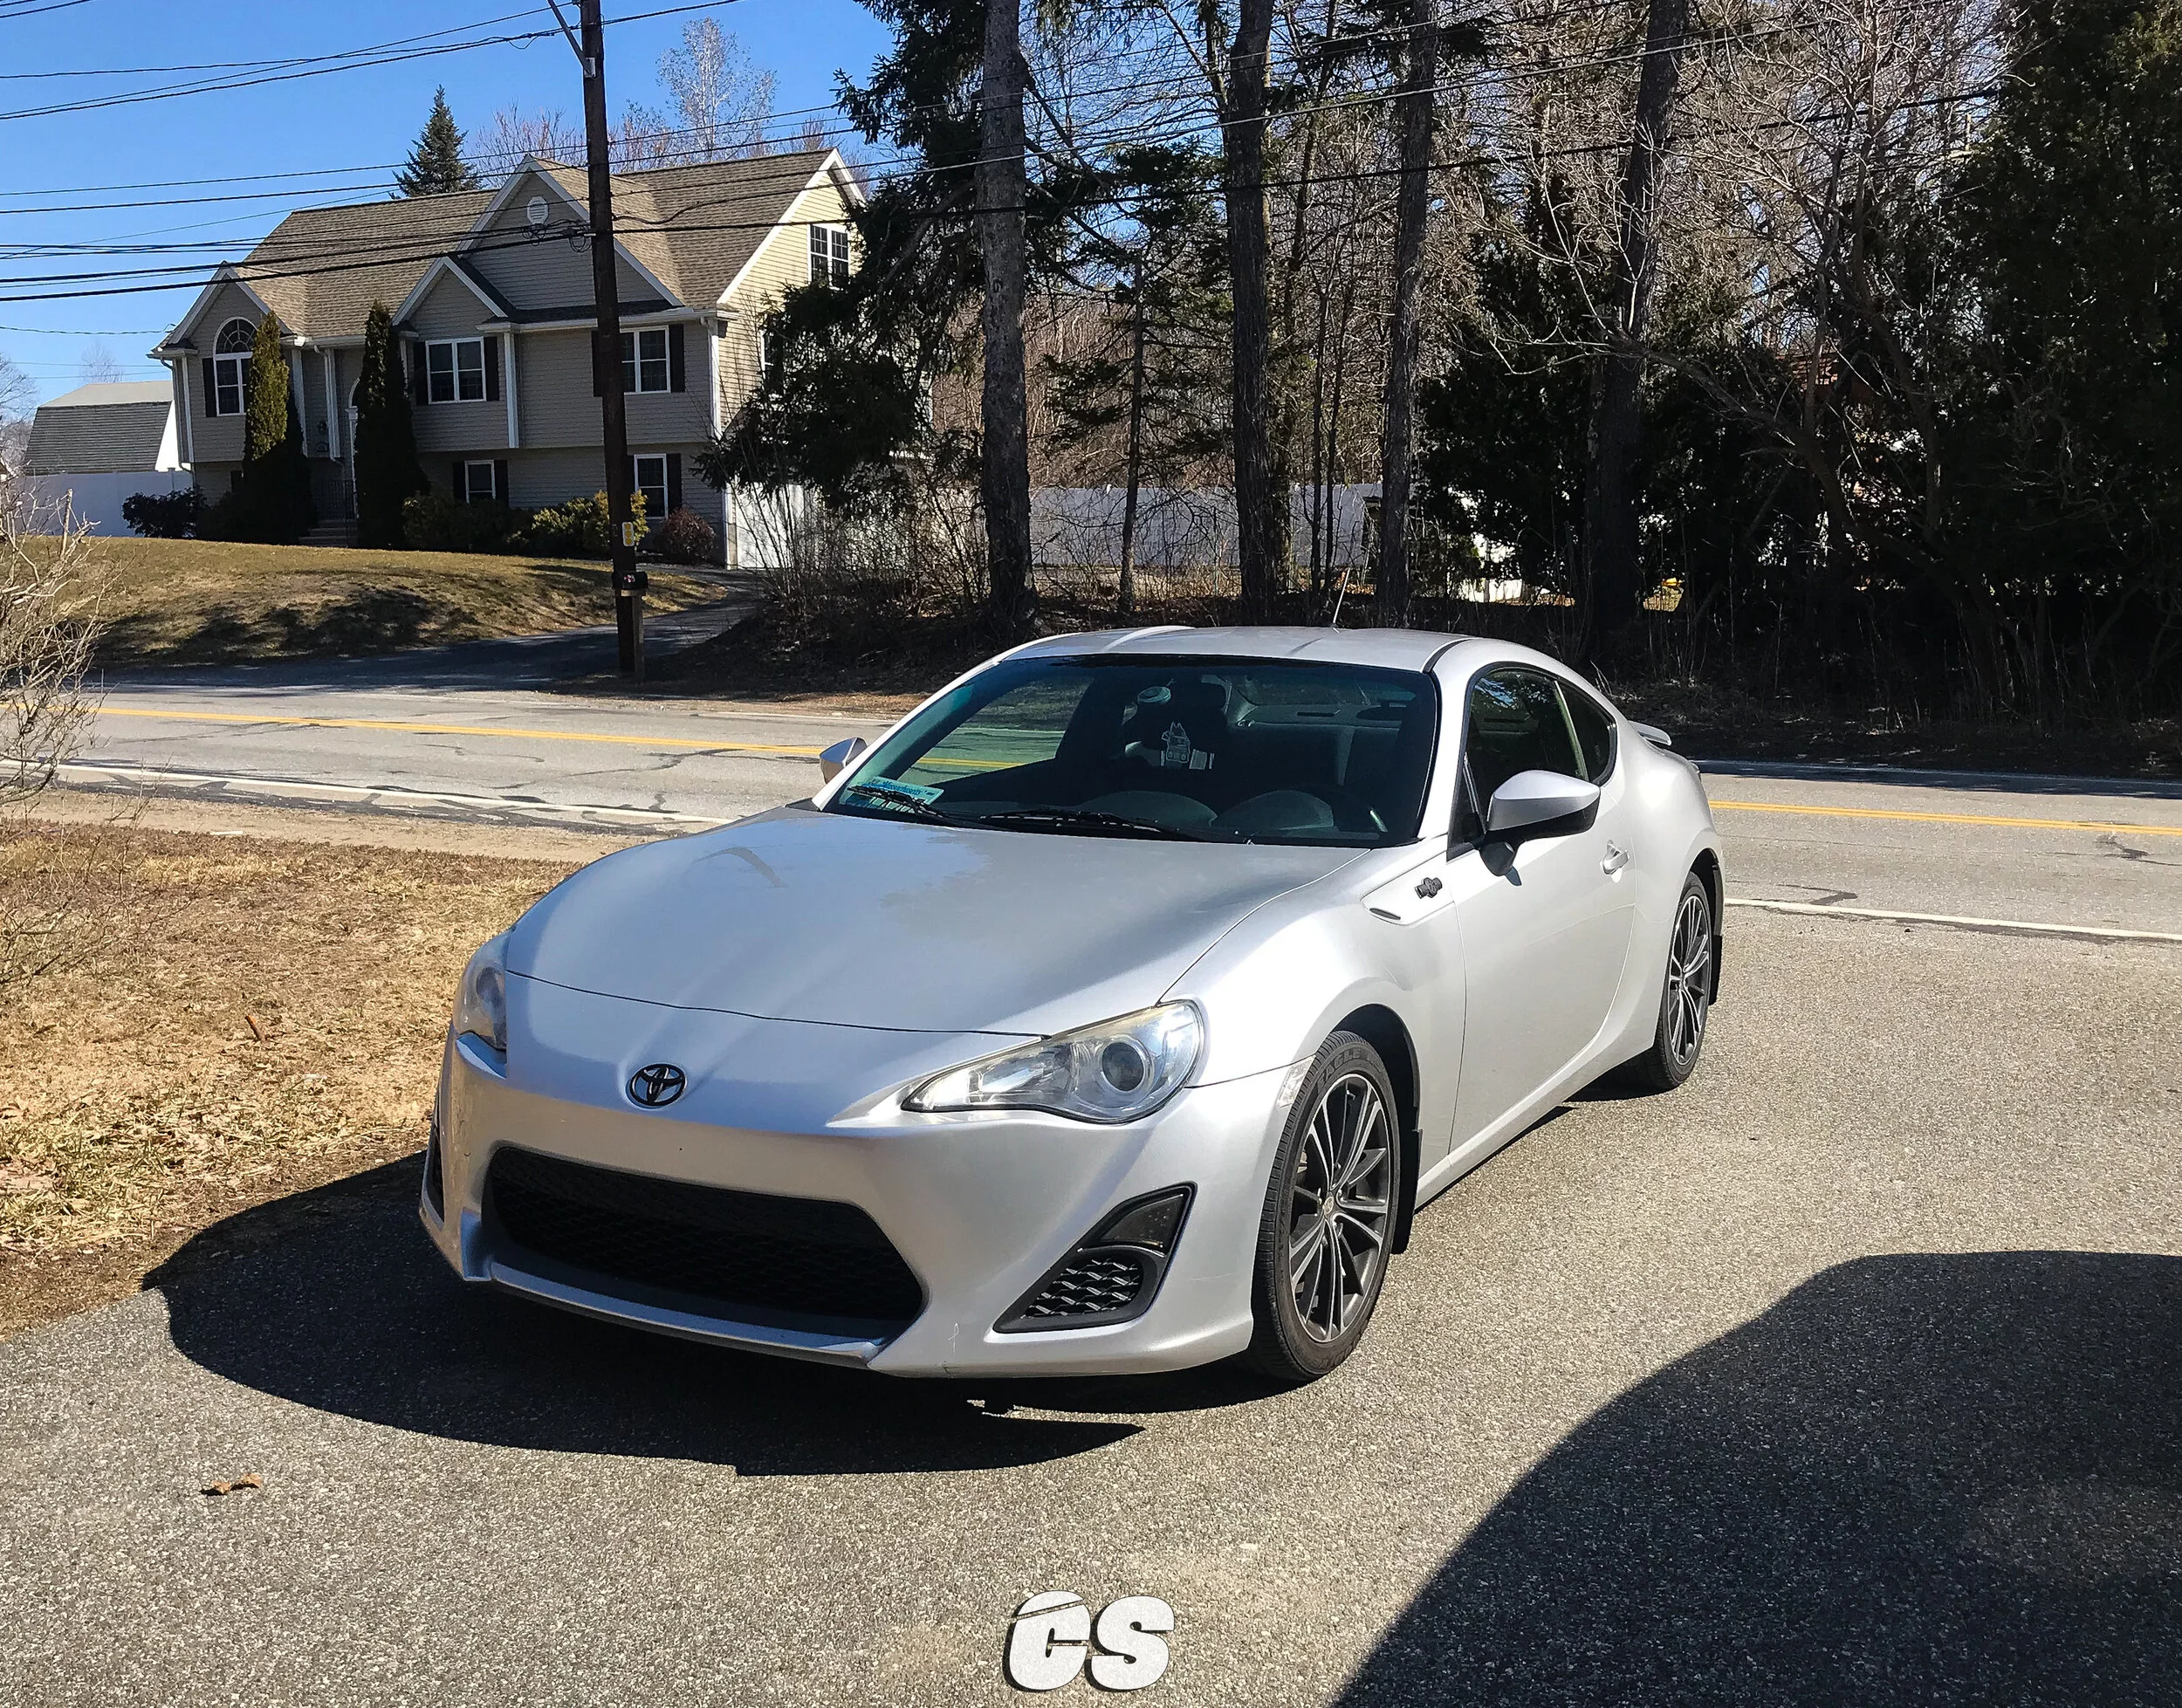
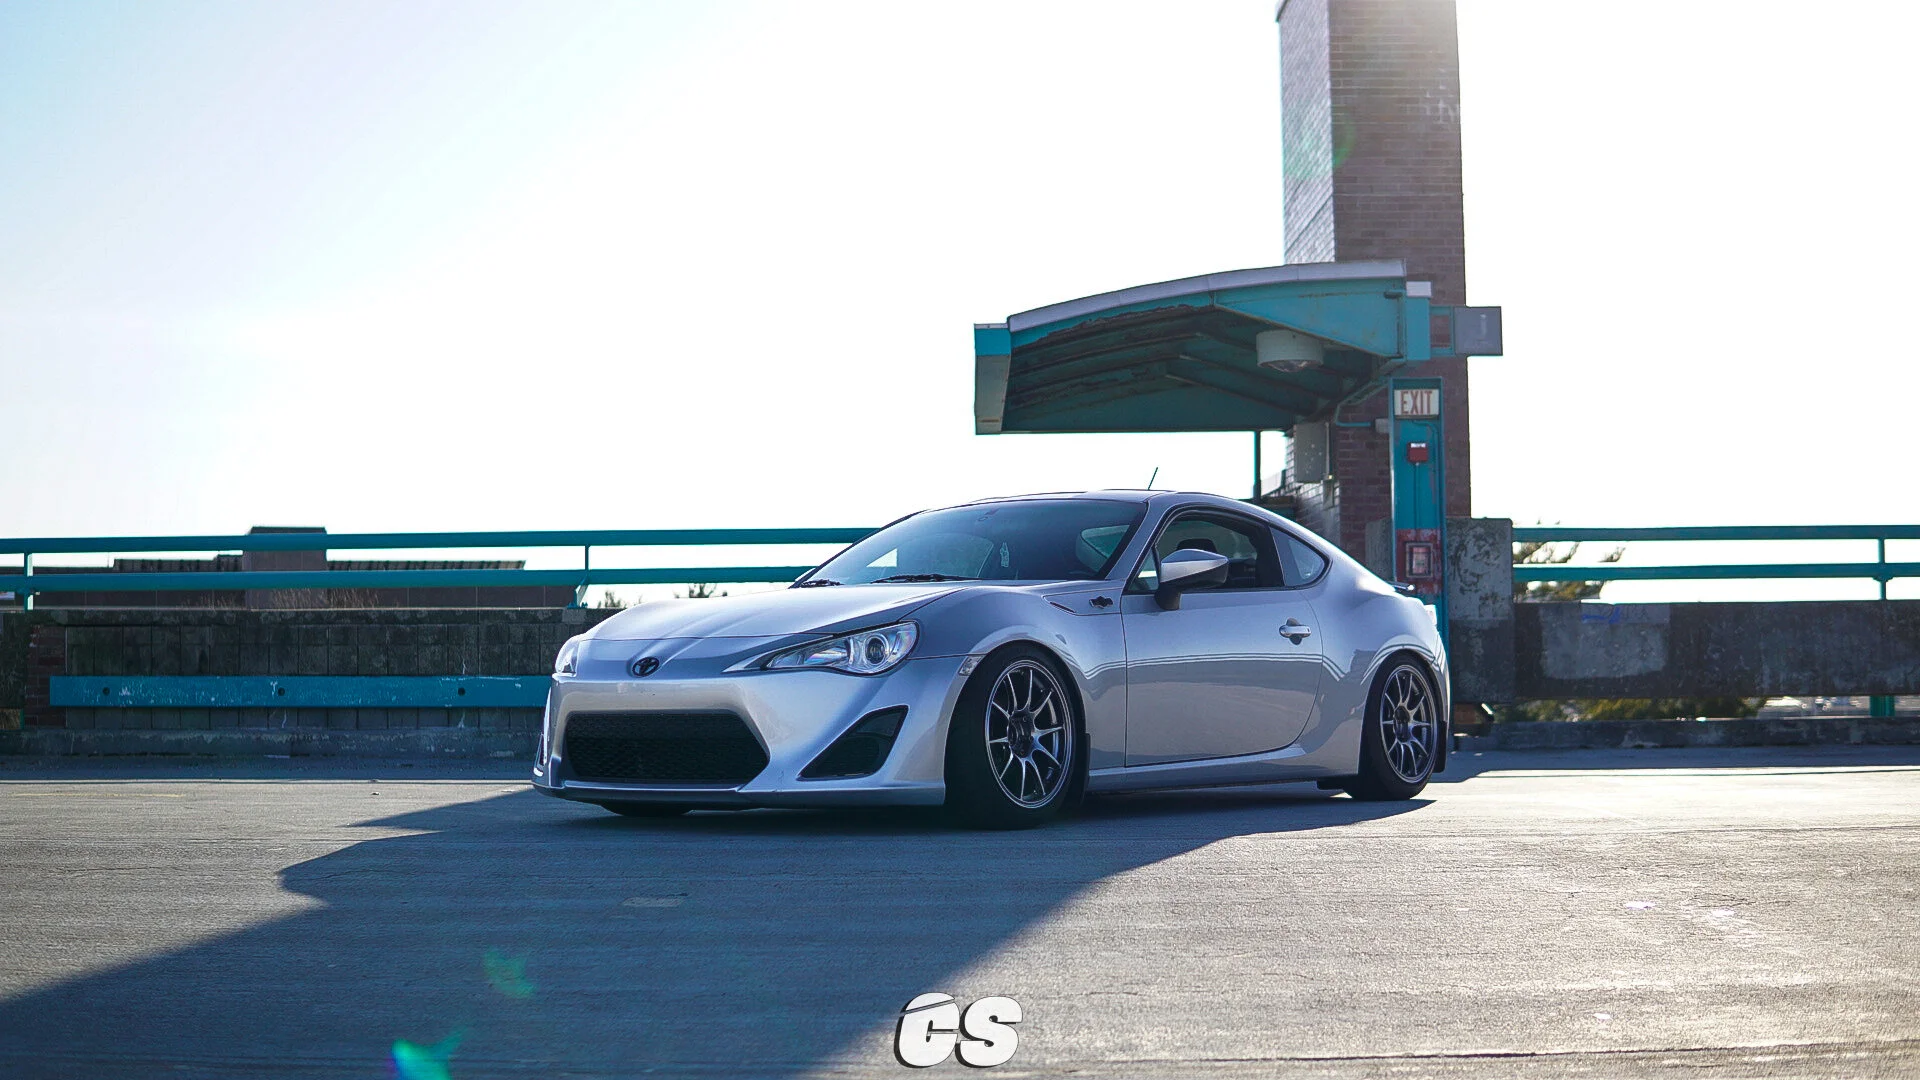
I could not have been more stoked on the end result. To complete the look, I picked up a used set of Wedsport TC105N's wrapped in 215/45/17 Dunlop Direzza ZIII from Pro-Spec Autosport in Quincy, Massachusetts. The wheels are a square set (17x9 +35), but because I have a 15mm adapter in the front, the car’s stance is staggered, making it look a little more aggressive in the front than in the back. The offset is now a +20 in the front, which better fills the gaps in the wheel well.


I must say, when all was said and done, I was beyond satisfied with the end result. Granted, this is still an ongoing project, but I love the way it’s starting to look. I certainly had my doubts: what if the modifications I chose ruined the integrity of the car? But as I get closer to the final product, I can’t help but feel like I’m very much on the right track to building my ideal street car.
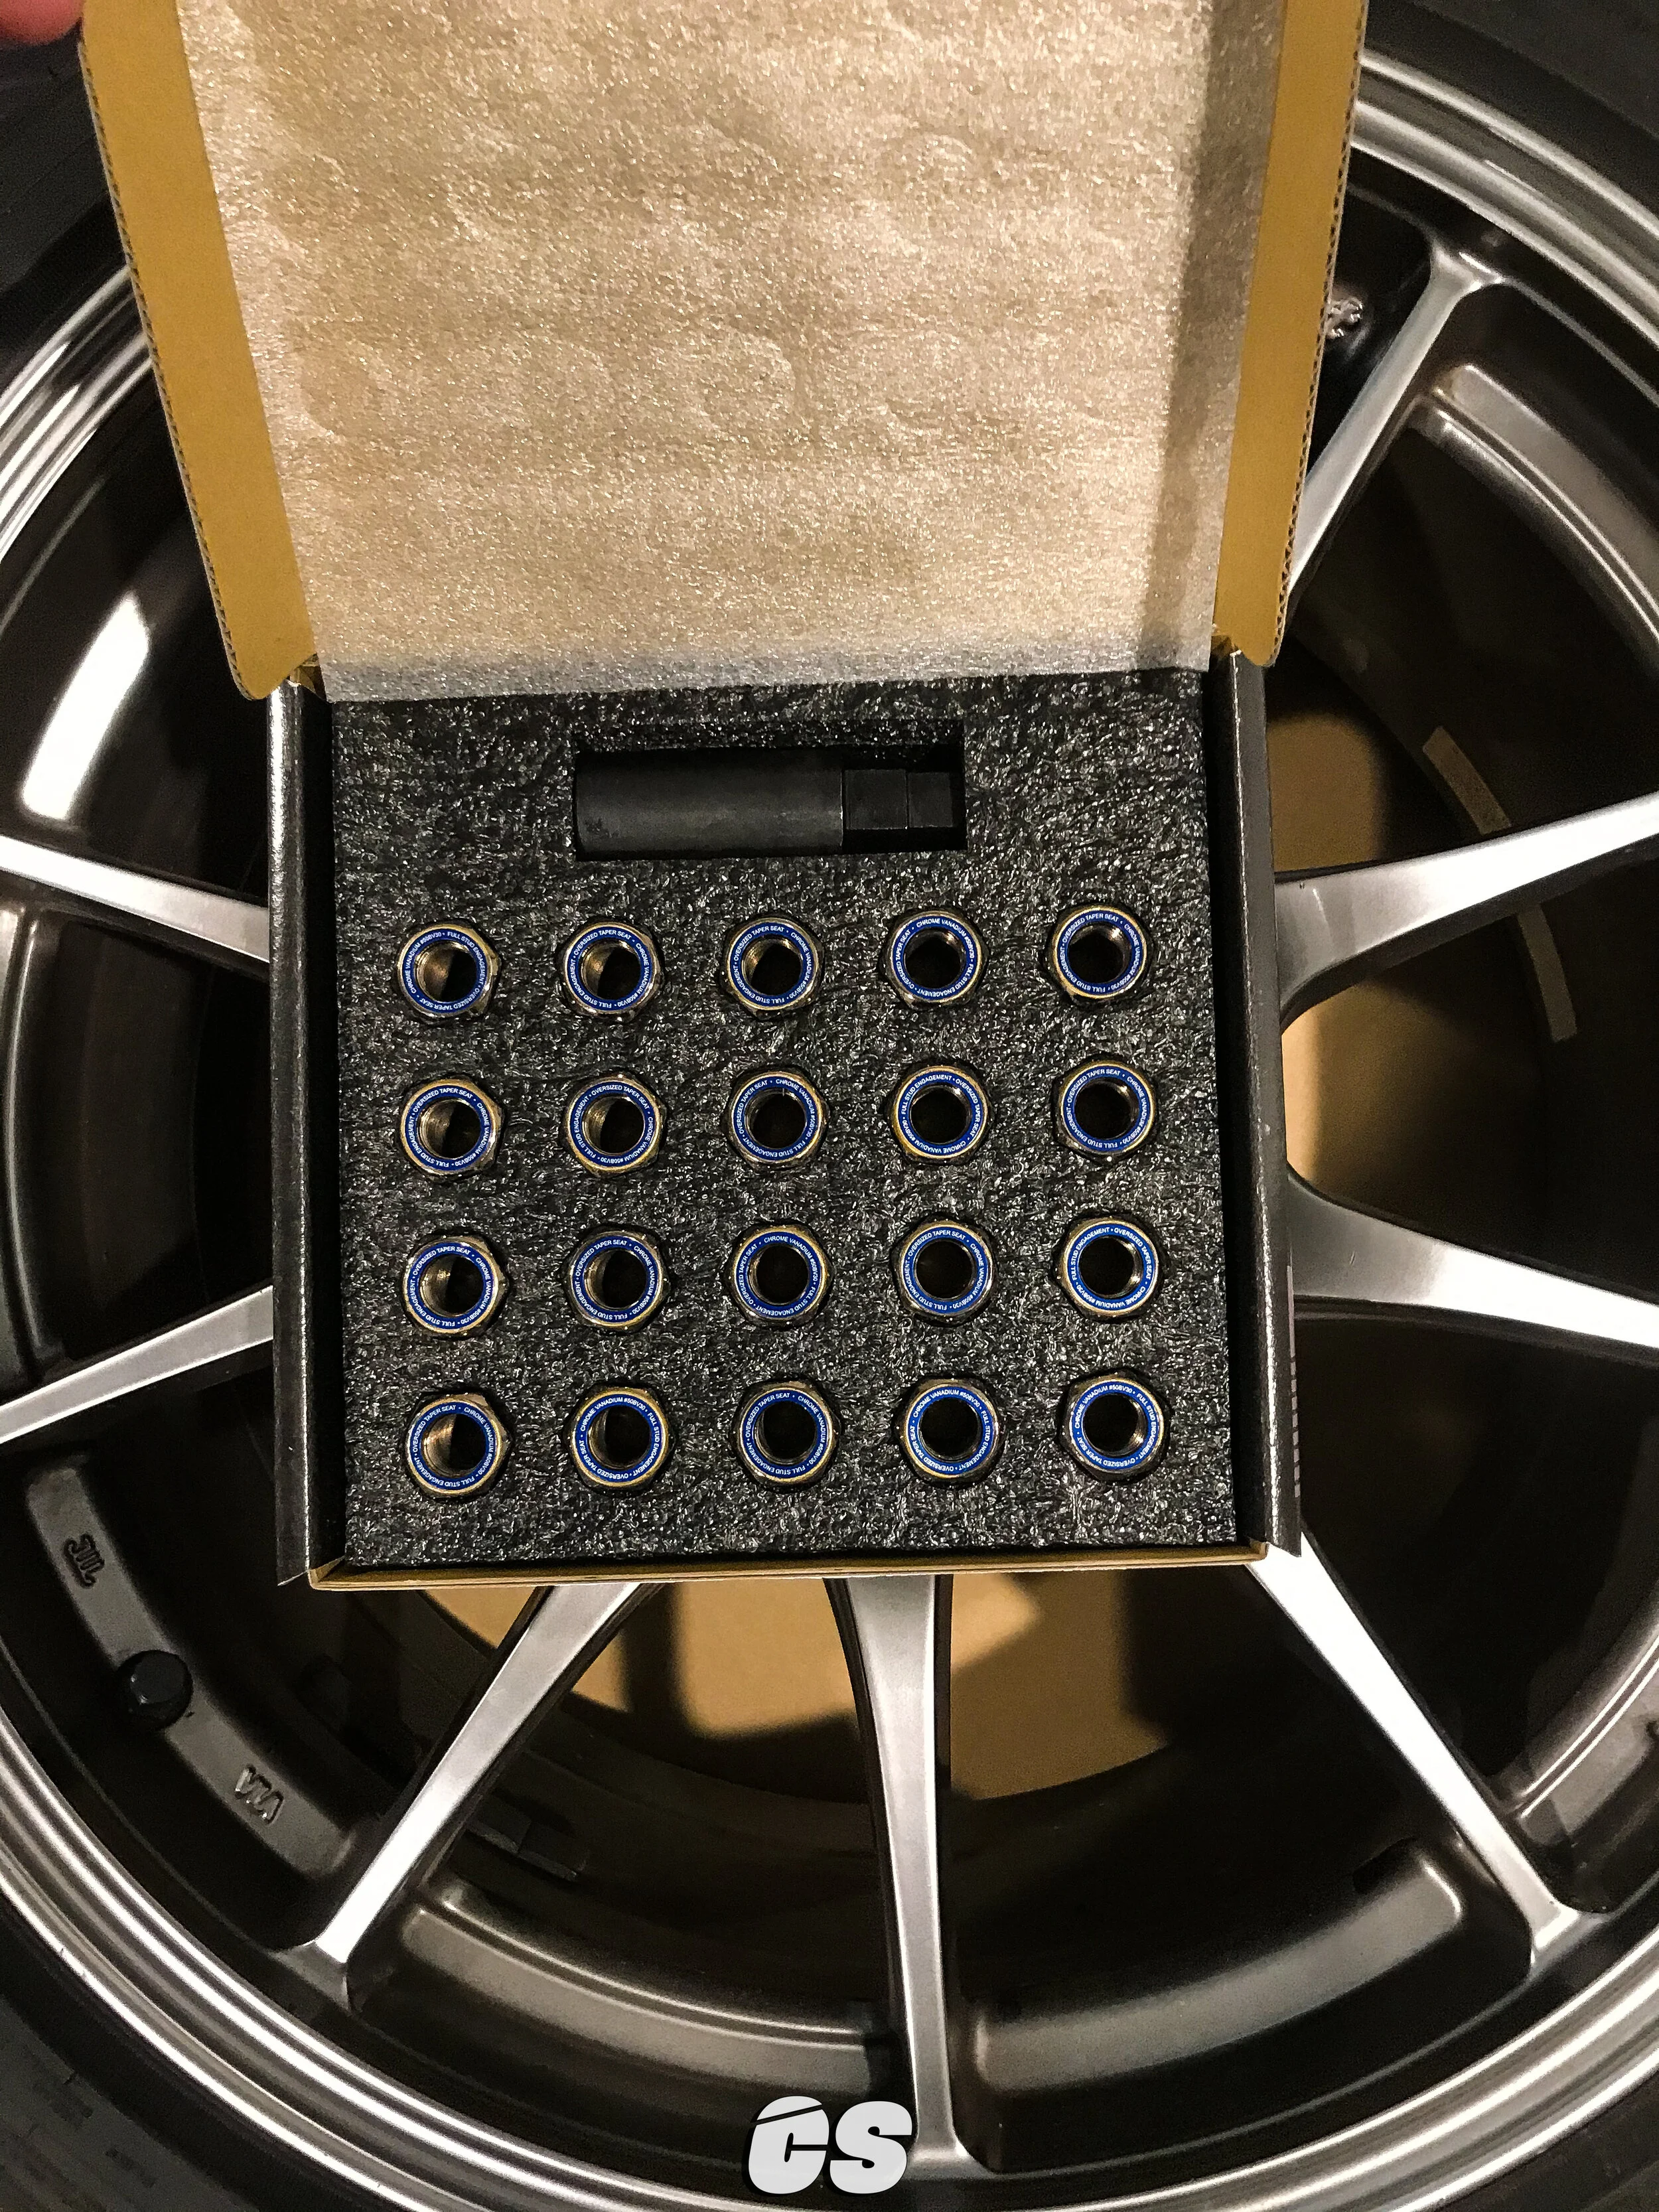
I have to give many thanks to John Ly at Oem Plus, LLC. for sourcing the larger parts needed for the job, and to Anthony Duong at Pro-Spec Autosport for supplying the wheels, tires, and lug nuts. In addition, without Davy, Goeun, and Nathan’s assistance with the installation, this would have taken twice as long to complete. And, of course, I have to thank my mom for hoarding all the parts for me, and providing a space for me to do all of this in the midst of moving into my new apartment. Without anyone of these people, I could not have completed phase one of this build. Be sure to follow CrateStreet for more build updates, and stay tuned to see what I have planned for this year.
Follow us on Instagram and Facebook for first looks and behind the scenes. If you and your friends have a good story to share, shoot us a message and we’ll share a chinwag! We’d love to hear about your journey, and you might find yourself featured on CrateStreet. Until next time, aloha!